
 | Year 2000 Testing | Testing Application Output |  |
WinRunner 2000 is one of the optional extensions in Mainframe Express. This chapter covers its basic features by demonstrating how to use it to create and run a test. It leads you step-by-step through the creation of a project and then shows you how to create a WinRunner 2000 test, record a script, replay the script by running the WinRunner 2000 test and analyze the results.
You need to have read the chapter Start Here for the Tutorials and worked through the first session, Using Mainframe Express, before you do this session.
You need to have installed WinRunner 2000 to do this session.
Note: This tutorial uses the Microsoft application, Calculator, to demonstrate the basic features of WinRunner 2000. The Calculator application is normally installed as calc.exe in your Windows 95, Windows 98 or Windows NT installation directory.
WinRunner 2000, a session recording tool from Mercury Interactive Corporation, is an automated testing tool for mainframe applications that has been incorporated into Mainframe Express.
The Micro Focus WinRunner 2000 automated testing tool uses Mainframe Express to execute mainframe applications on the PC. The same test scripts can then be re-used to execute the application on the mainframe via 3270 emulation.
Before attempting to use WinRunner 2000 you need to understand the following terms:
You can use WinRunner 2000 to record a session. A session begins when you switch recording on and ends when you switch recording off. While recording is switched on, WinRunner 2000 records every keystroke that you make.
When you use WinRunner 2000 to record a session, the keystrokes that you make are recorded in a script. Once created (by recording a session), a WinRunner 2000 script can be played back. Playing back a script automatically executes the recorded keystrokes.
Test Script Language (TSL) is Mercury's enhanced C-like programming language, designed for testing. Scripts are written in TSL. You can edit your scripts to add TSL functions. A large number of TSL functions are provided, including some Mainframe Express specific ones.
WinRunner 2000 learns an application by recording the properties of each GUI object in the application. These properties are recorded in a GUI map. This feature has been used within the integrated Micro Focus WinRunner 2000 to learn Mainframe Express. A ready-made GUI map of Mainframe Express is provided, making it easy for you to use WinRunner 2000 with your Mainframe Express applications.
WinRunner 2000:
You can run WinRunner 2000 by selecting WinRunner 2000 and then WinRunner 2000 from the Mainframe Express Tools menu but before you can use the integrated WinRunner 2000 to perform any kind of testing on your application, you must create a Mainframe Express project:
The Calculator application is a Windows, rather than a Mainframe, application. You must ensure, therefore, that you have enabled debugging of non-mainframe applications:
To create a WinRunner 2000 test:

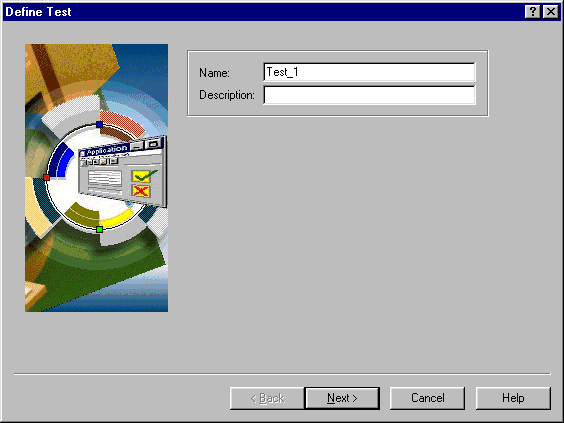
Figure 29-1: Define WinRunner 2000 Test

Figure 29-2: Create Application Start Parameters
Once you have created your WinRunner 2000 test and selected to record the script, WinRunner 2000 is started in record mode and the application associated with the test (in this case, Calculator) is started using the application start parameters that you have defined.
Note: If you do not define any application start parameters for a test, but choose to record a script, WinRunner 2000 is started in record mode, but no application is started.
WinRunner 2000 has recorded every keystroke that you have made. Your script should look very similar to this (the numbers may be different and the win_mouse_click and win_mouse_drag commands may vary):
# Micro Focus WinRunner 2000 Template
win_activate ("Calculator");
win_mouse_click ("Calculator", 109, 129);
win_mouse_click ("Calculator", 201, 204);
win_mouse_drag ("Calculator", 162, 164, 163, 165);
win_mouse_click ("Calculator", 239, 200);
win_close ("Calculator");
If, for any reason, your script contains additional keystrokes (for example, because you have been clicking on the online version of this Getting Started to check the instructions), edit the script so that it resembles that shown above and then save it.
The status of a test is displayed in the right-hand pane:
When you run a test, the WinRunner 2000 script is replayed. To run a test:
Notice that the status of the test is now shown as Pass. To analyze the test results:

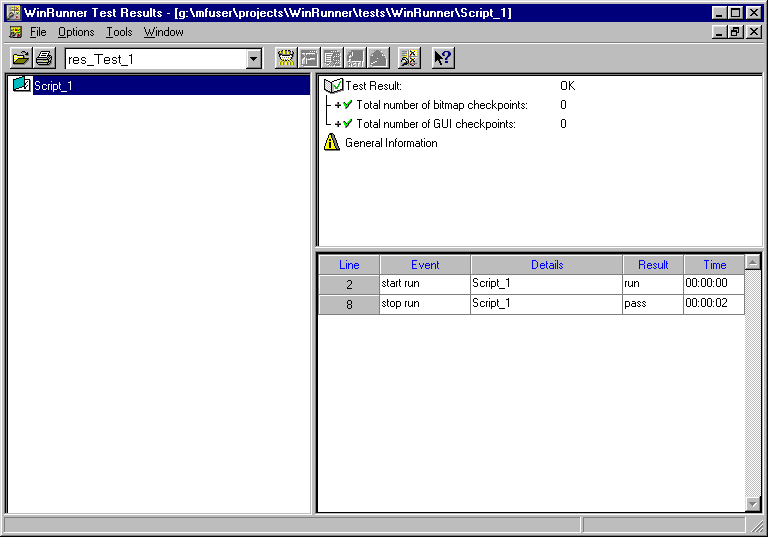
Figure 29-3: Analyzing the Results
The WinRunner Test Results screen documents the significant events that have occurred during a test run. Notice that the test result is shown as OK.
This tutorial has covered the basic features of the integrated WinRunner 2000 - creating a test, recording a script and playing it back. For more advanced WinRunner 2000 features, try the WinRunner 2000 Tutorial.
Close the project. If you want to take a break before going on to the next session, you can close Mainframe Express.
Return to the Tutorials Map in the chapter Start Here for the Tutorials and choose which session to go on to next, depending on your interests.
Copyright © 1999 MERANT International Limited. All rights reserved.
This document and the proprietary marks and names
used herein are protected by international law.
 | Year 2000 Testing | Testing Application Output |  |