5.15.1 Setting Up Google Applications
Google Applications are pre-configured to establish federation with external service providers.
-
Click > > > .
-
Click > .
-
Select from .
By default, the source is selected and the field is pre-filled with the metadata XML. Edit the location in the metadata text and replace YOURDOMAIN with the domain name configured in Google Applications.
-
In , specify a name by which you want to refer to the provider and click .
-
Review the metadata certificates and click .
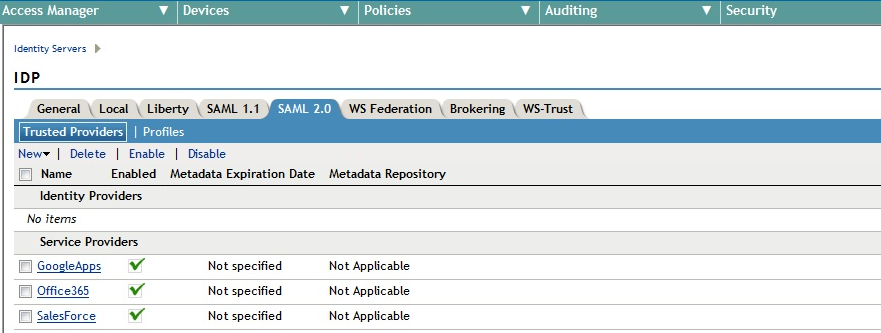
For Google Applications, the certificates page displayed is empty because the metadata does not contain information about the certificates. The system displays the trusted provider on the protocol page. For example, if you have specified the as , the page displays the trusted service provider when you click .
Figure 5-23 Trusted Service Provider for Google Application/Office 365/Sales Force
-
Click , then update Identity Server.
The wizard allows you to configure the required options and relies upon the default settings for the other federation options. For information about how to configure default settings and how to configure other options, see Modifying a Trusted Provider.
You can configure Access Manager to provide single sign-on to Google applications by using SAML 2.0. For more information, see Integrating Google Apps and Novell Access Manager using SAML 2.0.