5.5 Deploying Your Custom Rule Class
-
Create a jar file for your custom rule class and any associated classes.
-
Add the jar file to /opt/novell/nam/idp/webapps/rba-core/WEB-INF/lib by using Advanced File Configurator.
For information about how to add a file, see Adding Configurations to a Cluster in the NetIQ Access Manager 5.0 Administration Guide.
-
In Administration Console, click .
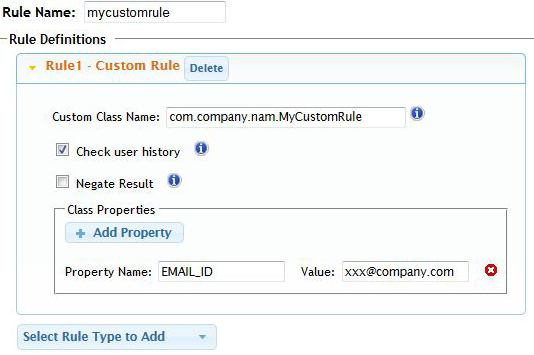
Specify a name that Administration Console can use to identity this custom rule
Select the 'custom rule' to configure the custom rule
-
Specify the following details:
Specify the name of your Java class
Select this option if you are using the user's history data in you custom class
Select this option to reverse the output of the rule condition
Specify parameters and values which will be sent to the custom class at runtime.
Name of the parameter.
Value of the parameter.
-
Click and specify the risk score for the rule.
Select the group name.
Specify the risk score for the custom rule.
Select if the custom rule is a privileged rule.
-
Click .
-
Restart Identity Server.
-
On the Identity Servers page, click .
-
Update any associated devices that are using this Identity Server configuration.