|
1.
|
|
3.
|
Click Yes (“Do you want to use the default schema?”).
|
|
4.
|
Click Ok (“Please note …”).
|
|
5.
|
Click Save (lower right-corner of Schema Editor tab).
|
|
1.
|
|
4.
|
|
1.
|
|
3.
|
|
4.
|
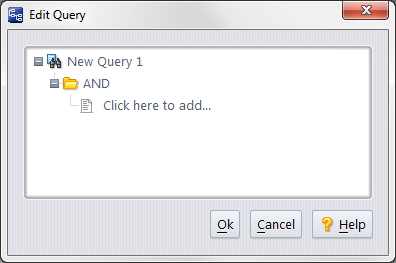
In the Edit Query dialog box, click Click here to add….
|
|
6.
|
Set the second choice box value to greater than or equal to.
|
|
7.
|
Enter the number 1 in the third query box.
|

|
8.
|
Click Ok.
|
|
9.
|
|
a.
|
|
b.
|
Click the right-arrow button (
|
|
d.
|
Click Ok.
|
|
11.
|
|
12.
|
|
1.
|
In the Query List pane, right-click the query you just created and select Set as Default from the context menu.
|
|
3.
|
|
1.
|
Select Admin > Schema Editor from the AccuRev main menu (or return to the existing Schema Editor tab).
|
|
3.
|
Go to the Change Packages tab.
|
|
4.
|
|
5.
|
Select some fields from the Available list (Example: issueNum, shortDescription), and click the right-arrow button (
|
|
6.
|
Click Ok.
|
|
7.
|
|
8.
|
|
9.
|
|
10.
|
|
12.
|
Click Ok.
|
|
13.
|
Click Save (lower right-corner of Schema Editor tab).
|
|
18.
|
|
19.
|
|
20.
|
Go to the Changes tab.
|
The files that you promoted are listed on this tab. The specific versions that you promoted are listed in the Version column.
|
1.
|
Select Admin > Schema Editor from the AccuRev main menu (or return to the existing Schema Editor tab)
|
|
3.
|
In the Change Packages tab, locate the condition/query pair you created in the Change Package Triggers section and select it.
|
|
4.
|
|
5.
|
Click Save (lower right-corner of Schema Editor tab).
|