By default, the ability to perform workflow administration operations (creating and deleting, renaming, associating with streams, and so on) is limited to the AccuRev users in your Admin group if you are using the server_admin_trig trigger to enforce AccuRev security. To restrict access to workflow operations in this case, simply ensure that the AccuRev users who will be responsible for implementing workflow are members of this group.
For more information on the server_admin_trig trigger, see the AccuRev Triggers topic in the AccuRev® Administrator’s Guide. To learn more about other ways to implement security in AccuRev, see the AccuRev Security Overview topic, which is also in the AccuRev® Administrator’s Guide.
You can create one or more workflows for a depot. Note that a workflow is not activated until you define conditions for it. See Activating a Workflow: Defining Workflow Conditions on page 135 for more information.
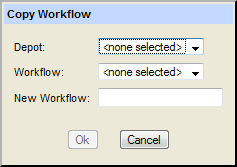
Tip: You can also create a workflow by copying an existing workflow and specifying a unique set of conditions for it. See Copying a Workflow on page 136 for more information.
|
1.
|
|
2.
|
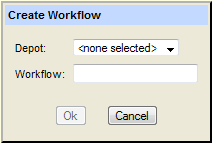
In the Depot field select the depot for which you want to create a workflow.
|
|
3.
|
In the Workflow field, enter a name for the workflow. Workflow names are not case-sensitive.
|
|
4.
|
Click Ok.
|
If you want to specify workflow conditions now, see Activating a Workflow: Defining Workflow Conditions on page 135. To specify them another time, click Cancel.
The workflow is empty by default. To get started defining your workflow, see Creating and Managing Workflow Stages on page 138.
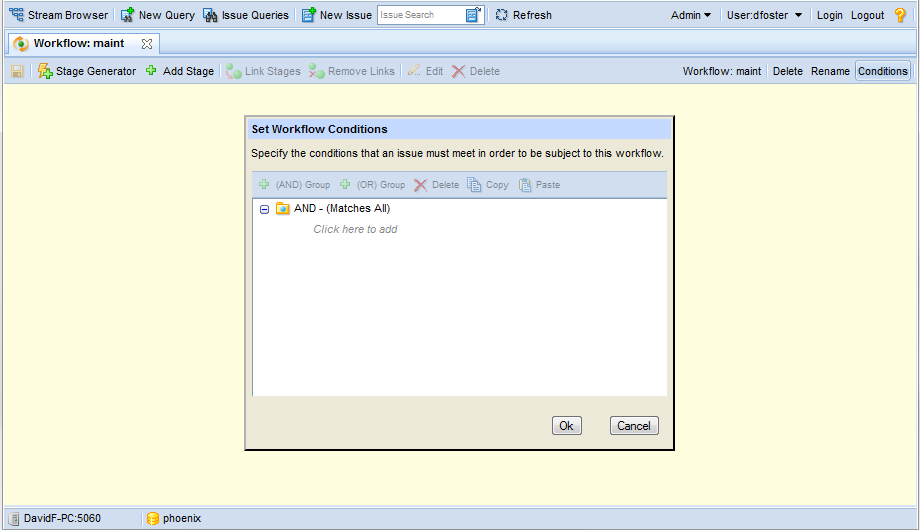
In order for AccuRev to use a workflow for issue process automation and SCM policy enforcement, you must activate the workflow. You activate a workflow by defining one or more conditions that identify the issues are subject to it. For example, you might decide to create a workflow to manage issues that are defects. In this case, you would define the condition for the workflow as Type = Defect. Thereafter, any issue in the depot whose Type field has a value of Defect is subject to the rules defined in that workflow.
Note: The conditions you specify for a workflow must be unique for all workflows within a depot.
You define workflow conditions using the Set Workflow Conditions dialog box, as shown in Step 4 in Creating a Workflow on page 134. Workflow conditions can be defined using any simple or compound clauses you need, including nested AND and OR statements.
The Set Workflow Conditions dialog box has the same features and uses the same mechanics as the AccuRev Web UI Query Builder. See Working with the Query Builder on page 64 for more information.
You can display the Set Workflow Conditions dialog box for any open workflow by clicking the Conditions button on the Workflow Editor toolbar.
|
1.
|
|
2.
|
In the Depot field, select the depot whose workflow you want to copy.
|
|
3.
|
In the Workflow field, select the workflow you want to copy.
|
|
4.
|
In the New Workflow field, enter a name for the new workflow.
|
|
5.
|
Click Ok.
|
|
6.
|
Click Ok.
|
|
8.
|
Important: The conditions for this workflow must be unique. See Activating a Workflow: Defining Workflow Conditions on page 135 for more information.
|
|
9.
|
Make any changes needed to the new workflow. See Creating and Managing Workflow Stages on page 138 and Creating and Managing Workflow Transitions on page 146 if you need help with this step.
|
Tip: You must open a workflow if you want to rename it or delete it.
|
1.
|

|
2.
|
To open a workflow for a different depot, first change the depot in the Depot field, then select the workflow and click Ok.
|
1.
|
Open the workflow you want to rename. See Opening a Workflow on page 137 if you need help with this step.
|
|
2.
|
Click the Rename button on the Workflow Editor toolbar.
|

|
3.
|
You can delete a workflow only if it is open in the Workflow Editor. Deleting a workflow that is currently associated with a stream removes any workflow rules set on that stream. See Using Workflow to Enforce SCM Policies on page 161 to learn more about setting workflow rules for a stream.
|
1.
|
Open the workflow you want to delete. See Opening a Workflow on page 137 if you need help with this step.
|
|
2.
|
Click the Delete button on the Workflow Editor toolbar.
|
|
3.
|