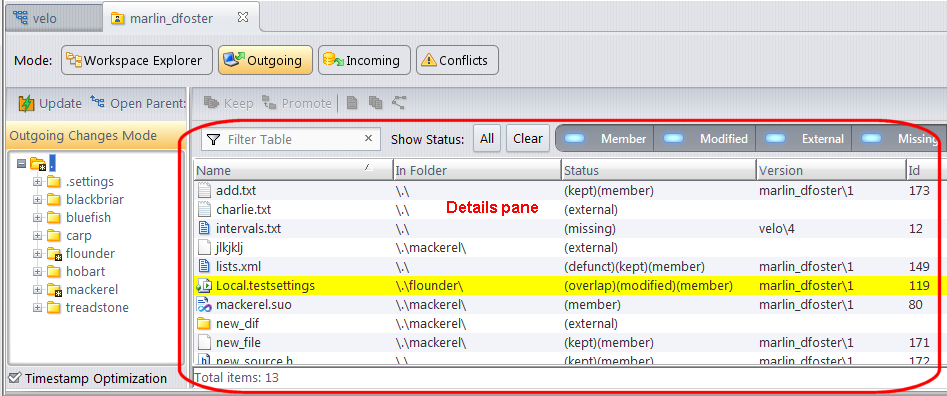

To clear the filter, click the X button in the Filter Results field.
Tip: The results of the Filter Table field are temporary -- AccuRev lets you filter tables independently, from view to view. If you prefer, you can prevent AccuRev from displaying files based on an ignore patterns that you specify. You might want to exclude from view all backup and temporary files, for example. See Controlling the Display of External Objects for more information.
|
•
|
To add or subtract a file from an existing selection, hold down the Ctrl key and click that file with mouse button 1.
|
|
•
|
To extend an existing selection to a particular file, hold down the Shift key and click that file with mouse button 1.
|

|
1.
|
Right-click the column heading and choose Format Columns.
|

|
3.
|
Click Ok.
|
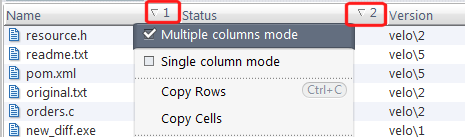
Initially, the rows of a table are sorted on one column (single-column mode). A direction icon in the header for that column indicates whether the sort is lowest-to-highest or highest-to-lowest.

You can switch at any time to multiple-columns mode, in which you define a primary sort column, a secondary sort column, and so on. Right-click any column header to switch sort modes.
|
•
|
The keyboard's navigation keys -- up-arrow, down-arrow, PgUp, PgDn, Ctrl-PgUp, Ctrl-PgDn --move a table's selection highlight in the expected way. In addition, you can navigate by typing any alphanumeric character; this moves the selection highlight to the next row whose entry in the (primary) sort column begins with that character.
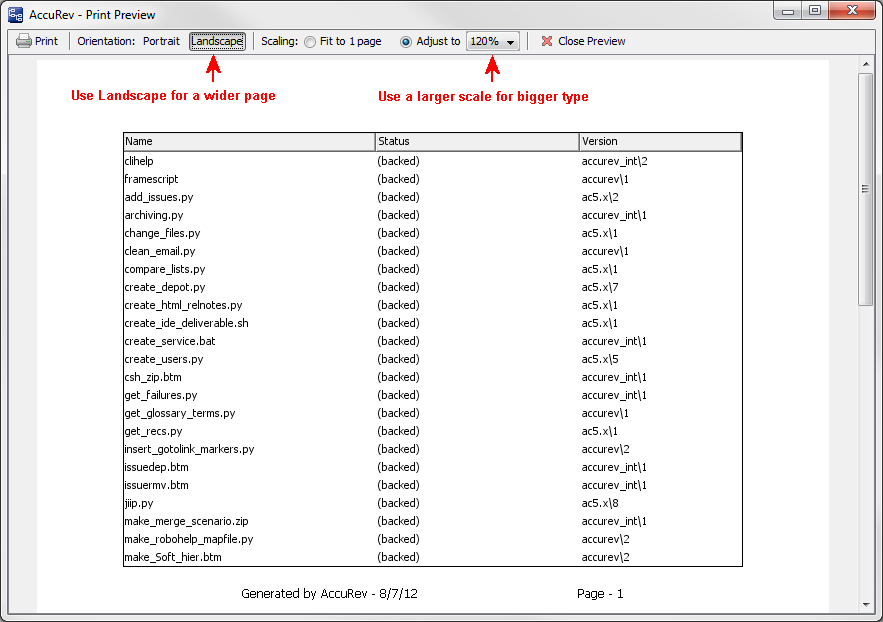
You can print tables in views throughout the AccuRev GUI by choosing File > Print from the AccuRev menu or by typing Ctrl+P. You cannot print tables that appear in dialog boxes.
|
Tip: Try changing the orientation to Landscape to fit more columns on a single page.
|
|
|
Tip: Use a larger scale for bigger type.
|
|
2.
|
|
3.
|
Optionally, use the preview settings to adjust the output. See Previewing What You Print if you need help with this step.
|
Tip: If using the preview settings does not provide the output you expect, click the Close Preview button and make adjustments on the source table (resizing or adding/dropping columns, for example).
|
4.
|
|
5.
|
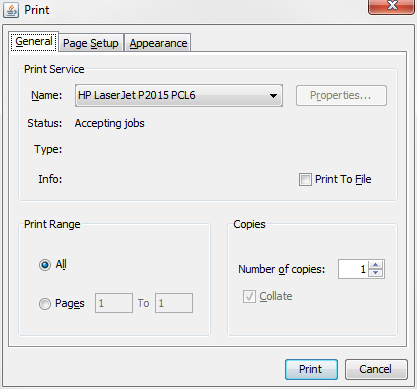
Change any print job settings as needed and click Print to print the table.
|