Setting Up the NetApp Capacity Pool
- In the Azure NetApp Files tab, browse to your NetApp account.
- In Storage Services, select Capacity Pools.
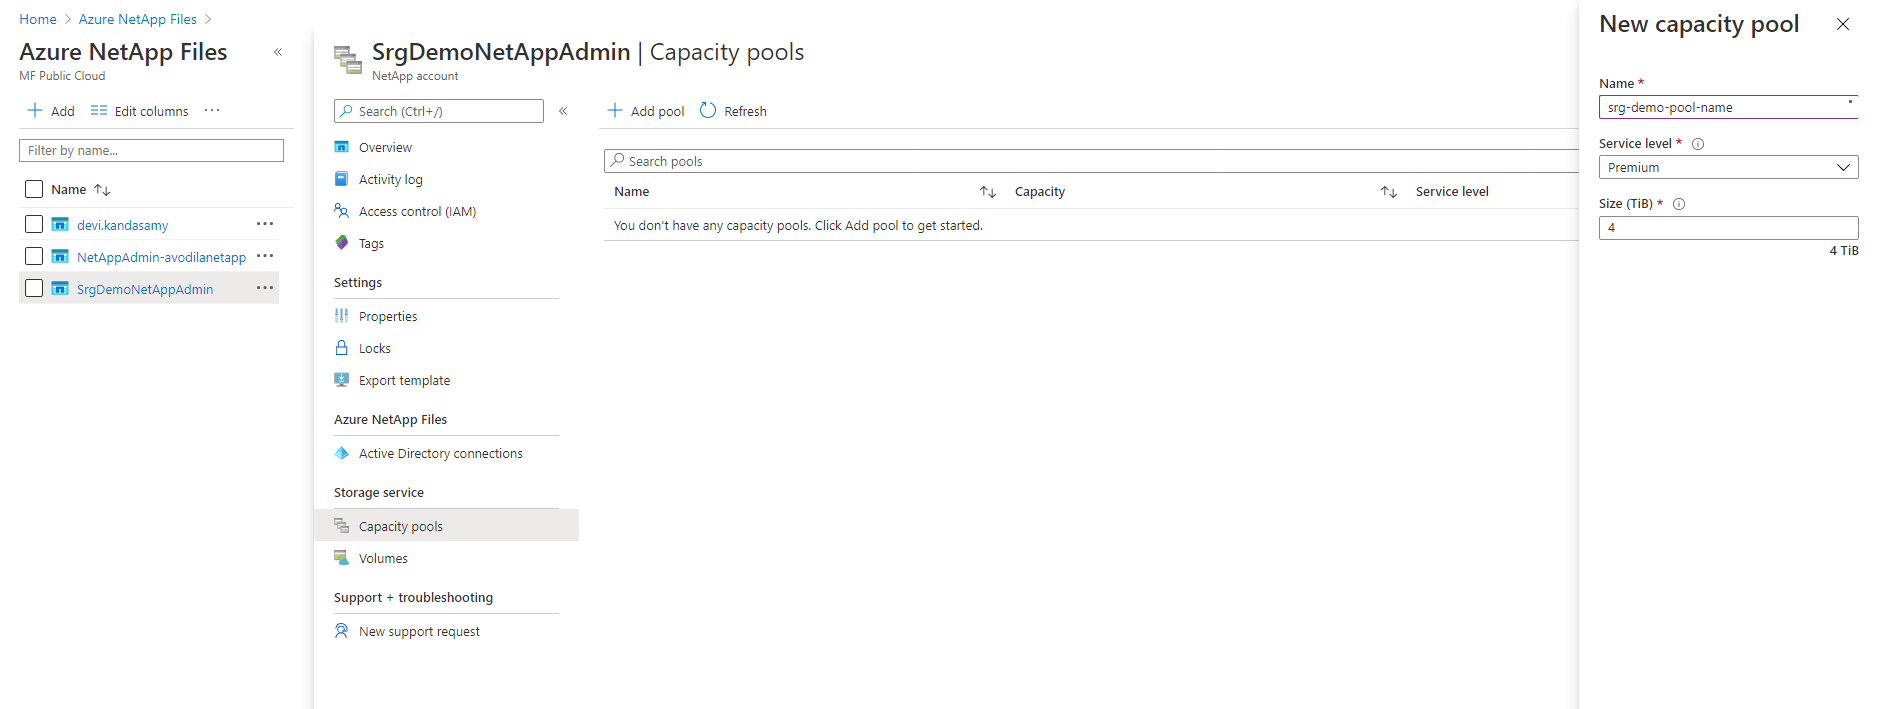
- Click + and specify values for the following:
- Name: specify a name for the pool.
- Service Level: select a service level.
- Pool Size: specify 4 (TB) for the pool size. (This is a service minimum.)
- Set your main resource group name to an environment variable:
RESOURCE_GROUP=<your resource group name>
For example:RESOURCE_GROUP=srg-demo
- Run the command:
az netappfiles pool create -g $RESOURCE_GROUP --account-name <ACCOUNT_NAME> --name <POOL_NAME> -l <LOCATION> --size 4 --service-level premium
Where:
<POOL_NAME> is your new pool name
<ACCOUNT_NAME> is the NetApp account name specified in previous step
For example:az netappfiles pool create -g $RESOURCE_GROUP --account-name SrgDemoNetAppAdmin --name srg-demo-pool-name -l westeurope --size 4 --service-level premium
Next Step: Creating and Preparing the Volume