(Conditional) If NetApp will be used as an NFS Server
You can use Azure's NetApp service as an NFS server. You must first have registered your subscription to use the NetApp Resource provider. See Register for NetApp Resource Provider before you proceed. Contact your Azure admin for help with the process if necessary.
This section has these parts:
Creating the NetApp Account
- Create a resource of type Azure NetApp Files.
- Choose a name and your subscription for the resource.
- For Resource group, select your Kubernetes resource group where you have your virtual network and subnet for NFS.
- For Location, select your resource group as in Step 3.
- Click Create and wait for account creation.
- Set your main resource group name to an environment variable:
RESOURCE_GROUP=<your resource group name>
For example:RESOURCE_GROUP=srg-demo
- Create the NetApp account by running the following command:
az netappfiles account create -g $RESOURCE_GROUP --name <ACCOUNT_NAME> -l <LOCATION>
For example:#
az netappfiles account create -g $RESOURCE_GROUP --name SrgDemoNetAppAdmin -l westeurope
Where:
<ACCOUNT NAME> is your NetApp account name.
<LOCATION> is the same as for AKS
Setting Up the NetApp Capacity Pool
- In the Azure NetApp Files tab, browse to your NetApp account.
- In Storage Services, select Capacity Pools.
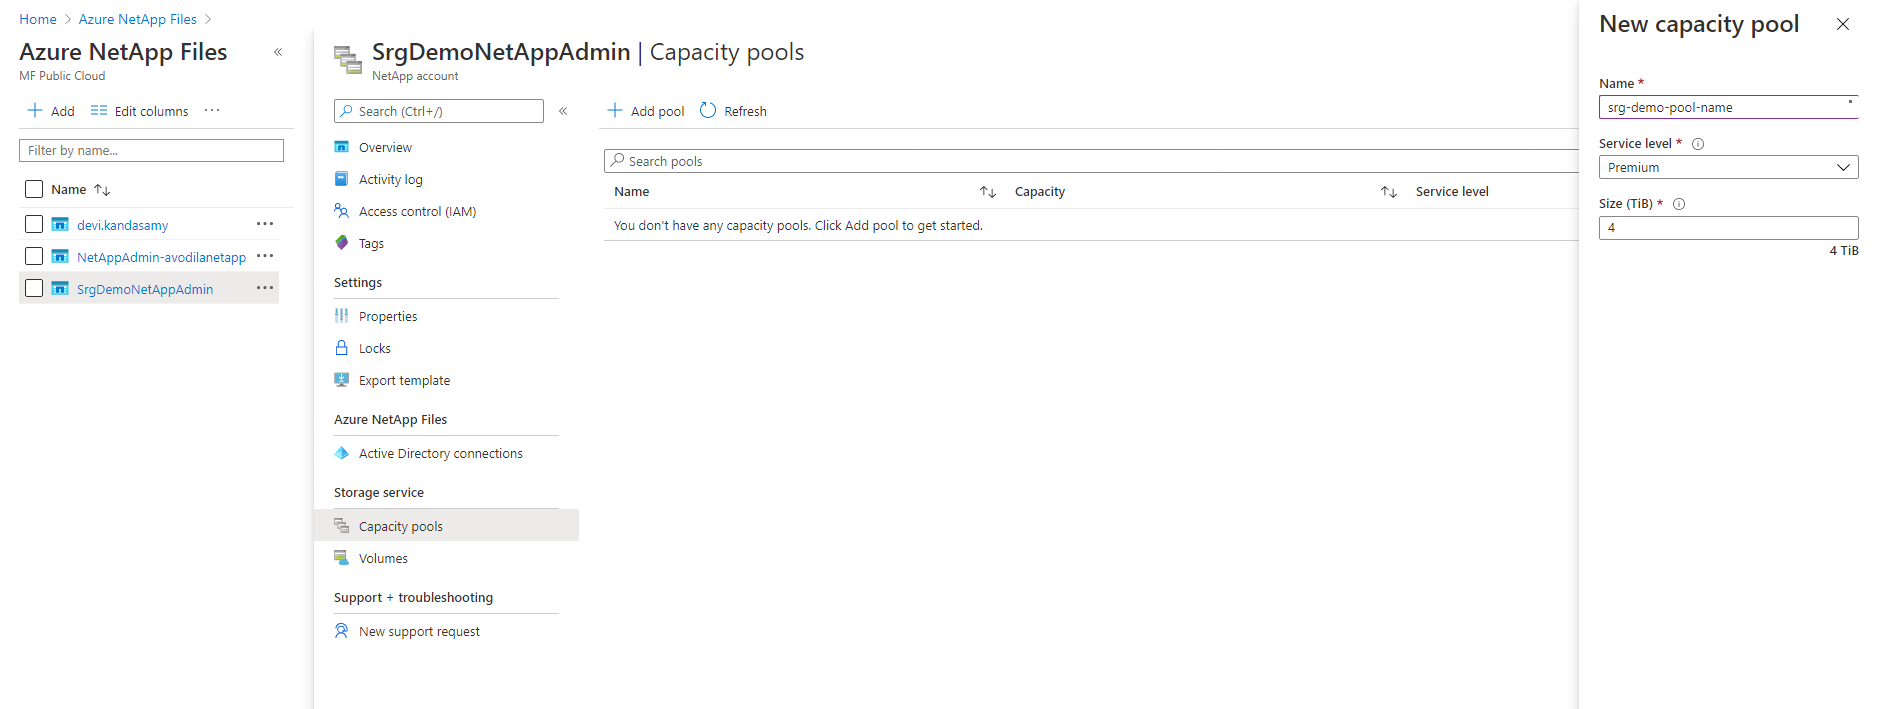
- Click + and specify values for the following:
- Name: Specify a name for the pool.
- Service Level: Select a service level.
- Pool Size: Specify 4 (TB) for the pool size. (This is a service minimum.)
- Set your main resource group name to an environment variable:
RESOURCE_GROUP=<your resource group name>
For example:RESOURCE_GROUP=srg-demo
- Run the command:
az netappfiles pool create -g $RESOURCE_GROUP --account-name <ACCOUNT_NAME> --name <POOL_NAME> -l <LOCATION> --size 4 --service-level premium
Where:
<POOL_NAME> is your new pool name
<ACCOUNT_NAME> is the NetApp account name specified in previous step
For example:az netappfiles pool create -g $RESOURCE_GROUP --account-name SrgDemoNetAppAdmin --name srg-demo-pool-name -l westeurope --size 4 --service-level premium
Creating and Preparing the Volume
- In your NetApp account resource, browse to Storage service.
- Select Volumes.
- Press + Add volume.
- Specify a name for the volume
- Ensure that your volume is in the same virtual network as
aks-virtual-networkandnfs-subnet. - For Subnet, select nfs-subnet.
Microsoft.NetApp/volumes.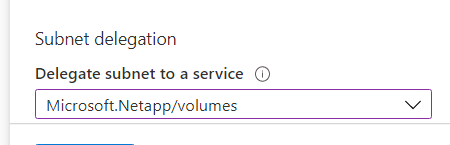
- Click Next:Protocol
- Ensure that the Protocol type is NFS.
- Make sure Version is NFSv4.1
- In Export policy section , select the check box for 0.0.0.0/0 Read & Write.
- Specify the file path that will be used to create the export path for the volume
- Click Review + Create at the bottom of the page. If you are satisfied with your settings, click Create.
- Set your main resource group name to an environment variable:
RESOURCE GROUP=<your resource group name>
For example:
RESOURCE GROUP=srg-demo
- Run the command:
az netappfiles volume create -g $RESOURCE_GROUP --account-name <ACCOUNT_NAME> --pool-name <POOL_NAME> --name <VOLUME_ROOT> -l <LOCATION> --service-level premium --usage-threshold <VOLUME_SIZE> --file-path <FILE_PATH> --vnet <VIRTUAL_NETWORK> --subnet <NFS_SUBNET_NAME> --protocol-types NFSv4.1 --rule-index <INDEX> --allowed-clients <CLIENT_LIST>
Where:
-
<INDEX>- integer number of nfs creation rule
-
<ACCOUNT_NAME>is your netApp account name. -
<POOL_NAME>is the capacity pool created on the previous step. -
<VOLUME_ROOT>is your volume root name. -
<LOCATION>is location of your NetApp. -
<VOLUME_SIZE>size for NFS volume in GB. -
<FILE_PATH>is the path to your volumes. -
<VIRTUAL_NETWORK>the virtual network to which your subnets belong. -
<NFS_SUBNET_NAME>is your subnet for NFS. -
<CLIENT_LIST>is specified as comma-separated value (CSV) string with IPv4 CIDRs, IPv4 host addresses, and host names to access the NFS share. Make sure to include either the range of subnets or separate IPs/hostnames, including the jumphost.
For example:az netappfiles volume create -g $RESOURCE_GROUP --account-name SrgDemoNetAppAdmin --pool-name srg-demo-pool-name --name volumename -l westeurope --service-level premium --usage-threshold 100 --file-path "nfs" --vnet demo-vnet --subnet nfs-subnet --protocol-types NFSv4.1 --allowed-clients 20.120.3.0/24 --rule-index 1
Configuring and Create the Volumes
- Find your
<mount_path_ip>and<mount_path_file_name>by navigating to your volume page. They were confirmed in the previous step after successful creation of the prepared volume. Note both of these parameters for later use.

- Log in to the jump host.
- If not already present, install the NFS client by sudo:
# yum install nfs-utils if not present - Get and unzip the file
cdf-deployer.zip - In the
scriptsfolder, run the following command:sudo ./createFileStore.sh <mount_path_ip> <mount_path_file_name>
Example:sudo ./createFileStore.sh "10.1.2.4" "/nfs"
Next Step: Preparing the Jump Host Virtual Machine