Creating A New Deployment Project
This procedure creates a new deployment project which can be published / deployed into Azure.
- Open the
Enterprise Server for .NET Administration tool.
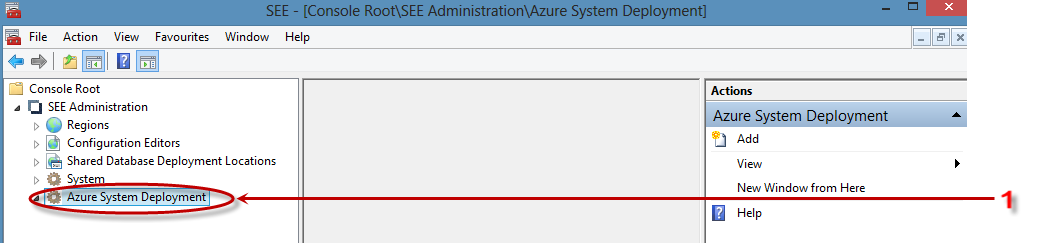
- Right-click the Azure Deployment node (1) and select
Add.
A wizard will guide you through the basic deployment configuration.
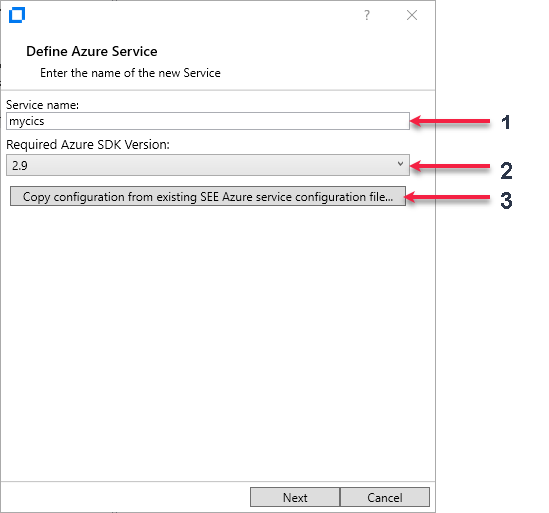
- Enter the service name and Azure SDK version you want to give this deployment (see 1 and 2 above).
When the project is deployed, the service will be created if it is not present.
If you want to copy a configuration from a previously defined deployment, click Copy Configuration (see 2 above).
- The configuration files and generated files that are produced by this process are stored in the %public%\Documents\Micro Focus\Enterprise Developer\Azure folder. In the example above, the configuration file mycics.config is created in the %public%\Documents\Micro Focus\Enterprise Developer\Azure\ folder. The generated contents of a deployment will be stored in a folder below that, called public%\Documents\Micro Focus\Enterprise Developer\Azure\mycics.
- Click
Next to continue.
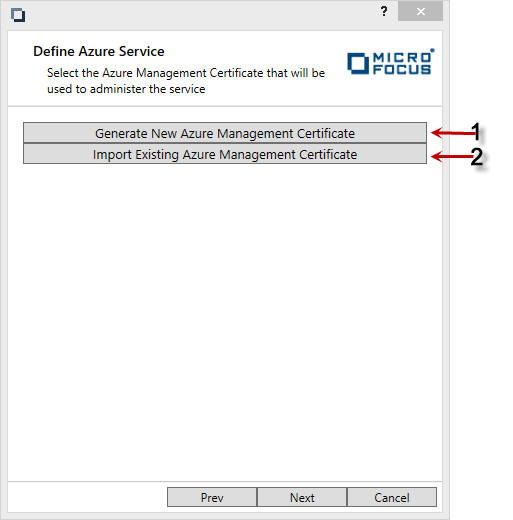
The next panel configures the management certificate.
- Click
Generate (1 above).
A browser window will open, which will take you to the azure portal to generate and download the certificate.
Once you have downloaded a certificate, import it by clicking Import (2 above) and navigating to the stored certificate and selecting it. Once imported, you will be presented with the following panel:
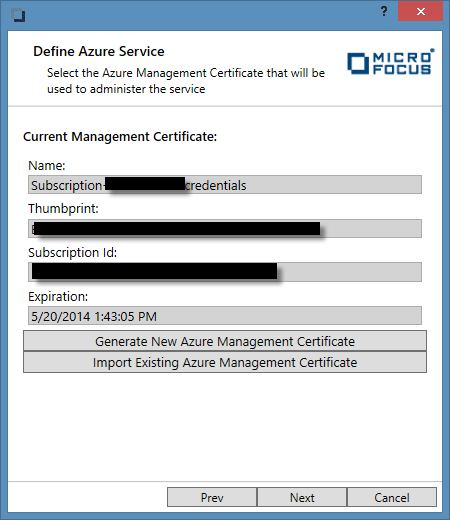
- Click
Next to continue.
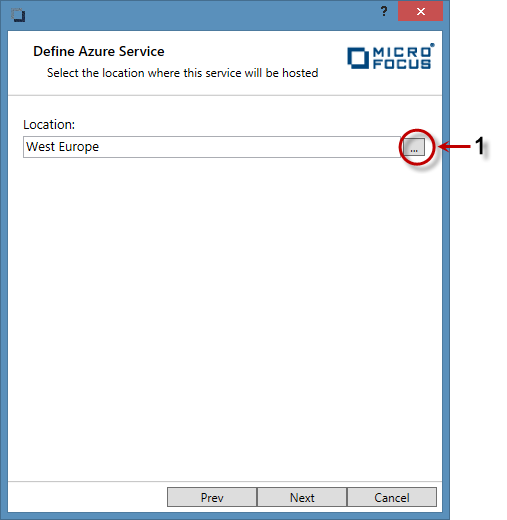
- Select the location in which you want the service deployment to reside. If you click the ellipsis (1 above) you will be presented
with the available regions for your deployment.
It makes good sense to deploy to the same location as your database. If you choose a different location, a great deal of lag could be introduced into the system.
- Click
Next to continue.
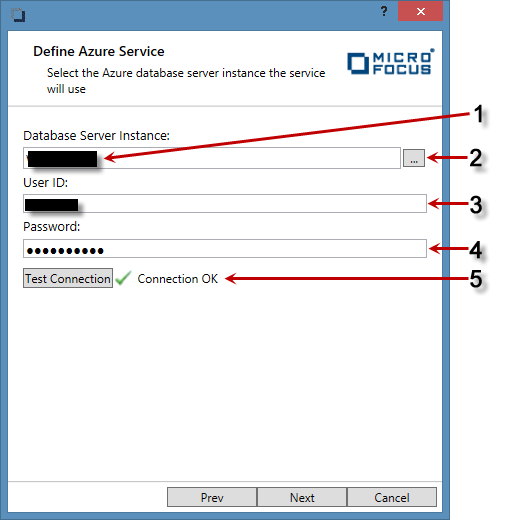
- Enter the database instance ID of the SQL server you want to use for the deployment (1 above). This ID is the ID as provided by the SQL Azure setup process, e.g. wzi3vhmgv1. You can also click the ellipsis (2 above) to get a list of database servers associated with the subscription. If you have not created a database server to use, you must do so, as it is a prerequisite.
- Enter the user ID associated with the SQL server (3 above). This would have been set up during the database server creation.
- Enter the password associated with the SQL server (4 above).
If you are using an SQL Azure server, and it exists, you can test the connection by clicking Test Connection (5 above).
- Click
Next to continue.
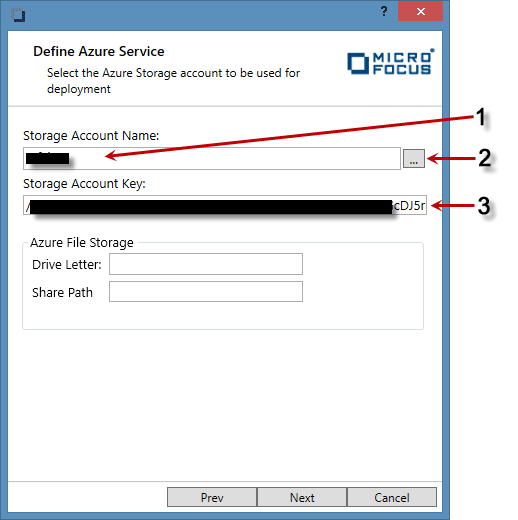
The system uses Azure storage accounts to store the deployment package and diagnostic data, as well as information stored on Azure storage drives. The storage accounts do not have to belong to the subscription used for the deployment.
- Enter the Storage Account Name to be used for deployment and Azure drive storage (1 above).You can click the ellipsis (2 above) to get a list of storage accounts associated with the subscription.
- Enter the Storage Account Key associated with storage account. If you selected the storage account using the ellipsis button,
this is populated automatically.
- Click
Next to continue.
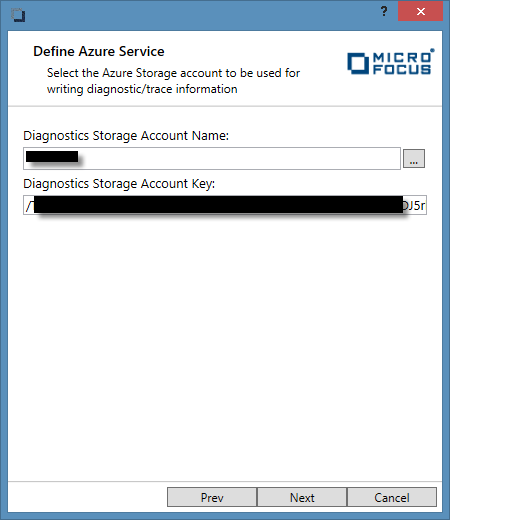
This storage account is used to store the diagnostic information emitted by the system, CTF traces and windows event log.
The Storage account defaults to the same details as on the previous panel, but can be changed if you need the information to be kept separate for some reason.
- Amend as required and click
Next to continue.
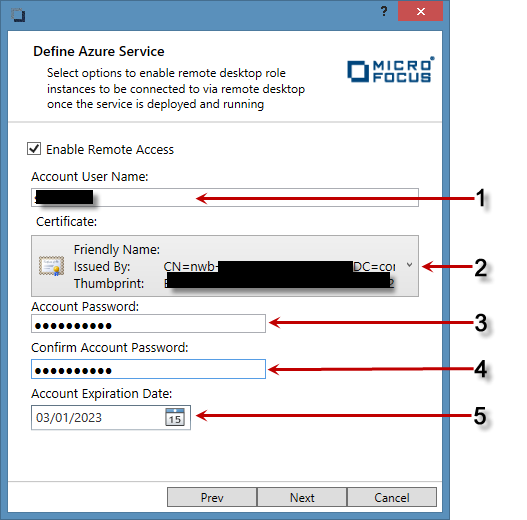
- If you want to access the Virtual machines hosting the worker roles in Azure using remote desktop, for example to check deployment, enable the checkbox.
- Enter the account user name (1 above).
- Select the certificate to use to secure the connection to the remote desktop (2 above).
- Enter a password to use to secure the connection (3 above), and confirm it (4 above).
- Choose an account expiration date. By default this is set far in the future.
- Click
Next to continue.
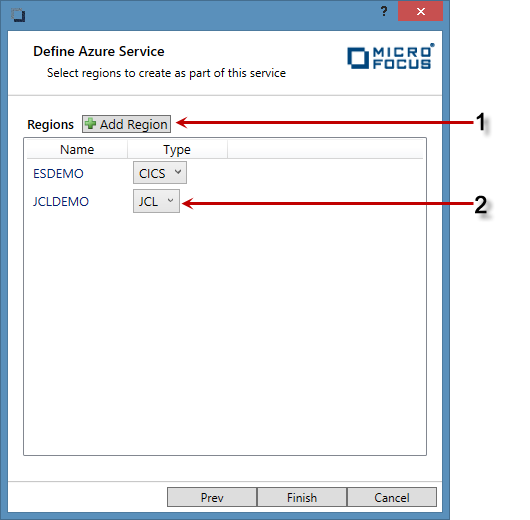
On this panel you can insert a region that will be associated with the deployment.
By default, the wizard will insert two demo regions for you, designed to work with the demonstration regions definitions shipped with the product. You can delete these using the administration tool if you want, once the wizard is complete.
- Click
Add Region (1 above) to add a new region.
A new row will be inserted.
- Enter the Region Name and select the Region Type from the dropdown (2 above).
The wizard is now at a point where it can complete.
- Click Finish to commit the new deployment configuration.