Agents
File System Agents perform copying, moving, grooming, and vaulting. Phoenix Agents conduct scans and enforcement forTarget-Driven Security Policies and Workload Policies. All Agents tasks are done through directives from the Engine. File Dynamics determines which Agent to use based on the task, as well as the target destination of the data or via proxy configuration.
For optimum performance, File System Agents should be installed on all servers with storage managed by File Dynamics. Agents run as a service on Windows.
The Agent page lets you:
- Authorize an Agent
- Verify that Agents are authorized
- View Agents software versions installed
- View Agent statistics
- Remove an Agent
- Configure a Proxy Agent
The Agent page also indicates:
- Whether the Agent is capable of being utilized in an eDirectory-to-Active Directory Cross-Empire Data Migration
- Whether the Agent is functioning as a Proxy Agent and for which server and share
Procedures for authorizing an Agent are located in Authorizing the Agents in the File Dynamics 24.1 Installation Guide.
Deleting an Agent
Within the Admin Client, you can delete a deauthorized Agent. Only deauthorized Agents can be deleted. If you want to remove an Agent, you must deauthorize it first.
If an Agent is deauthorized and it hasn't successfully sent a heartbeat within 7 days, it will automatically be removed
Configuring Proxy Agents
For storage resources that do not or cannot host an Agent, for example a NAS (Network Attached Storage) device, File Dynamics can utilize an Agent running on another server to perform the copying, moving, grooming, and vaulting on the server or NAS device. In this type of scenario, the Agent is serving as a “Proxy Agent.” Both File System Agents and Phoenix Agents can serve as Proxy Agents.
A Proxy Agent can also be set up to reduce the workload on the Engine. For example, a Proxy Agent can be configured for a server on one side of a WAN environment to move data from one server to another on the same side of the WAN link. This keeps the data from crossing the WAN link only to cross back again.
To configure a proxy agent:
- In the Admin Client, click the Engine tab.
- Click Agents.
- From the Configure Proxies drop-down menu, select the Agent type you will be configuring.
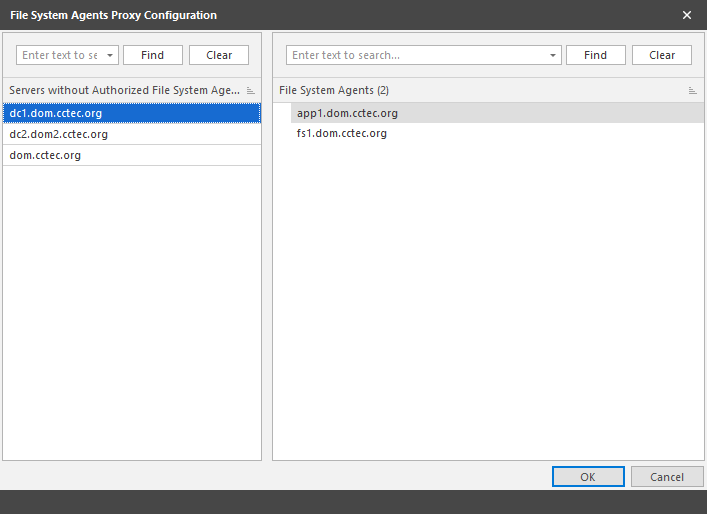
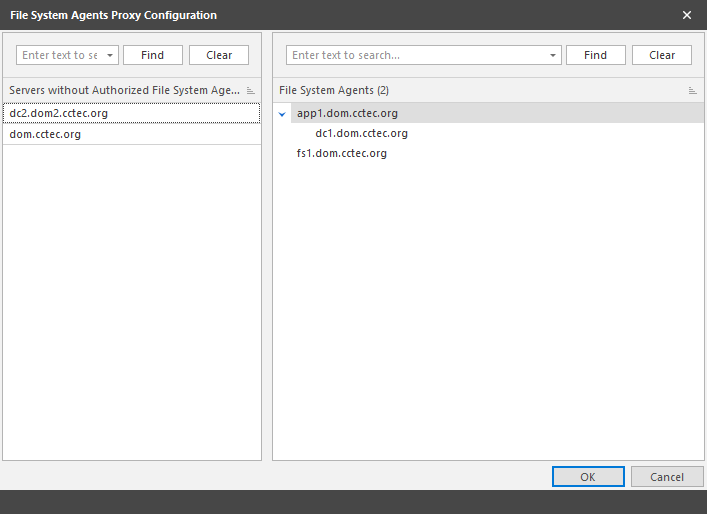
- From the left pane, select and drag a listed server to one on the right pane that you want to serve as a Proxy Agent.

- Click OK to save the Proxy Agent assignments.
- Click OK to save and close the proxy setting association.

The left pane displays all servers without an authorized Agent. The right displays servers hosting Agents, and consequently, can serve as Proxy Agents