Configuring the Database
- Click Configure Database in the Configuration Utility.

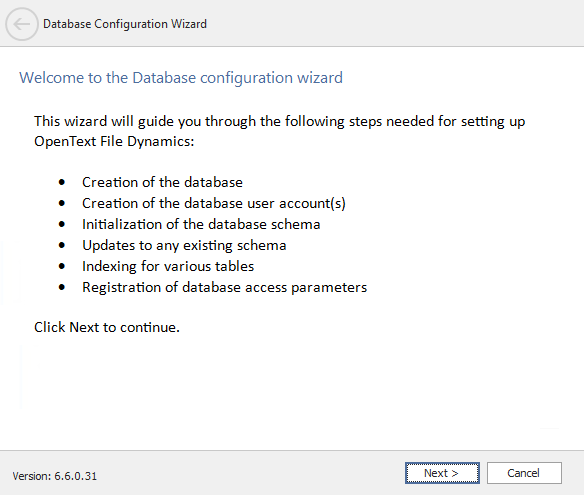
- From the dialog that opens, review what will be configured, then click Next to start the configuration wizard.

- From this page, you establish the following settings necessary for the Engine to communicate with the database.
- Type: Displays the supported database.
- Database Host Address: Specify the address of the server hosting the installed database.
- Port: The default SQL Server port setting is 1433, which you can change if there is a port conflict.
- Initial Database: The default name of the File Dynamics CEDM database.
- Database Account Name: The database account is cedmadmin by default, but you can change it in this field.
- Password: Specify a password for the service account to connect to the database.
- Verify Password: Enter the password again in this field.
- Use Windows Authentication: Check this box to disable the Database Administrator and Password fields and configure the database using the authentication credentials of a Windows network administrator, rather than the credentials of a SQL Server database administrator.
- Database Administrator: Enter the SQL Server administrator name.
- Password: Enter the SQL Server administrator password.
- Complete the fields, then click Next.
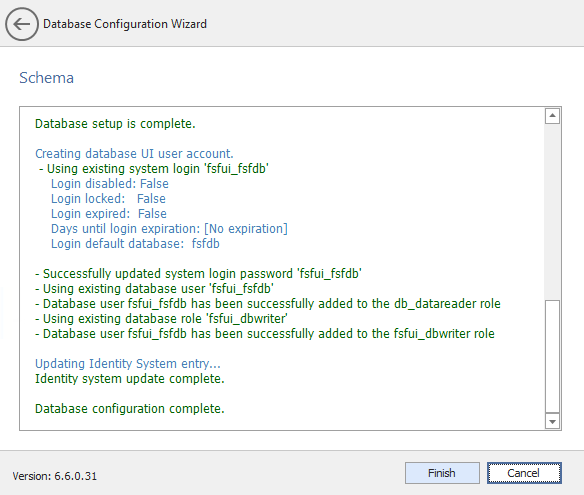
- Review the configuration log, then click Finish.
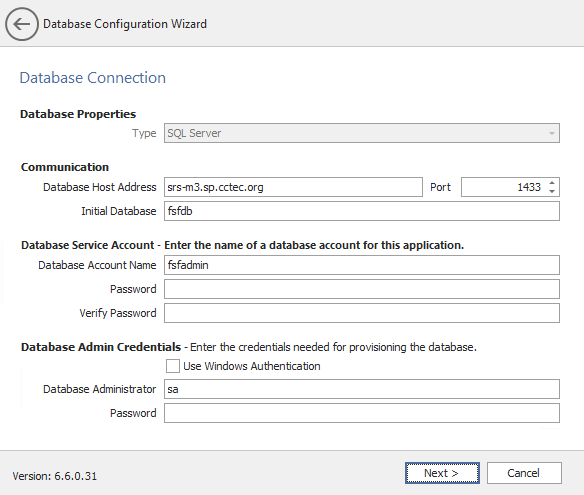
Database Properties: Displays information on the database.
Communication: Specifies the address, port number, and name of the database.
Database Service Account: Set the authentication information for the database service account, which the Engine uses to sign in to the database.
Database Admin Credentials: Establish the database administrator name and credentials.
