Editing a Security Fencing Policy and Resetting the Baseline
There might be times when you need to adjust the permissions assignments for a target path whose access permissions are managed through a Security Fencing policy.
- In the Admin Client, click the Target-Driven tab.
- Click Policies.
- From the list of policies, double-click the Security Fencing policy you want to edit.
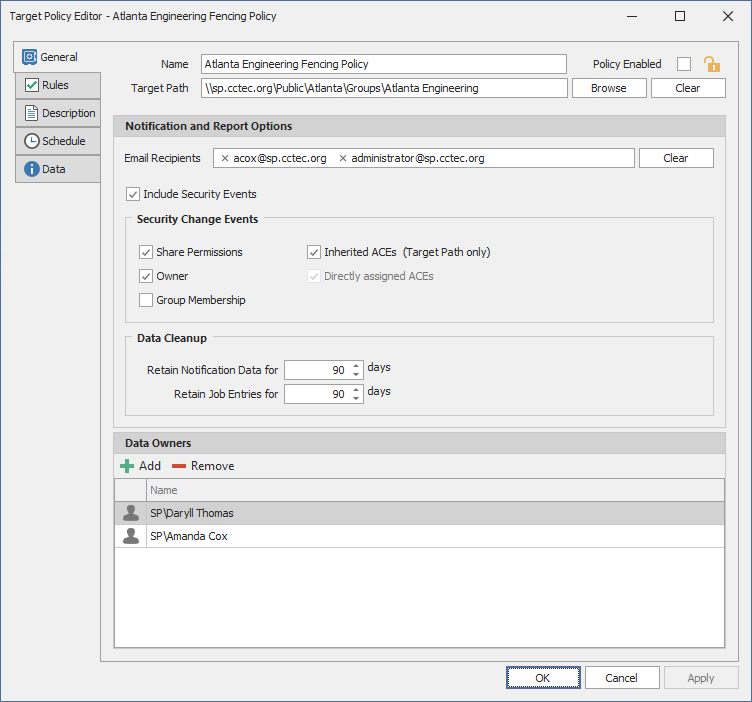
- Deselect the Policy Enabled check box.
- Click OK.
In the policy list, note the new warning icon indicating that the policy you are editing is now disabled. - In the network file system, make any needed security changes.
- From the list of policies, double-click the Security Fencing policy you disabled previously.
- Click the Rules tab.
- Preserve the security changes made in the network file system by making any needed updates in the Included Identities and Excluded Identities lists.
- Click the General tab.
- Select the Policy Enabled check box.
- Click OK.
- From the Execute drop-down menu, select Reset Baseline.
- From the Execute drop-down menu, select Security Scan.
This creates the new baseline.