Creating an Epoch Data Protection Policy
With the CouchDB database now configured to communicate with the Admin Client, you are ready to create Epoch Data Protection policies.
When upgrading from File Dynamics 6.x you will need to re-provision the database to update the CouchDB schema before your File Dynamics 6.x notification policies can be updated. After the schema has been updated, each legacy Security Notify policy will need to be updated with the new required information for the new options.
- In the Admin Client, click the Target Driven tab.
- Click Policies.
- Select New > Epoch Policy.

- In the Name field, give the Epoch Data Protection policy a descriptive name.
For example, Sales Records and Projections. - Click the Browse button that pertains to the Target Path field.
- In the File System Path Browser, specify a target path in the file system from where you will be archiving files for this policy.
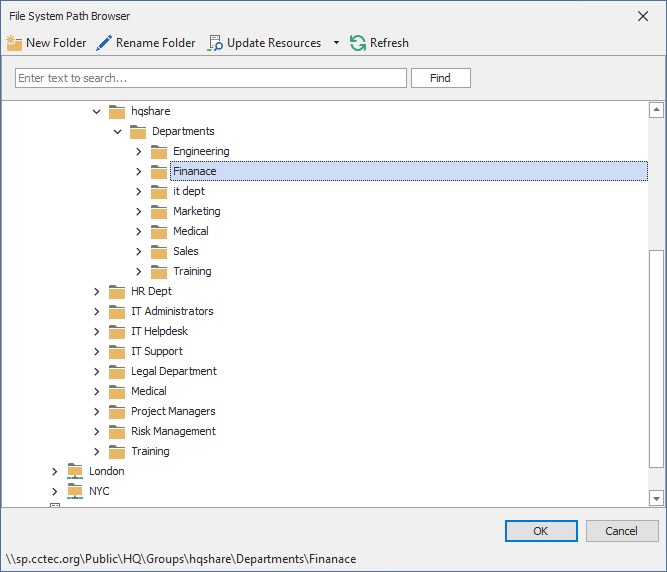
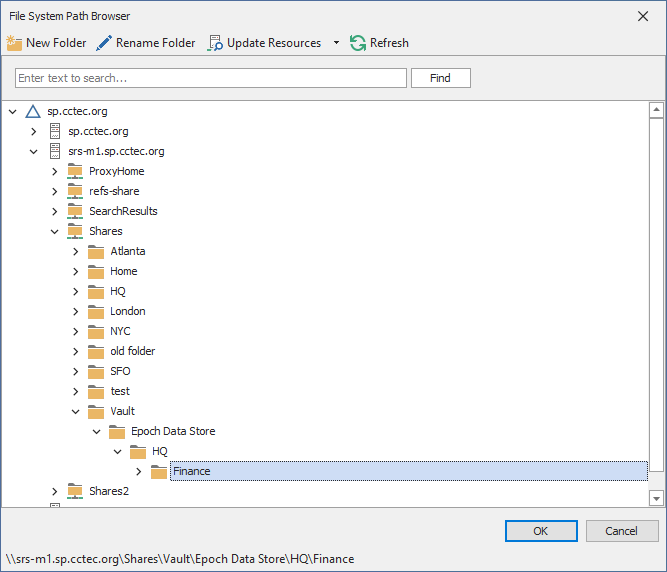
- Click the Browse button that pertains to the Store Path field.
- In the File System Path Browser, specify the nearline storage location in the file system where archived files from the target are to be stored for this policy.
- In the Retain Epochs for field, specify the number of days that an Epoch will be saved before it is purged.
- In the Retain Job Entries for field, specify the number of days that a job will be listed on the Target Policy Jobs page before it is removed.
- In the Recovery Options region, specify where the Data Owner will be allowed to place recovered files for this policy.
- Click Add.
- In the Directory Services Browser, locate and select users or groups that will be Data Owners for this policy.
- Click the Description tab and in the Description field, specify any information you want to include pertaining to this policy.
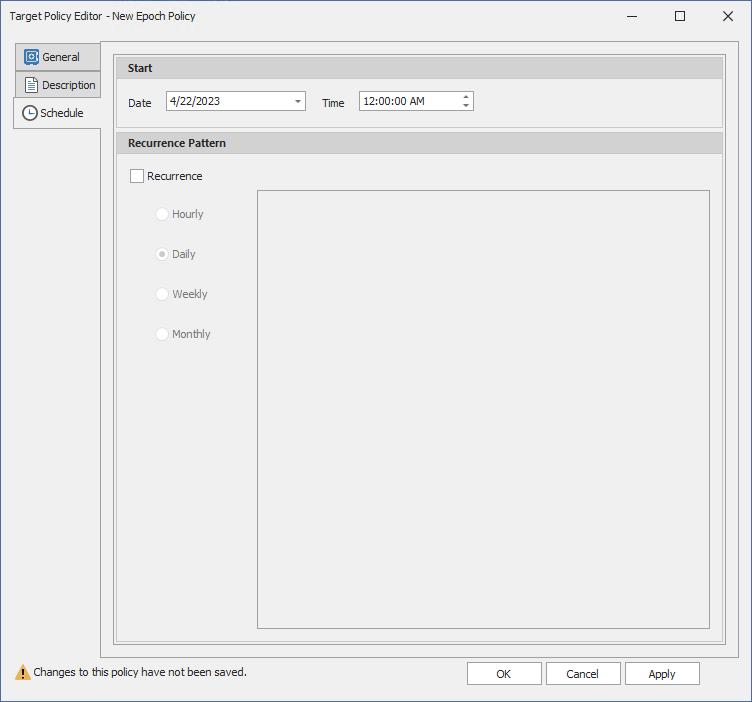
- Click Schedule.

- In the Date field, specify the date you want the policy to be initially invoked.
- In the Time field, specify the time you want the policy to be initially invoked.
- In the Recurrence Pattern region, select one of the options.
- Click Apply to save the schedule.
- Click OK.
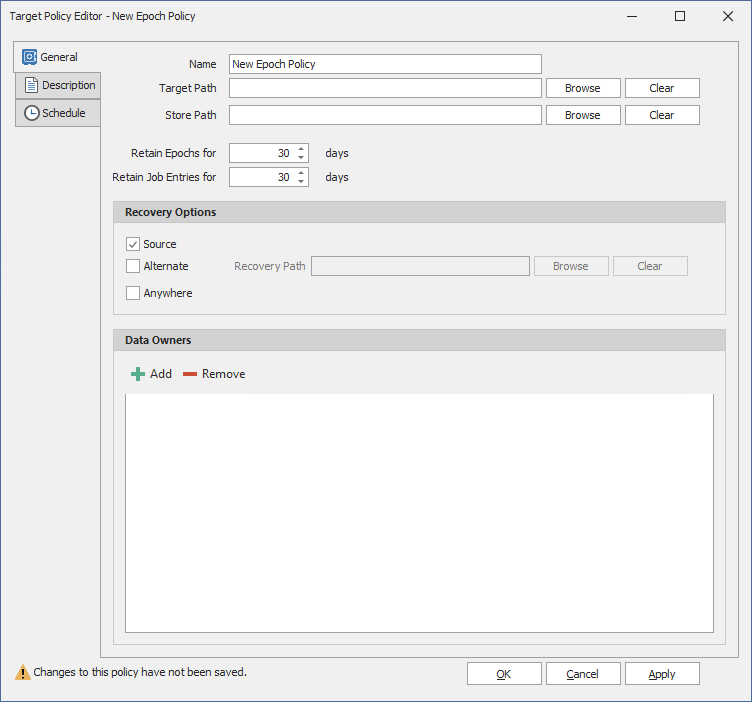


Source: Selected by default, this specifies that recovered files will be placed back in the location where the files are or were originally.
Alternate: This lets you specify an alternate location for placing recovered files. Once you check the Alternate check box, a text box and associated Browse button appear so that you can enter or browse to the alternate path.
Anywhere: This lets you place recovered files anywhere that the user of the Data Owner Client can browse to.
Recovery Path: If the Anywhere check box is deselected, you can use the Browse button to specify a recovery path in this field.