Configuring the Data Owner Web Service
When installing File Dynamics the Data Owner web service is installed as part of the Engine package.
The following section provides procedures for configuring the Data Owner web service.
-
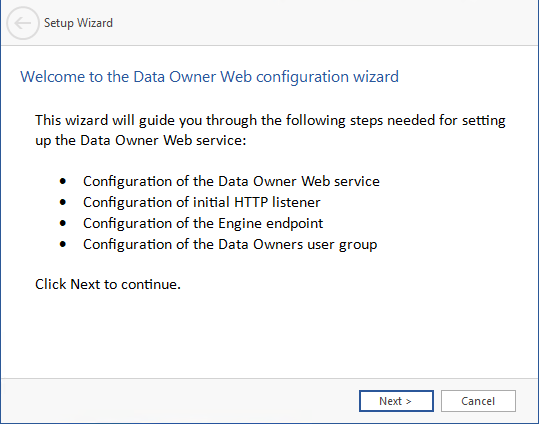
Launch the configuration utility from the Windows start menu: Start > File Dynamics > File Dynamics Data Owner Web Config.
-
Click Next.
-
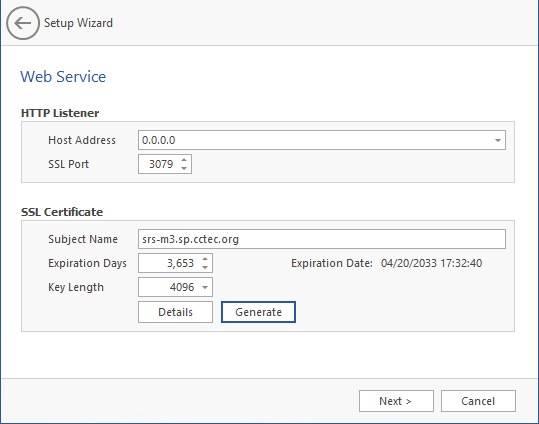
Set any needed parameters for the HTTP Listener.
Host Address: Select an IP address the service will use. To listen on all available IP addresses, select the default 0.0.0.0 entry.
SSL Port: Use the default port 3079 or enter a different one for the web service.
-
Use the default self-signed certificate or click Generate after updating the fields:
Subject Name: DNS name used when accessing the service.
Expiration Days: number of days the certificate will be valid
Key Length: specifies the key length for the encryption key


NOTE: While a default self-signed certificate is created, we strongly recommend using a proper certificate issued by a trusted Certificate Authority.
See Replacing the Self-Signed Certificate for details on performing this task.
-
Click Next.

-
Enter the parameters for communicating with the Engine service.
Address: Enter the DNS name or IP address where the Engine service is listening. If the Data Owner web service is on the same server, localhost may be used here.
Port: Enter the port the Engine service listens on. By default this is 3009.
-
Click Next.

-
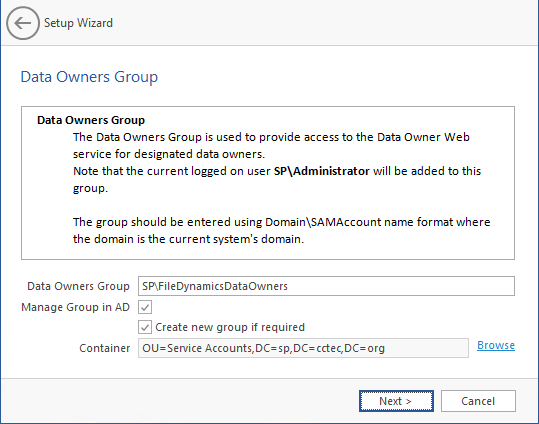
Specify the Data Owners group that provides basic access to the web service. Designated Data Owners must be a member of this group in order to use the Data Owner web service.
Data Owners Group: Enter the name of the group to use or create in Domain\Account name format.
Manage Group in AD: select this to update an existing group or create a new one. If this is selected, the current user will be added as a member to the group.
Create new group if required: select this to create the group if it does not already exist.
Container: click Browse to navigate and select the container in Active Directory where a new group if created will be placed.
-
Click Next.

-
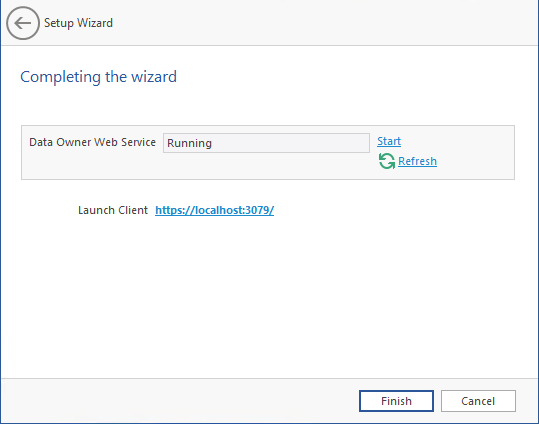
The Data Owner web service should now start.
Click Start if the web service is not yet started.
-
(Optional) Click the Launch Client URL to open a brower and access the Data Owner web interface.
-
Click Finish to complete the configuration.