RabbitMQ Configuration
RabbitMQ is an open-source message broker that enables messaging between File Reporter components that are needed for file content scanning or for reporting on Microsoft 365 cloud applications including OneDrive, SharePoint Online, and Teams. Components include ManagerFC and AgentFC for content scanning and reporting and Agent365 for Microsoft 365 cloud reporting. If you will not be performing file content scanning or reporting on Microsoft 365 cloud applications, you do not need to install RabbitMQ.
RabbitMQ can be installed using any of the supported distributions found here: https://www.rabbitmq.com/download.html.
To assist with the introduction of RabbitMQ into the File Reporter framework, a simplified, supported distribution for Windows has been included with this release. This distribution is meant solely for use in basic scenarios where clustering, containerization, or automated upgrades are not required. The installation steps in this chapter pertain solely to this included distribution. For other RabbitMQ distributions or installers, please follow the accompanying documentation included with them.
Upgrading a Previous Installation
If you installed RabbitMQ previously, you are encouraged to upgrade to the updated version that is provided. Before doing so, you should do the following:
-
Verify all scans are completed or canceled.
-
Uninstall the service.
-
Stop the RabbitMQ service.
The console command is
sc stop rabbitmq. -
Within the existing RabbitMQ folder, run
remove-rabbitmq-service.bat
-
-
Delete the existing RabbitMQ folder.
-
Follow the installation steps in the remainder of this chapter to install and set up the new version.
Extracting RabbitMQ
-
Install the Visual C++ Redistributable Packages for Visual Studio 2022.
The Erlang runtime for RabbitMQ requires a recent version of the Visual C++ Redistributable Package for Visual Studio 2022. This is a common dependency for many applications, so it may already be present on the machine where RabbitMQ is to be installed.
If this package is not currently installed, it may be found at: https://docs.microsoft.com/en-us/cpp/windows/latest-supported-vc-redist?view=msvc-170 or in the RabbitMQ folder of the
FileReporter-24.1.isoimage namedvc-redist-vs2022-x64-*.exe. -
In the RabbitMQ folder of the
FileReporter-24.1.isoimage, unzip theRabbitMQ-3.12.x.zipfile to your desired path.IMPORTANT: The path cannot contain spaces. The zip file contains the
rabbitmqfolder, so extracting to the root ofC:\, for example, would produce an install location ofC:\rabbitmq.
Creating Certificates for RabbitMQ
Certificates are needed to enable TLS for secure messaging between RabbitMQ, ManagerFC, AgentFC, and the Web Application.
-
In the RabbitMQ folder of the
FileReporter-24.1.isoimage, double-clickCertificateGenerator.exe.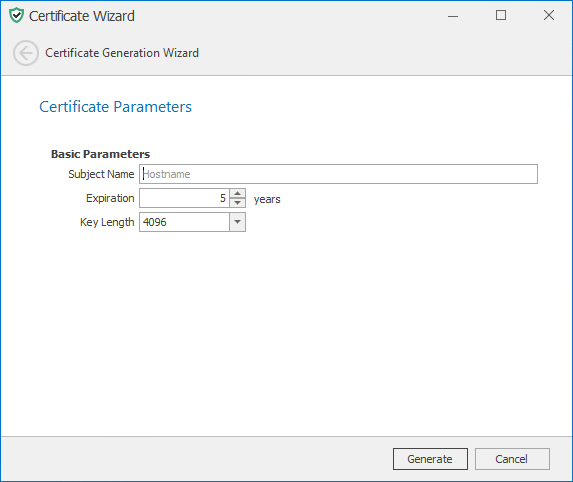
-
In the Subject Name field, enter the DNS name for the RabbitMQ service host or endpoint.
-
(Optional) Modify the settings in the other fields.
-
Click Generate.

-
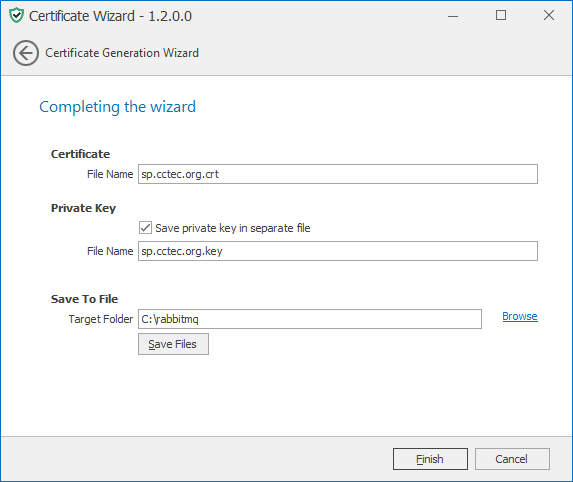
For the Certificate section in the File Name field, enter the desired name of the certificate file to export.
-
(Optional) For the Private Key section, check Save private key in a separate file then enter a value for File Name for the private key file to export.
-
For the Save to File section, browse to or enter a path for Target Folder where the certificate and key file(s) will be exported.
IMPORTANT: The path should not contain spaces. As a general recommendation, export the certificate files to the root of the extracted RabbitMQ folder.
-
Click the Save Files button to export the files.
-
Click Finish.
-
From the location where the files were generated, copy them to a folder on the RabbitMQ system.
For example, copy them to the RabbitMQ folder that was created when you extracted the
RabbitMQ-3.9.xx.zipfile. -
Edit the
rabbitmq.conffile located in therabbitmq\basefolder where RabbitMQ was extracted (if using the provided archive). -
Modify the entries for
ssl_options.*Note that paths are absolute and use forward slashes.
Uncomment the following lines:
ssl_options.cacertfilessl_options certfilessl_options.keyfilenum_acceptors.ssllisteners.ssl.default
-
Modify the entries for
management.*interface.Optionally comment the following lines:
management.tcp.ipmanagement.tcp.port
Uncomment the following lines:
management.ssl.portmanagement.ssl.cacertfilemanagement.ssl.certfilemanagement.ssl.keyfilemanagement.ssl.versions.1management.ssl.versions.2
-
Specify the certificate and private key.
-
In the TLS Options section, modify the paths for
ssl_options.cacertfileandssl_options.certfilewith the path to the certificate you created in Creating Certificates for RabbitMQ. -
While still in the TLS Options section, modify the path for
ssl_options.keyfilewith the path of the private key. -
In the Management Interface / REST API section, modify the paths for
management.ssl.cacertfileandmanagement.ssl.certfilewith the path to the certificate.Note that paths are absolute and use forward slashes.
-
While still in the Management Interface / REST API section, modify the path for
management.ssl.keyfilewith the path of the private key.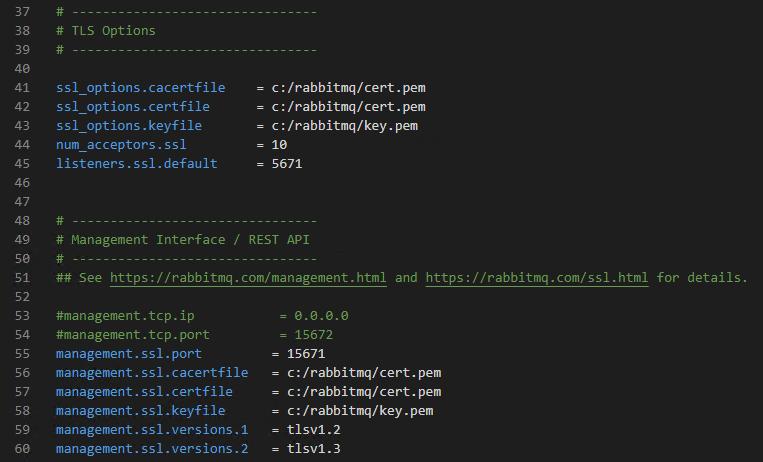
-
-
Save any modifications you have made to the configuration file, then close the editor.


Installing the RabbitMQ Service
-
From the extracted RabbitMQ files, double-click the
rabbitmqfolder. -
Double-click the
install-rabbitmq-service.batfile.The RabbitMQ service is now installed.
NOTE: The error message
The handle is invalidis normal during an installation and can be ignored. -
From a web browser, access the management interface for RabbitMQ by typing: https://dns_name:15671
This port may need to be opened in the firewall.
Changing the Administrator Password
As a best practice, you should change the default administrator password for RabbitMQ before performing any administrative work.
-
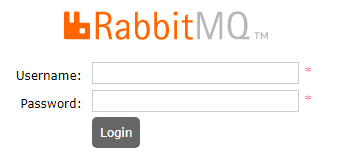
From a Web browser access the RabbitMQ management interface by typing: https://server:15671 where server is the address or DNS name of the server where RabbitMQ is installed.
-
In the Username field, enter
admin, in the Password field, entersrsadmin, then click Login.
-
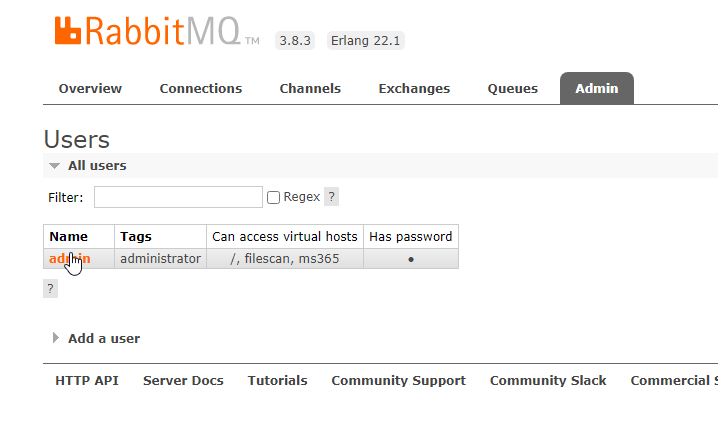
Click the Admin tab.
-
Under the Name column, click admin.

-
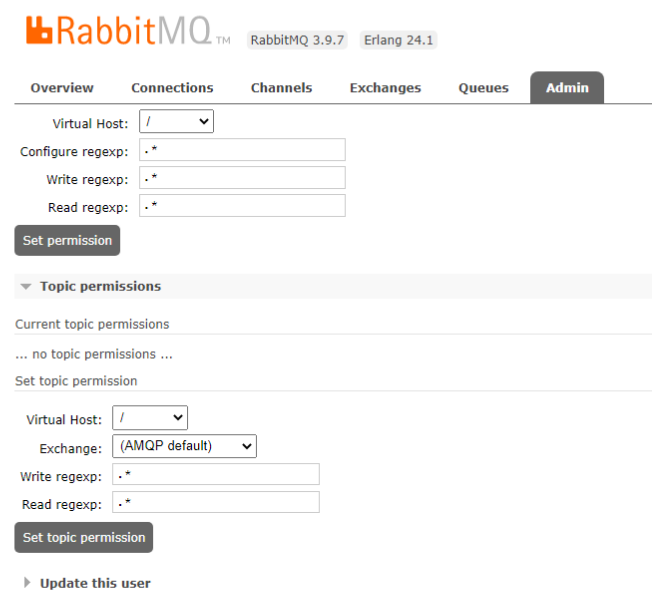
On the new page, scroll down and select Update this user.

-
Enter and confirm the new password and click Update user.