Built-in Reports
File Reporter enables you to generate reports applicable to your Microsoft network, including Built-in Reports and Custom Query reports.
Overview
After scanning your storage resources, File Reporter has the content necessary to generate reports. The type of report you can generate depends on the type of scan you conducted (e.g., to create an Assigned NTFS Permissions report, you must first conduct a Permissions scan on a Windows share).
Every report is created by first creating report definitions, which specify the report name, type, target path to the scans, and more.
IMPORTANT: The report definition name must be unique. If you try to give the report definition an existing name, File Reporter generates an error.
File Reporter has built-in aggregate reporting capabilities, meaning you can specify multiple target paths in the same report. Additionally, File Reporter has built-in scoping, which allows you to browse through the file path or Active Directory, and specify the level where you want to start reporting data. Finally, Boolean filtering is available for all file data reports. See Built-in Report Filtering for more information.
Once the report definition is created and saved, you can generate the report immediately or schedule it to be generated.
You can generate reports in either Preview or Stored report mode. Preview mode lets you view the report and save it locally if desired. Stored report mode saves the report to the server hosting the Engine, where it remains for a set number of days.
You can generate detailed reports from certain built-in report types (e.g., a File Extension report can generate a detailed report that includes the specific details of all *.mov files).
All Built-in Reports include a cover sheet that you can customize to include your organization’s logo.
Built-in Report Types
File Reporter has five different built-in report type classifications:
-
Directory Data
-
Permissions
-
File Data
-
Historic Comparison
-
Trending
Each classification includes one or more report types (e.g., the Permissions category can generate three different reports).
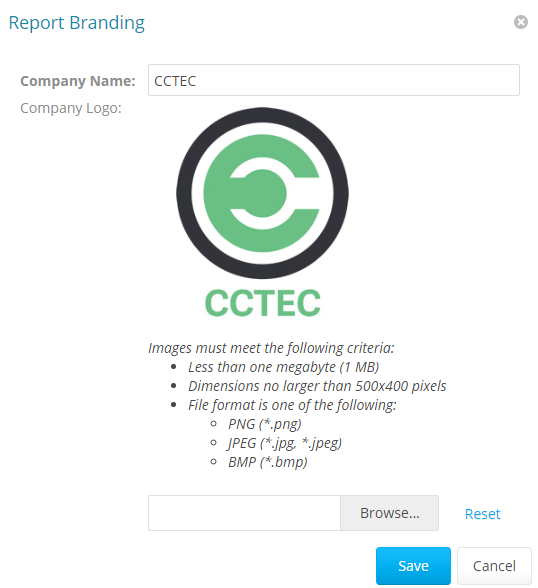
Branding and Style
Cover Sheet Logo
All generated Built-in Reports include a cover sheet with a default graphic, which you can replace with your organization’s logo.
-
Select Report Definitions in the Reports menu.
-
Select Report Branding in the Report Branding and Styling menu.

-
Enter the name of your organization in the Company Name field. This is the name that appears on the front cover of the report.
-
Click Browse to locate the new logo file that will replace the default logo.

-
Click Save.
Report Data Font
Due to the limitations of font encoding in PDF files, you may need to specify an alternate report data font. This is likeliest in locations with multi-byte characters or characters outside the Latin-1 set of characters supported by the default font.
If you know the collected data is limited to a specific locale or language, choose a font that properly displays all characters for that locale or language.
If the collected data may contain characters that span multiple locales, or that include both multi-byte and Latin-1 characters, for example, then choose an appropriate Unicode Font that can accurately display most characters from the Unicode set and not just for a specific locale.
Two Unicode fonts known for having good character coverage and glyph presentation are MS Arial Unicode (a sans-serif font) and CODE2000 (a serif font) — see http://en.wikipedia.org/wiki/Unicode_font for more information on these fonts and on Unicode fonts in general.
NOTE: You can change the data font to any font that is available on the server hosting the Web Application.
Headers and parameters in the reports remain in Arial font by default. To change the report data font:
-
Select Report Definitions in the Reports menu.
-
Select Report Data Font in the Report Branding and Styling menu.
-
Select the font you want to use for the report from the Report Data Font Name drop-down menu.
-
Click Save.