Stored Reports
Generating Stored Reports
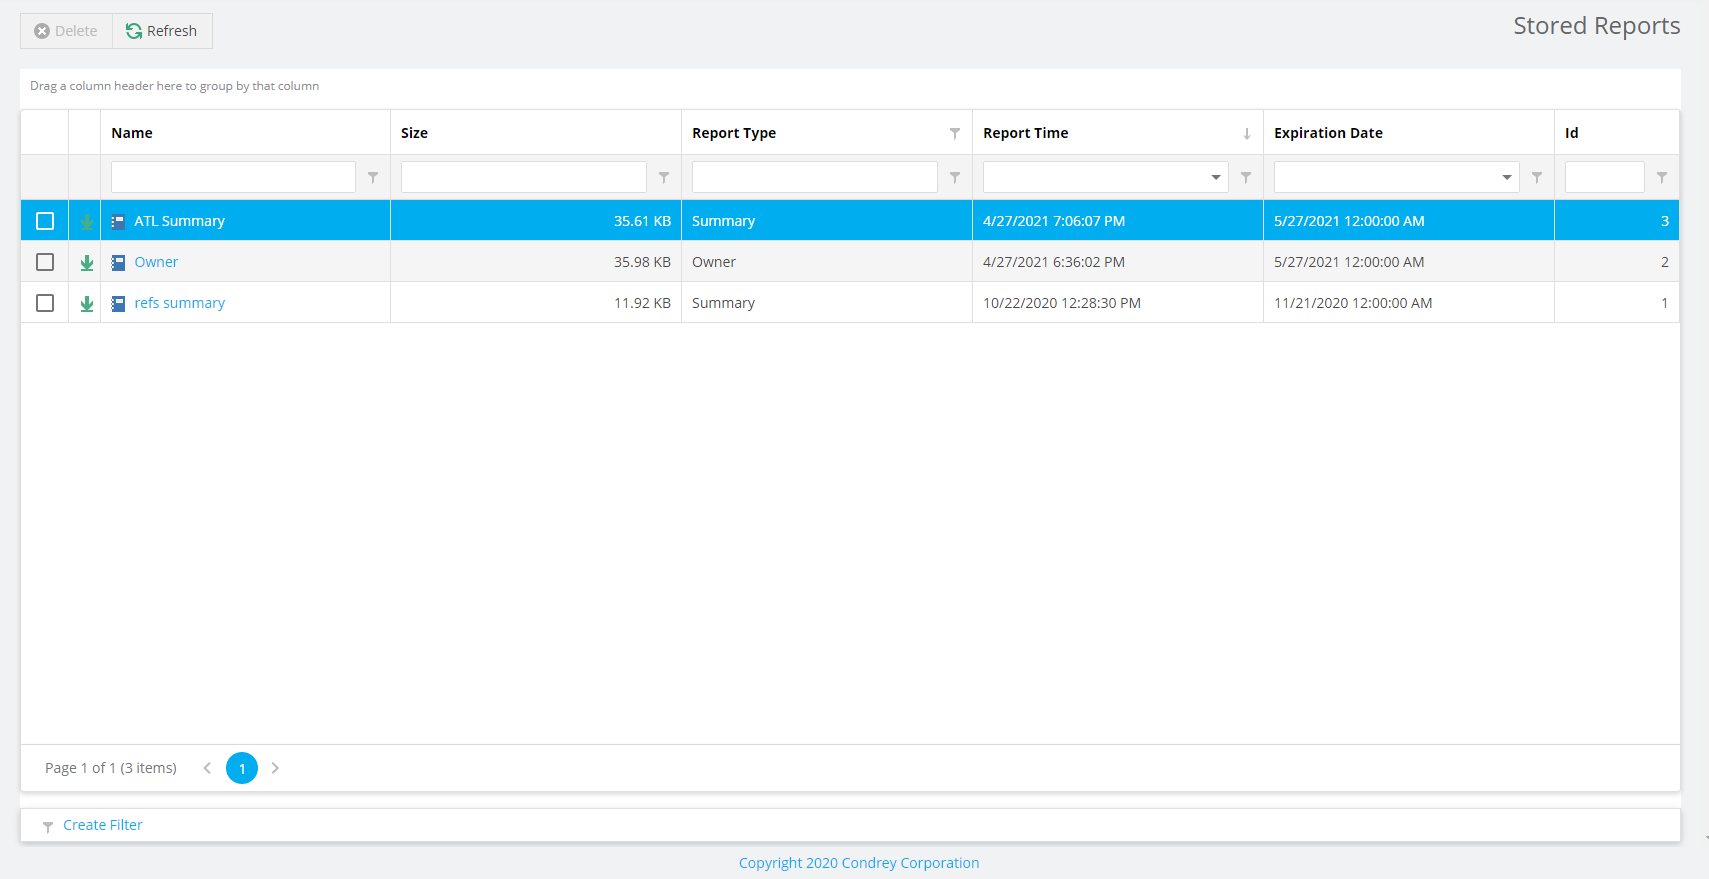
A Stored report is saved and accessible for a set number of days after it is generated. You can save the report locally to keep it indefinitely.
-
Select Generate Stored Report in the Generate menu of the Report Definitions window.
-
Select Stored Reports in the Reports menu.

-
Click the report you want to view.
-
(Conditional) If you get a message that your browser prevented pop-up windows from appearing, enable pop-ups for this site.

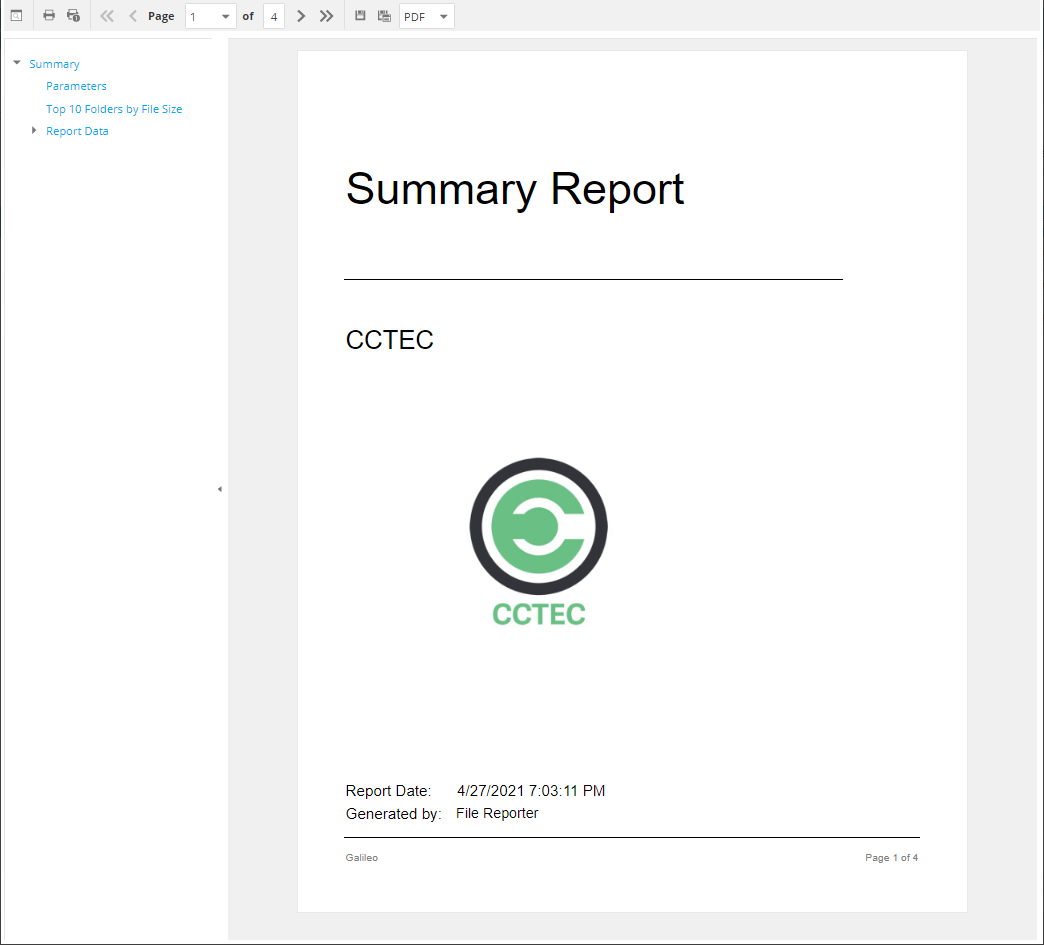
All reports have a similar structure: a title page, the report parameters, a Top Ten summary for some report types, followed by a comprehensive breakdown of the data.
- Display the Search Window: Click to conduct a search within the Preview report.
-
Print the Report: Click to print the entire Preview report.
-
Print the Current Page: Click to print the currently-displayed page.
-
First Page: Click to go to the first page of the Preview report.
-
Previous Page: Click to go to the page preceding the current page.
-
Page: Go to the page number you select in the drop-down menu.
-
Next Page: Click to go to the page following the current page.
-
Last Page: Click to go to the last page of the Preview report.
-
Export a Report and Save It to the Disk: Click to export the Preview report as the file type listed in the drop-down menu, and then view or save it in the new format.
-
Export a Report and Show It in a New Window: Click to export the Preview report as the file type listed in the drop-down menu.
-
File Type: Select the file type format for exporting the report in the drop-down menu.
-
Document Navigation: Click an item in the list of report contents to go to that section of the Preview report.
-
Save or print the Stored report.
Stored Reports Path
The default path for Stored reports is established during the installation of the Engine. You can change the file path so long as the new path is on the same server hosting both the Engine and Web Application.
The Web Application and the Engine need access to the report files, so the service accounts for which they run processes must have both Read and Write access to the specified path.
For the Engine, this service account is the Windows Proxy Account. For the Web Application, the service account is the associated IIS AppPool Identity, which is created by Windows and tied to the Application Pool when the Web service is configured.
If you create a new folder for Stored Reports, you must assign Read and Write access to that folder for the associated Windows server/proxy account and the AppPool Identity.
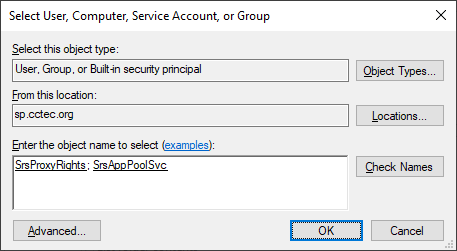
You can't browse for the AppPool Identity, so you must use the name of the AppPool itself:
-
Select Stored Reports in the Configuration menu.
-
Specify a new path in the Stored Reports Folder field.
-
Click Save Changes.
IMPORTANT: File Reporter does not move previously-generated reports to the new location when reconfiguring the Stored reports path—you must move these yourself.
Stored Reports Lifespan
Stored reports are available for access for 30 days by default. You can adjust this setting if desired:
-
Select Stored Reports in the Configuration menu.
-
Adjust the setting in the Default Expiration field.
-
Click Save Changes.
NOTE: You can always save a Preview report or Stored report locally so that it remains accessible indefinitely.