Configuring the Message Broker
-
Click Configure Message Broker.
-
Specify settings in the following fields:
-
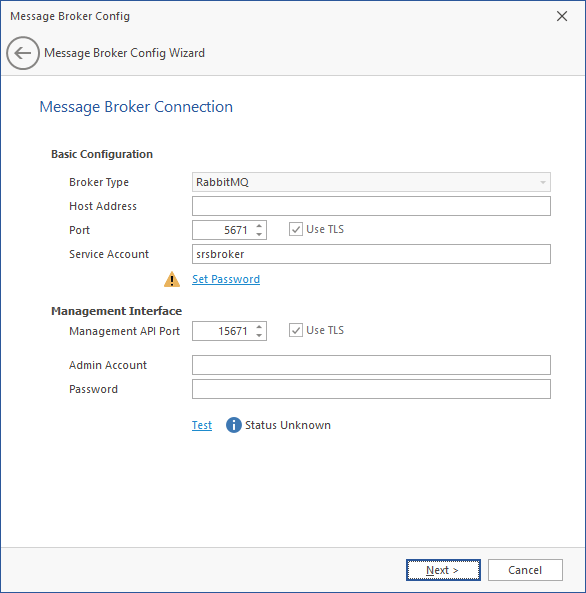
Basic Configuration: Details the basic configuration settings for the message broker.
-
Broker Type: Indicates the previously-installed RabbitMQ message broker.
-
Host Address: Specify the IP address or DNS name of the server hosting RabbitMQ.
-
Port: Leave the setting at 5671 unless there is a port conflict.
-
Use TLS: The Transport Layer Security protocol is established by default.
-
Service Account: This field contains the
srsbrokeraccount name by default.
-
Set Password: Establish a password for the service account.
-
-
Management Interface: Details the admin account and password for the previously-installed RabbitMQ message broker.
-
Management API Port: Leave the setting at 5671 unless there is a port conflict.
-
Use TLS: The Transport Layer Security protocol is established by default.
-
Admin Account: Specify the admin account name you established when installing RabbitMQ. Unless you changed the default name, the admin account name is
admin.
-
Password: Specify the admin account password you established when installing RabbitMQ. Unless you changed the default password, the admin account password is
srsadmin.
-
-
Test: Click to verify that the message broker communication is functioning properly.
-
-
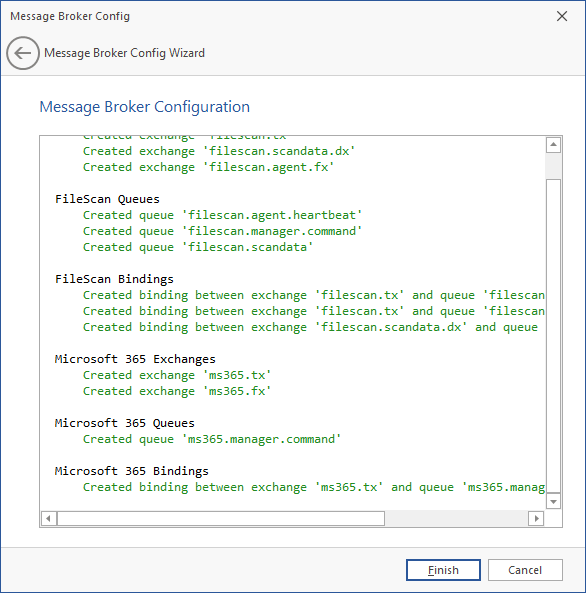
Click Next.

-
Click Finish. The message broker is now configured and connected.