Assigning a Bug Tracking System to an Application Version
Use the following procedure to assign a bug tracking system to an application version. Before you can do this, the bug tracker plugin must already be in the system. For information about how to add a bug tracker to Fortify Software Security Center, see Managing Bug Tracker Plugins.
To integrate with a bug tracking system:
- On the OpenText header, click Applications.
-
In the Applications table, click the application version to which you want to assign a bug tracker.
The AUDIT page for the selected application version lists the issues with the version.
-
At the upper right, click PROFILE.
-
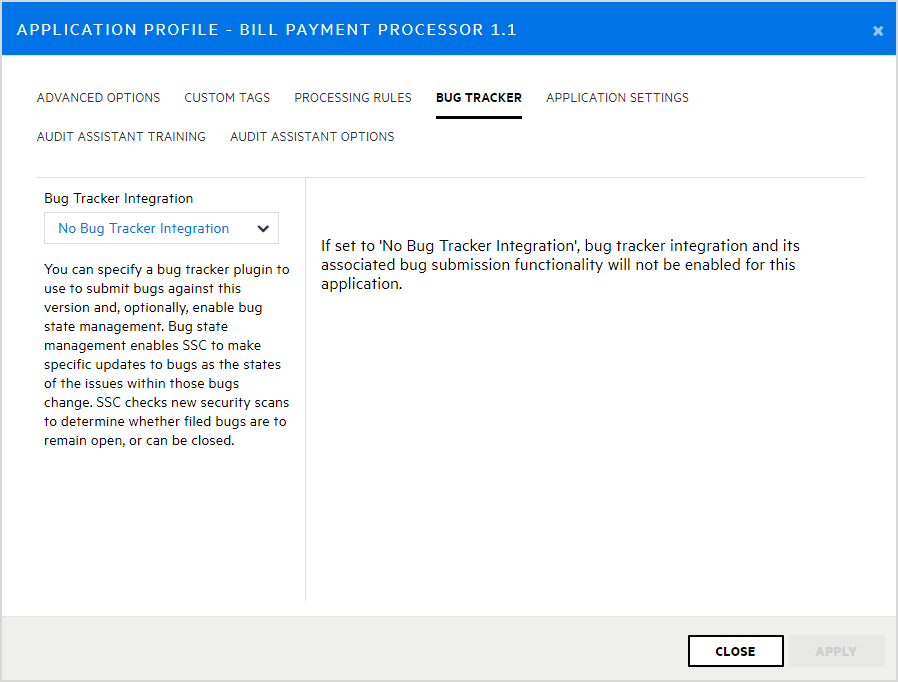
In the APPLICATION PROFILE - <Application_Name><Application_Version> dialog box, click the BUG TRACKER tab.
-
From the Bug Tracker Integration list, select the application to use for tracking bugs for this application version.
-
Complete the required fields, and then click VALIDATE CONNECTION.
-
In the TEST BUG TRACKER PLUGIN CONFIGURATION dialog box, type your bug tracker authentication credentials, and then click TEST.
After Fortify Software Security Center verifies your connection to your bug tracker, it displays a message to indicate that the test was successful.
-
Click OK.
You can enable bug state management for the application version. With bug state management enabled, Fortify Software Security Center can update bugs as the states of the issues within those bugs change.
-
(Optional) To enable bug state management, select the Bug state management check box.
-
In the Username and Password boxes, provide the credentials for your bug tracker, and then click APPLY.
The SUCCESS dialog box advises you that bug configuration was successful.
- Click OK.
- Click CLOSE.
See Also