Creating a folder
You can add a new folder to a filter set so that you can display a group of issues you have filtered to the folder.
To create a folder:
-
From the Fortify extension menu, select Project Configuration.
-
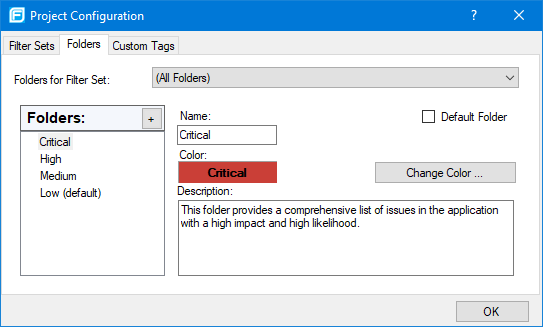
Select the Folders tab.
Currently defined folders are listed on the left. Folder properties including the name, color, and description of the selected folder are shown on the right.
-
To associate the new folder with an existing filter set, select a filter set from the Folders for Filter Set list.
This selection updates the Folders list to display folders associated with the selected filter set.
-
To add a folder:
-
Next to Folders, click the Create Folder button
 .
.The Create New Folder dialog box opens.
-
Type a unique name for the new folder, select a folder color, and then click OK.
The folder is added to the bottom of the Folders list.
-
- To sort all issues that do not match a folder filter into this folder, select the Default Folder check box.
- Click OK.
The new folder is added to the local issue template. The folder displays as a tab with the other folders in the Analysis Results window.
To display issues in this folder, create a folder filter that targets the new folder (see Creating Filters from the Analysis Results Window and Creating Filters from the Filters Tab).