Licensing with the License Wizard
The first time you launch Micro Focus Fortify WebInspect, the program displays the License Wizard. The License Wizard prompts you to select one of the following options:
-
Activate Now: use this option if you have purchased a license or have access to a license through a License Infrastructure Manager (LIM). For more information, see Activate Now.
-
Register 15-day trial: use this option if you would like to try out Fortify WebInspect for 15 days. After your 15-day trial elapses, you can purchase a license and convert your trial into a fully-licensed version. For more information, see Register 15-day Trial.
As a technology preview, WebInspect provides limited support for AutoPass licenses. If you have opted to use an AutoPass license, close the Welcome to Fortify Licensing window and follow the steps in Activating with an AutoPass License Server.
If you have questions about your licensing, contact the license team for your region.
-
North, Central, and South America: mi.licensing-na@microfocus.com
-
Europe, the Middle East, and Africa: mi.licensing-emea@microfocus.com
-
Asia-Pacific: licensesapac@microfocus.com
Activate Now
Activate Now allows you to activate Fortify WebInspect in one of the following ways:
-
Connecting to a Micro Focus corporate license server
-
Using a license file for offline installations
-
Connecting to an AutoPass License Server (APLS) and using a concurrent (floating) license
-
Connecting to a License Infrastructure Manager (LIM) server and using a concurrent license
Note: To connect to a LIM, you must first install the LIM on a Windows server. For more information on the LIM requirements, see the Micro Focus Fortify Software System Requirements document. For information on installing and managing concurrent licenses using the LIM, see Micro Focus Fortify License and Infrastructure Manager User Guide.
To activate Fortify WebInspect:
-
On the Welcome to Fortify Licensing window, click Activate Now.
The wizard displays the Configure WebInspect Licensing window.
-
In the Licensing Method group, choose one of the following:
-
Connect directly to Micro Focus corporate license server - Select this option if licensing is controlled by a Micro Focus server and the installation is connected to the Internet.
-
Install License File - Select this option for an installation that is not connected to the Internet. This option is for offline product activation.
-
Connect to AutoPass License Server - Select this option if licensing is controlled by your local server running the APLS software.
-
Connect to Fortify License and Infrastructure Manager - Select this option if licensing is controlled by your local server running the LIM software.
-
-
Click Next.
If you chose Connect directly to Micro Focus corporate license server, the License Wizard displays the Named License Activation window. Proceed to Connect to Micro Focus.
If you chose Install License File, the License Wizard displays the License File Activation window. Go to License File Activation.
If you chose Connect to AutoPass License Server, the License Wizard displays the APLS License Activation window. Go to Activating with an AutoPass License Server.
If you chose Connect to Fortify License and Infrastructure Manager, the License Wizard displays the Concurrent License Activation window. Go to Connect to LIM.
Connect to Micro Focus
-
In the Activation Token area, enter the 32-digit license token sent to you by email from Micro Focus. Omit any hyphens that may appear in the string (or copy the token, position your cursor in the first block of the Activation Token field, and press Ctrl + V to paste the token).
-
The default URLs are as follows:
-
Fortify Service URL– https://licenseservice.fortify.microfocus.com/
-
AutoPass Service URL– https://appas-prd-ellb.itcs.softwaregrp.com/
Change these URLs only if directed to do so by Fortify Customer Support personnel.
-
-
If this computer accesses the Internet through a proxy, select the Network Proxy option and select a setting from the Proxy Profile drop‑down list. Click Edit and complete the Proxy Profile dialog box as necessary.
-
If you select Use PAC file to load proxy settings from a Proxy Automatic Configuration (PAC) file, you must click Edit, enter the URL of the PAC file in the Configure proxy using PAC File URL field, and click Save on the Proxy Profile dialog box.
-
If you select Use Explicit Proxy Settings, you must click Edit, configure a proxy by entering the requested information for the Explicitly configure proxy option, and click Save on the Proxy Profile dialog box.
-
-
Enter the information requested in the User Information group. The information you provide is kept in strict confidence and is not shared with anyone outside of Micro Focus.
-
Click Next.
The Congratulations window appears and Fortify WebInspect is activated.
License File Activation
If your WebInspect is installed on a computer that is not connected to the Internet, select an option for file activation.
If the activation instructions in your welcome email indicate that you must generate a License Request file from within WebInspect to start the process, follow the steps listed under Fortify Activation.
AutoPass Activation
To activate a license generated by AutoPass:
-
Select AutoPass Activation.
-
Copy the device codes from the Device Codes field.
-
On a machine that is connected to the Internet, open a browser and navigate to https://sld.microfocus.com/mysoftware/index.
-
Follow the instructions online to activate your Fortify WebInspect license.
Fortify Activation
For this option, you must create a license request file containing information about the computer where Fortify WebInspect is installed. Then, using a separate Internet-connected computer, access a web site (https://licenseservice.fortify.microfocus.com/OfflineLicensing.aspx) to transmit the file to a server, which will download a license file that you can copy and install on the computer that is not connected to the Internet.
To activate a license generated by the Fortify license server:
-
Select Fortify Activation.
-
In the Activation Token field, enter the 32-digit license token sent to you by email from Micro Focus. Omit any hyphens that may appear in the string (or simply copy the token, position your cursor in the first block of the Activation Token field, and press Ctrl + V).
-
Click File to the right of the License Request File field.
-
Select a location where the license request file will be saved. The name of the request file is formatted as WebInspectLicenseReq.xml.
Tip: Be sure to save this file to a portable device or in a location that is accessible by a machine that has access to the Internet.
-
Click Save.
-
On a computer that is connected to the Internet, open a browser and navigate to https://licenseservice.fortify.microfocus.com/OfflineLicensing.aspx.
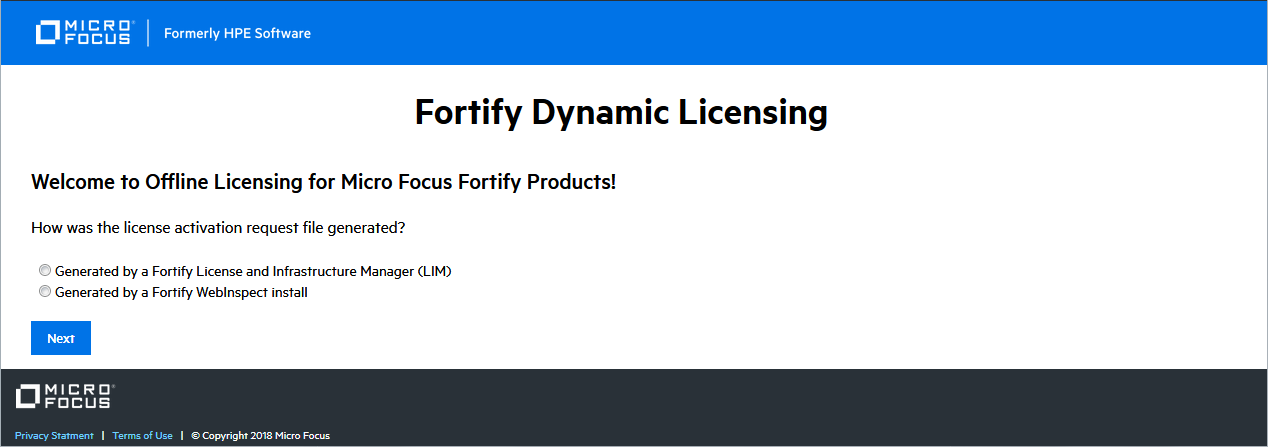
-
Select the option that describes how the license request file was generated and click Next.
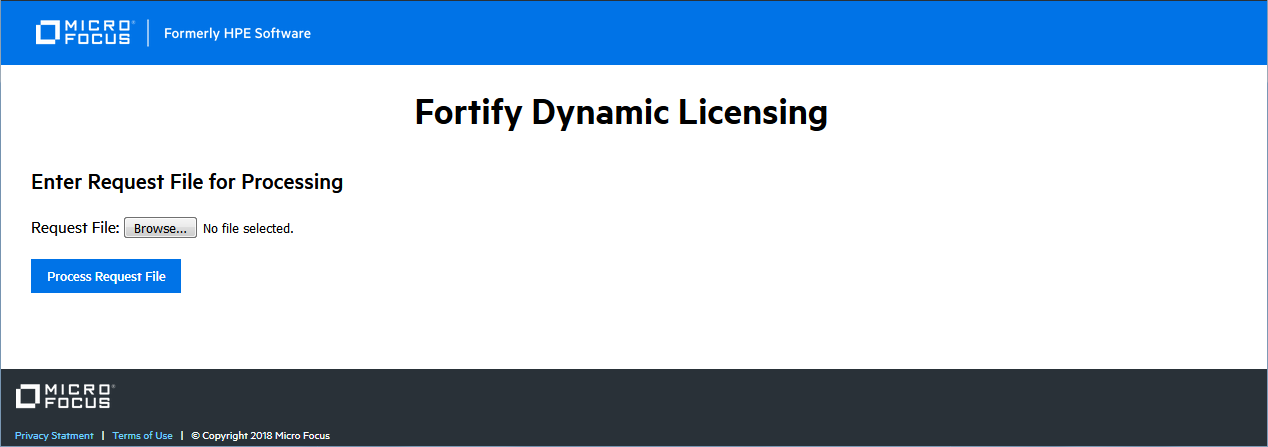
The Enter Request File for Processing page appears.
-
Click Browse, and then locate and select
WebInspectLicenseReq.xml. -
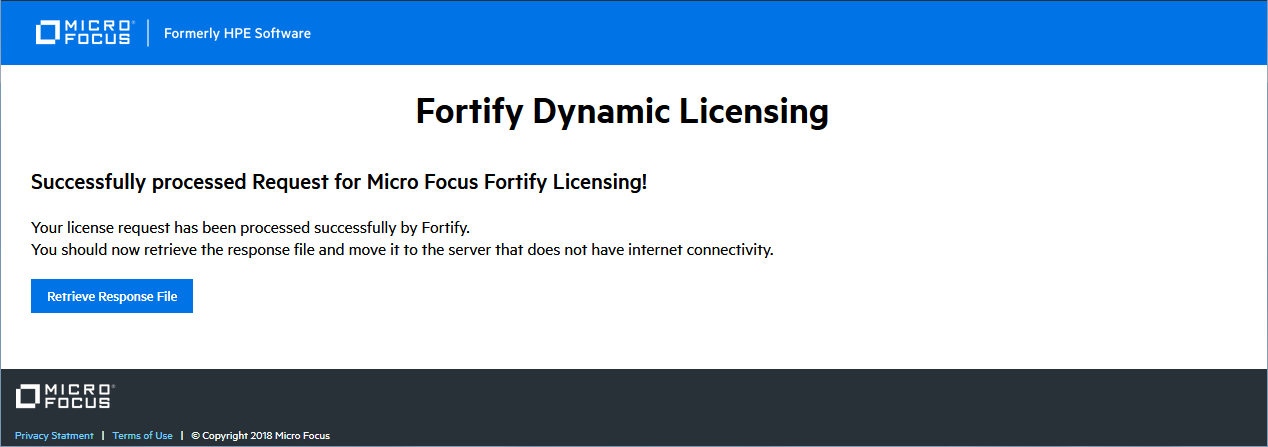
Click Process Request File.
If the request is processed successfully, the Successfully processed Request for Micro Focus Fortify Licensing page appears.
-
Click Retrieve Response File.
-
In the File Download window, click Save and specify the location on the portable device where you want to download the response file
LicenseResp.xml. -
Return to the computer where you are installing Fortify WebInspect. Copy the
LicenseResp.xmlfile from the portable device to a location on this computer. -
In the Complete Offline License Activation window, click the File button next to the License Response File field, and then locate and select the
LicenseResp.xmlfile. -
Information pertaining to your installed license appears in the License Details section.
-
Click Finish.
This completes the licensing procedure.
Activating with an AutoPass License Server
The AutoPass License Server (APLS) enables you to manage the concurrent (floating) licenses for your software products. A concurrent license is shared dynamically between multiple client users. Using concurrent licenses enables you to purchase the number of licenses equal to the largest number of users likely to be active at any time, instead of the total number of users of a product.
The APLS manages the licenses acquired from the Micro Focus Software Licenses and Downloads (SLD) portal. These licenses are then installed on the APLS. When a client computer needs a license, the client sends a request to the APLS and a license is checked out to this user. After the client user's work session ends (or when the license expires), the license is returned to the APLS for renewal or for use by other users.
For more information, see the AutoPass License Server User Guide or help.
Note: Contact your APLS administrator to obtain the information required for configuring Fortify WebInspect to use APLS.
To configure Fortify WebInspect to use APLS:
-
In the URL field, enter the URL of the APLS.
-
In the Username and Password fields, type your user name and password.
-
If connecting to the APLS through a proxy, select Network Proxy and choose a setting from the Proxy Profile list.
-
If you select Use PAC file to load proxy settings from a Proxy Automatic Configuration (PAC) file, you must click Edit and enter the URL of the PAC file in the Configure proxy using PAC File URL field.
-
If you select Use Explicit Proxy Settings, you must click Edit and configure a proxy by entering the requested information for the Explicitly configure proxy option.
-
-
Enter the information requested in the User Information group.
The information you provide is kept in strict confidence and is not shared with anyone outside of Micro Focus.
-
Click Next.
Information pertaining to your installed license appears in the License Details section.
-
Click Finish.
This completes the licensing procedure.
Connect to LIM
The LIM allows you to manage concurrent licenses for Fortify WebInspect in a manner that best suits your organization’s development and testing environment. For example, your company may have Fortify WebInspect software installed on 25 machines, but holds a concurrent license that permits a maximum of 10 instances to be active at any one time. Using the LIM, you can allocate and deallocate those 10 seats in any way you like, without coordinating or negotiating through the Micro Focus central licensing facility.
Note: Contact your LIM administrator to obtain the information required to complete this procedure.
To configure Fortify WebInspect to use the LIM:
-
In the URL field, enter the URL of the License and Infrastructure Manager.
-
Enter the name of the license pool and its password in the Pool Name and Password fields.
-
If authorization is required to access the LIM, select Network Authorization and then enter your user name and password.
-
If this computer accesses the Internet through a proxy:
-
Select the Network Proxy option.
-
Select a setting from the Proxy Profile drop‑down list.
-
Click Edit and complete the Proxy Profile dialog box as necessary.
-
If you select Use PAC file to load proxy settings from a Proxy Automatic Configuration (PAC) file, you must click Edit and enter the URL of the PAC file in the Configure proxy using PAC File URL field.
-
If you select Use Explicit Proxy Settings, you must click Edit and configure a proxy by entering the requested information for the Explicitly configure proxy option.
-
Click Save on the Proxy Profile dialog box.
-
Click Next.
-
On the Complete on-site License Activation window, select the manner in which you want the License and Infrastructure Manager to handle the license associated with Fortify WebInspect.
-
Connected License - The computer can run the product only when the computer is able to contact the LIM. Each time you start the software, the LIM allocates a seat from the license pool to this installation. When you close the software, the seat is released from the computer and allocated back to the pool, allowing another user to consume the license.
-
Detached License - The computer can run the product anywhere, even when disconnected from your corporate intranet (on which the LIM is normally located), but only until the expiration date you specify. This allows you to take your laptop to a remote site and run the software. When you reconnect to the corporate intranet, you can access the Application License settings and reconfigure from Detached to Connected.
-
Click Next.
Information pertaining to your installed license appears in the License Details section.
-
Click Finish.
This completes the licensing procedure.
Register 15-day Trial
Use the following procedure to begin a free 15-day trial of Fortify WebInspect.
-
On the Welcome to Fortify Licensing window, click Register 15 Day Trial.
The wizard displays a window prompting you to enter information about you and your company.
-
Enter the requested information.
-
If this computer accesses the Internet through a proxy:
-
Select the Network Proxy option.
-
Select a setting from the Proxy Profile drop‑down list.
-
Click Edit and complete the Proxy Profile dialog box as necessary.
-
If you select Use PAC file to load proxy settings from a Proxy Automatic Configuration (PAC) file, you must click Edit and enter the URL of the PAC file in the Configure proxy using PAC File URL field.
-
If you select Use Explicit Proxy Settings, you must click Edit and configure a proxy by entering the requested information for the Explicitly configure proxy option.
-
-
Click Save on the Proxy Profile dialog box.
-
Click Next.
The program attempts to contact Micro Focus servers, which will send an email message to you containing a 32-character activation token.
-
Click Finish.
-
When the email arrives, in the Fortify WebInspect menu bar click Edit > Application Settings.
-
On the Application Settings window, select License from the left pane.
-
Enter the 32-digit license token, omitting any hyphens that may appear in the string (or copy the token, position your cursor in the first block of the activation token field, and press Ctrl + V to paste the token).
-
Click OK.
License Revocation
If your Fortify WebInspect license expires, or if your facility is managing licenses through the LIM and the administrator releases your license, you will not be able to conduct or schedule scans.
To regain a license if you use the LIM:
-
In the Fortify WebInspect menu bar, click Edit > Application Settings.
-
On the Application Settings window, select License from the left pane.
-
Verify your license data.
-
Click OK.
If necessary, contact Fortify Customer Support or your LIM administrator.