19.3 Creating Unencrypted NSS Volumes
This section describes how to create an unencrypted volume with iManager. Encrypted volumes can be created only in NSSMU. For information on creating encrypted volumes, see Managing Encrypted NSS Volumes.
-
In iManager, click .
For instructions, see Section 10.1.5, Accessing Roles and Tasks in iManager.
-
Select a server to manage.
For instructions, see Section 10.1.6, Selecting a Server to Manage.
A list of volumes appears in the list, as illustrated in the following figure.

-
To create a new volume, click .
This opens the Wizard to guide you through the process.
-
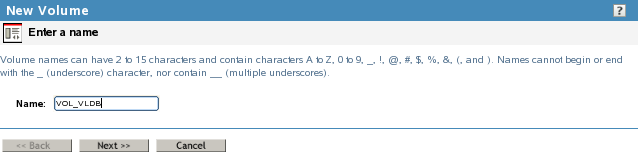
Specify a name for the new volume, then click .
If the name you provide is not unique, you receive an error message. For guidelines about naming volumes, see Section 6.4, Naming NSS Storage Objects.
-
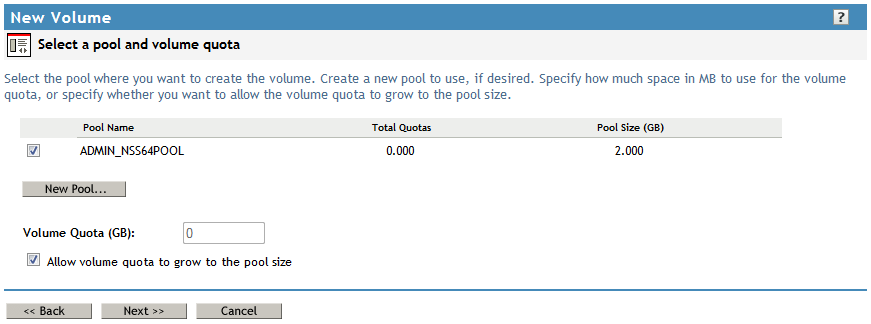
Do one of the following to specify the pool to use:
-
Select an existing pool from the list where you want the new volume to reside.
-
If no pools exist, click , create a pool to use, select the pool.
-
If existing pools do not have sufficient space for the volume you want to create, click to close the Wizard. You must add more segments of free space to the pool, then return to the page to create the new volume.
-
If no pools exist and no space is available to create one, click to close the Wizard. You must add more devices to the server or free up space on existing pools, then return to the Volumes page to create the new volume.
-
-
Specify the size of the volume:
-
No Volume Quota: Select if you want the volume to expand to the size of the pool. This is the default.
Pools can be overbooked; each volume can potentially grow to the size of the pool. NSS allocates space as it is needed.
-
Volume Quota: Deselect , then type a size in MB for the volume if you want to limit the size of the volume.
-
-
Click .
-
On the page under the section, set the attributes for the new volume you are creating. The Backup and Salvage attributes are selected by default.
For information about volume attributes, see Section 19.1, Understanding Volume Properties.

-
On the page under the section, set the following preferences:
-
. Activates logical volumes as soon as you create them.
-
. Mounts logical volumes as soon as you create them.
-
-
On the page under , specify the following parameters:
-
Mount Point: For a Linux server, specify the mount point for the NSS volume, such as /media/nss/VOLA.
The default mount path for NSS volumes is /media/nss/volumename, where volumename is the name of the volume. You can optionally specify another path as the mount point.
-
Allow Mount Point to Be Renamed: Select this option if you want to allow the mount point to be renamed if the volume is renamed.
This feature works only if the volume is mounted in its default location (/media/nss/volumename).
-
Lookup Name Space: Select the name space to use when you mount the volume. The name spaces are UNIX, Long, DOS, or Macintosh. The default name space is Long.
The recommended setting is Long. This setting ensures that filenames are case insensitive whether the volume is mounted. It also improves performance over using UNIX, especially if you expect to store millions of files on the volume.
-
-
Click .
-
If you enabled the attribute, restart NCP2NSS by entering at a terminal prompt:
systemctl restart ncp2nss.service