Making your Settings Public
Now that you've configured your settings, you're ready to make these settings available to any user in the domain. To do this, you'll use the Administrative Console.
note
You need to make both the client definition and the session definition public.
To make your settings public
-
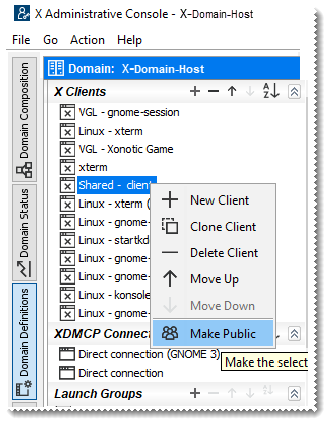
From the same computer you used to create your session (Computer 1), start the X Administrative Console:
-
Log on using your administrator's credentials.
-
Click the Domain Definitions tab. Under X Clients, find the client definition you just tested.
For now, this client is still private. A private client definition can be viewed, used, and modified only by the user who created it. Private clients are identified with this symbol:

-
Right-click on the client definition name and select Make Public.
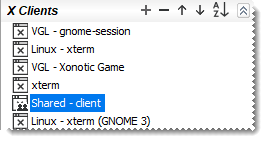
A public client is available to everyone who is logged into the domain, but only the administrator can modify it. Public clients are identified with this symbol:

Your client definition should now display the public definition icon, as shown here:
-
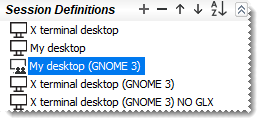
Under Session Definitions, right-click the session definition used by this client and make this definition public.
The session definition icon changes to indicate that it is now public, as shown here:
-
(Optional) If your client uses the Secure Shell connection type, you can make the host key public. By doing this, an administrator can ensure that the host is correctly authenticated without requiring users to respond to the Host Key Unknown dialog box. If you've already tested your connection, a copy of the host key is already in the domain database. To make your key public, scroll down to view Trusted Host Keys in the left panel. Right-click the host key and select Make Public. The icon changes to show that this is now a public host key:
