Starting an X Client
Use the following procedures to help you get started making your first client connections. The first procedure uses the default "xterm" sample definition. The second procedure uses a sample template designed for your host. The third procedure demonstrates how to create a new client definition without using the samples. You may want to experiment with one or more of these procedures.
tip
Once you have a successful connection, you can clone a client definition to use it as a basis for configuring other connections.
To connect using the sample xterm definition
-
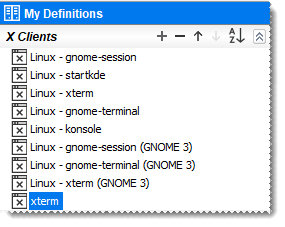
From X Manager, under X Clients on the left, double-click the sample "xterm" definition. (The other options you see here depend on what you selected in the Import Migrated Settings and Templates dialog box.)
-
Enter your host and user name in response to the first prompt.
-
If the host is available and supports Secure Shell connections, the Host Key Unknown message is displayed the first time you connect. Click Always to trust the host key. Reflection X saves this key and uses it in subsequent connections to confirm that you're connecting to the correct host.
note
If you've migrated settings from an earlier version, known host keys are included in the migration, so you may not see the Host Key Unknown message.
-
Enter your password in response to the prompt.
If your connection is successful, a window opens on your desktop showing your host command prompt.
To connect using one of the sample definitions for your host type
-
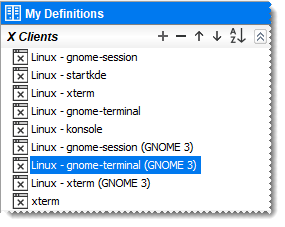
From X Manager, Under X Clients on the left, double-click one of the sample definitions imported for your host type.
-
Enter your host and user name in response to the first prompt.
-
If you haven't yet connected to this host, the Host Key Unknown message is displayed the first time you connect. Click Always to trust the host key.
-
Enter your password in response to the prompt.
If your connection is successful, a window opens with the X Client display you selected.
If you don't see your X client, look at the status bar at the bottom of the X Manager window for information. If the status bar displays
Client failed to connect to the X server,the command specified in the client definition isn't supported on your host. Try one of the other sample definitions.
To create a new client definition without using the samples
-
From X Manager, in the left pane, click
 next to X Clients.
 -
In the Client Definition, for Name, enter a descriptive name for this connection.
note
As you work, your changes are saved automatically.
-
For Host name, specify the name or IP address of the computer that hosts your X client application.
-
Select a Host type from the drop-down list.
note
Changing the host type changes the list of sample client commands available in the Command drop-down list.
-
The default value for Connection method is Secure Shell. You can leave this option selected, or select one of the other options if your host doesn't support SSH connections.
-
For User name, enter your user name for this host.
-
The default value for Application is Single command . Leave this option selected.
-
In the Command text box, use the drop-down list to select one of the available options (shown below), select one of the available options to use as a template and then edit it to launch a different client, or enter your client command directly into the Command box. Note the following:
-
The sample commands demonstrate the use of macros, which are replaced by appropriate values when the command is sent to the host. For example, the macro %IP#% resolves to the IP address of the display host and the display number.
-
The sample commands add an ampersand to the command and enclose it in parentheses. When the command is sent to the host, it runs in a subshell in the background. This format may be required with some Telnet connections to keep the application running. For most connections, you can omit the parentheses and ampersand.

-
-
From the Session list, select a default session to start when you start this client.
-
If you want your client application to run on your desktop, select a session configured to Show clients on my desktop. The sample session called "My desktop" uses this configuration.
-
If your client command launches a desktop environment such as KDE, CDE or GNOME, select a session configured to Show clients on X terminal desktop. The sample session called "X terminal desktop" uses this configuration. For these clients, also enable Always start on new instance.
-
-
In the left pane, double-click your client definition name to initiate the connection.