Installing the Event Monitor
The Storage Manager 24.4 Event Monitor can be installed on a server that meets the following minimum requirements:
-
Open Enterprise Server 24.4
-
Open Enterprise Server 24.3
Note the following details:
-
You can have multiple Event Monitors per directory tree.
-
Installing two Event Monitors per replica ring is recommended.
-
The Event Monitor must be permitted to make outbound connections through the firewall.
To install the Event Monitor:
-
Launch a terminal session.
-
Mount the Storage Manager ISO or copy the Event Monitor RPM package to the local file system.
-
Change to the directory where the ISO was mounted or where you copied the RPM package.
-
Enter # zypper in ./storagemanager-event-24.4-1.x86_64.rpm to install the package.
-
If prompted, enter
yto continue.NOTE: If you did not add the included public signing key to the list of trusted signing keys, you may encounter a message during install indicating "Signature verification failed". Enter
ito ignore the warning, or follow the steps for Adding the Trusted Signing Key. -
Proceed with Configuring the Event Monitor.
Configuring the Event Monitor
To configure the Event Monitor:
-
Type smevent-config in the same terminal, then click Enter to update the console.

-
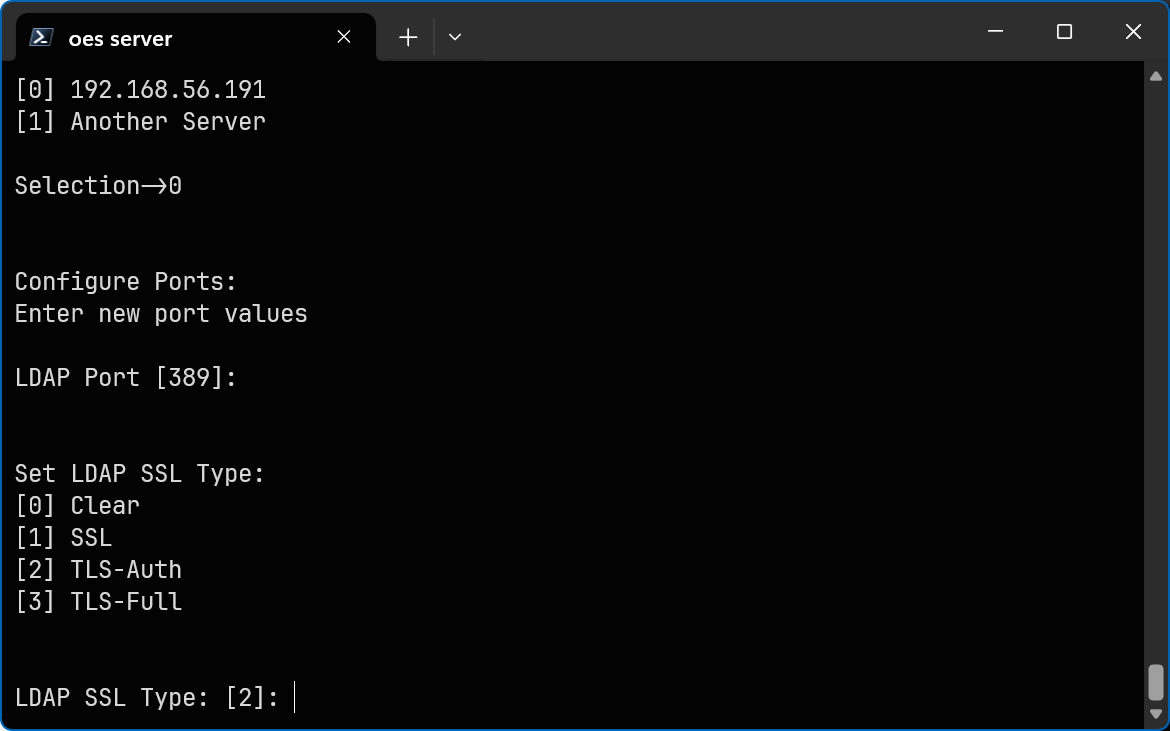
Enter the IP address of the server you intend to monitor.
-
Enter 0 if you intend to monitor the current server.
-
If you intend to monitor another server, enter 1 and then enter the IP address and other requested configuration information.
NOTE: Event monitors should be configured to monitor at least one server per eDirectory partition ring that contains objects about which you want to receive event data and for which Storage Manager will consequently manage storage.
-
-
Click Enter to update the console again.

-
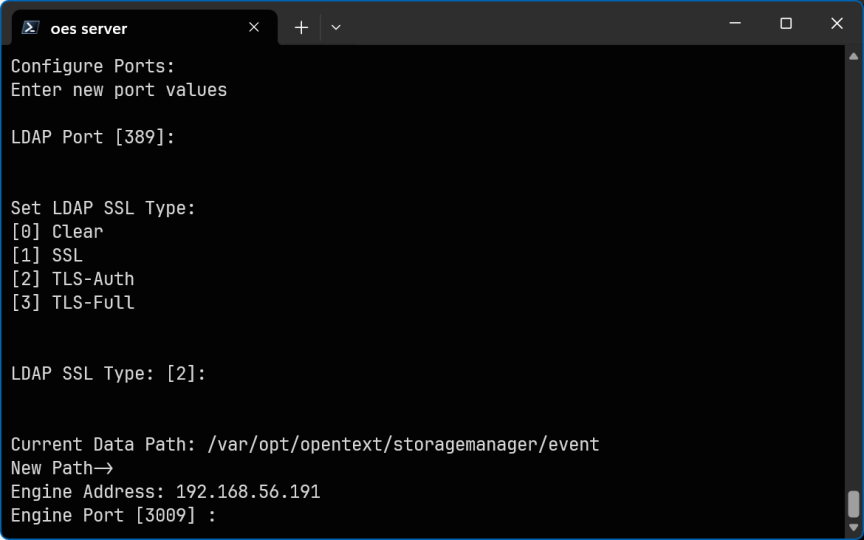
Click Enter to accept the default LDAP port setting.
-
Click Enter to accept the TLS-Auth LDAP SSL type.
-
Click Enter to accept the default data path and update the console again.
-
Specify the IP address (or DNS) of the server hosting the Engine, then click Enter.
-
Click Enter to accept the default port entry 3009.
-
Click Enter to accept this server as the default LDAP login server.
-
Click Y to use the default server name for the common name of the certificate, then click Enter to generate the certificate and continue to the next step.
-
Click Enter again to continue.
-
Click Y to start the Event Monitor service, then click Enter to update the console and continue to the next step.
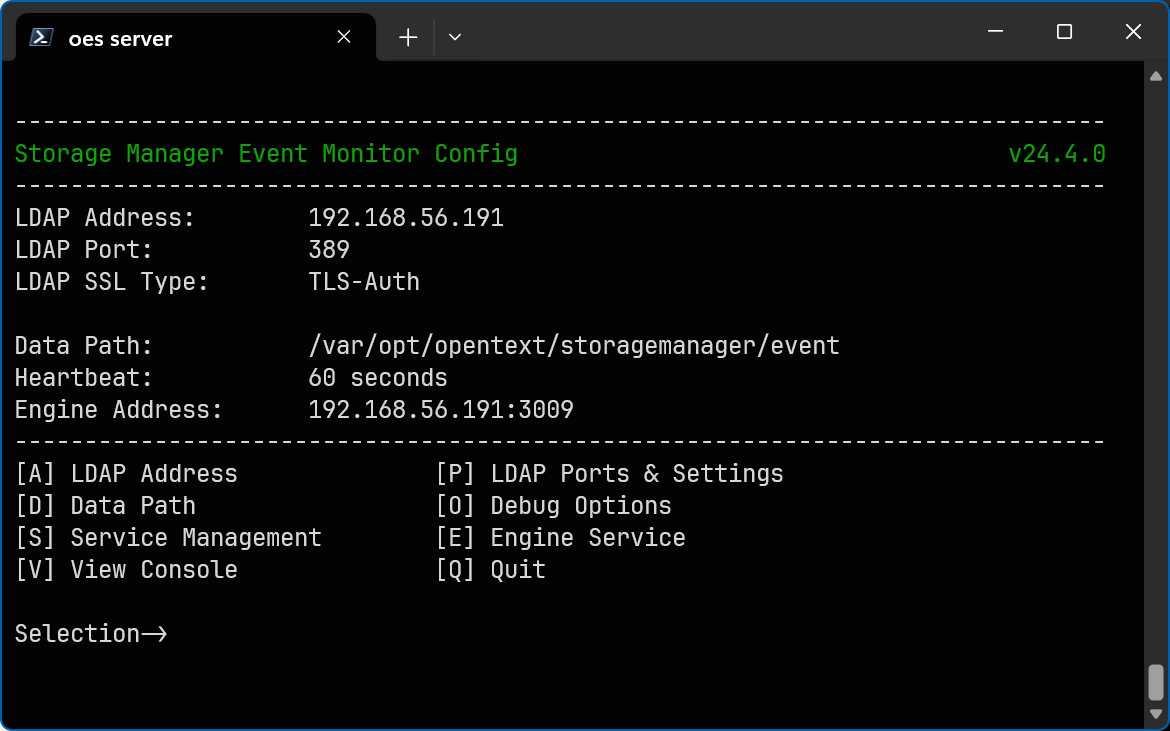
You can now navigate through the menu to perform management tasks on the Event Monitor when necessary.

-
Click Q to exit the Event Monitor console.