Verifying the Trust Relationship
Before continuing with federation configuration, verify that Site A and Site B trust each other.
-
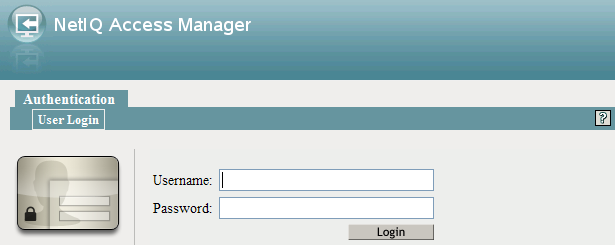
To test the trusted relationship, log in to the user portal of Site B. For Site B in Figure A-2, specify the following:
https://idp.siteb.example.com:8443/nidp/app
In this configuration, the customizable image was used for the Liberty authentication card.
-
Click the menu, then click Liberty (or SAML 2.0) authentication card.
You are directed to Site A for login, with the default card selected for you.
-
Enter the credentials for a user from Site A.
The Federation consent prompt appears.
NOTE:To disable this prompt, add the following parameter in the web.xml file under the ldapLoadThreshold context parameter:
<context-param><param-name>federationConsent</param-name><param-value>true</param-value></context-param>
For information about how to modify a file, see Modifying Configurations.
-
Click .
You are returned to the login page for Site B.
-
Enter the credentials of a user from Site B that you want to federate with the user from Site A.
These two accounts are now federated. You can enter the URL to the user portal on Site A or Site B, and you are granted access without logging in again.
If you log out and log back in, the accounts are still federated, but you might be prompted for login credentials as you access resources on Site A and Site B. To enable a single sign-on experience, Identity Server at Site A, Identity Server at Site B, and the protected resources of Access Gateways must be configured to share a contract.
-
To enable a single sign-on experience, continue with Configuring User Authentication.