Enabling a Logging Session
These steps are performed by the user. The URL needs to be sent to the user, with the ID and ticket values that were specified in Creating a Logging Ticket.
-
Open a browser and enter the log session URL sent by the help desk.
If the URL does not display a page that prompts for the ticket name, check the value of the id string. The id must be set to the ID of the authentication card of the Logging Session contract.
Instead of sending the user a URL, you can enable the Show Card option for the Logging Session card. When you do this, all users can see it. You need to decide if this is acceptable.
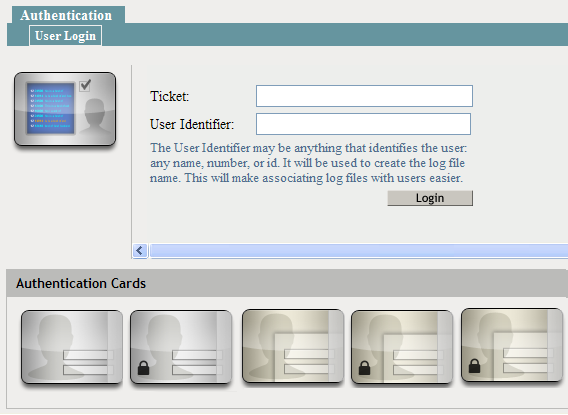
When the Show Card option is enabled, the login page looks similar to the following:

-
When prompted, enter the following:
Ticket: Specify the ticket name that the help desk sent.
User Identifier: Specify a value that the help desk associates with you as a user. The identifier must be less than 33 characters and contain only alphanumeric characters.
-
Click Login.
This login creates the logging session.
-
Enter your name and password, then click Login.
This login authenticates you to Identity Server.
-
In the same browser window, enter the URL of the resource that is causing the problem.
-
Perform any other actions necessary to create the problem behavior.
-
Log out and send your user identifier to the help desk.