Issue Management Process Automation
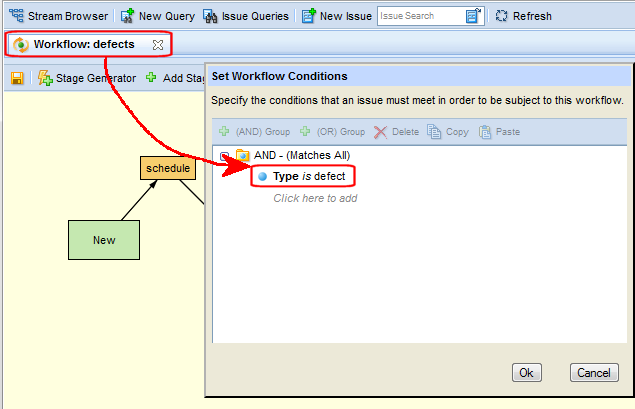
Part of creating a workflow includes specifying one or more conditions that an issue must meet in order to be subject to that workflow. For example, if you want to use a workflow to manage defects in your system, you might name that workflow defects and create the condition for that workflow as Issue Type = defect.
By specifying the condition Issue Type = defect for the workflow, any issues with a type of defect, and only issues with a type of defect, will be subject to the rules you specify in the defects workflow. The process of specifying a condition for a workflow is referred to as activating the workflow.
How Automation is Supported
Once you have activated a workflow, the Issue Edit form for issues under workflow control displays both the issue’s current stage, and the transitions that are available in that stage, as shown in the following illustration:

In this example, the user can click either the complete or need more info transition buttons. If there is a question about the workflow, clicking the stage button (here it is WIP) displays a read-only version of the workflow diagram. Only those transitions that are applicable to the current stage are displayed, allowing easy enforcement of your workflow process rules.
Clicking a transition button executes the actions specified in the workflow. For example, clicking the complete transition button might change the value of the Status field from WIP to Review, and change the value of the Assigned To field to a user on the QA team, moving the issue from the WIP to the Done stage in the process.
These tools help reduce errors, improve efficiency, and enforce workflow compliance by preventing users from modifying fields that would remove the issue from the workflow and supplying default values for required fields, for example.