Installation Steps
- If you are currently using AccuSync, make sure you back up the database before installing the new version. See Back Up AccuSync and AccuBridge if you need help with this step.
- Verify that the machine on which you are installing AccuSync meets the requirements specified in Verify Prerequisites.
- Locate the local directory to which you downloaded and unpacked the installation package. See Download AccuSync Installation Packages.
-
Start the installation wizard. See
Ways to Run the AccuSync Installation Wizard.
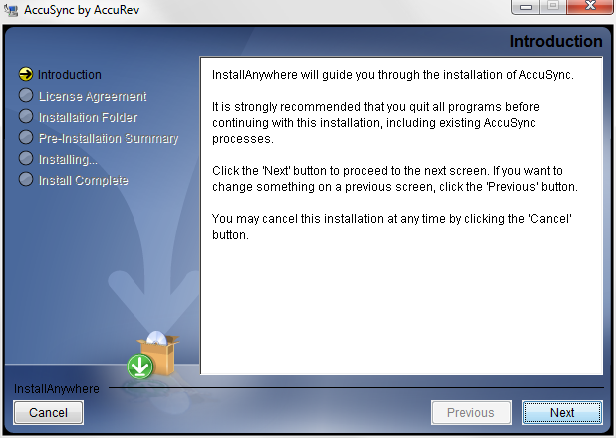
The installation wizard prepares for installation. When it is finished, it displays the
Introduction to the
AccuSync installation. An example of the GUI installation wizard is shown here:
-
Begin the installation process:
- In the GUI Installation Wizard
- Click Next.
- In the Console Installation Wizard
- Press Enter.
At this point, the installation wizard displays a series of pages that help you configure the installation and provide installation status. These pages are summarized here:
- License Agreement
- You must accept the terms of the license agreement before you can proceed with the installation.
- Choose Install Folder
- You can use the default installation folder chosen by the installation wizard, or you can specify your own.
- Choose Shortcut Folder
- You can choose whether or not you want to create shortcuts for AccuSync and where you want them displayed.
- Pre-Installation Summary
- You can review your installation settings before the installation wizard installs AccuSync.
- Installing AccuSync
- The installation wizard displays the progress of the AccuSync installation. You can cancel the installation at any time.
- Using AccuSync
- Displays a brief summary of commands you can use to start AccuSync following installation.
- Install Complete
- The installation wizard displays a message indicating whether or not the installation was successful. See What Gets Installed for more information.