Click the Save icon (![]() ) and enter the following settings.
) and enter the following settings.
|
Parameter |
Description |
|---|---|
|
Name |
A name for the query you are saving. |
|
Save as |
To enable the Scheduling option, select Saved Search. |
|
Schedule it |
Click to schedule now or leave blank to schedule later. |
|
Type |
Select whether you want to schedule a Search or an Alert. Scheduled searches run on a predetermined schedule and export results to a pre-specified location. Scheduled alerts run a search on a predetermined schedule but only generate an alert if the specified number of events within the specified threshold is found. Select Scheduled Alert to create an Alert. |
Click Save.
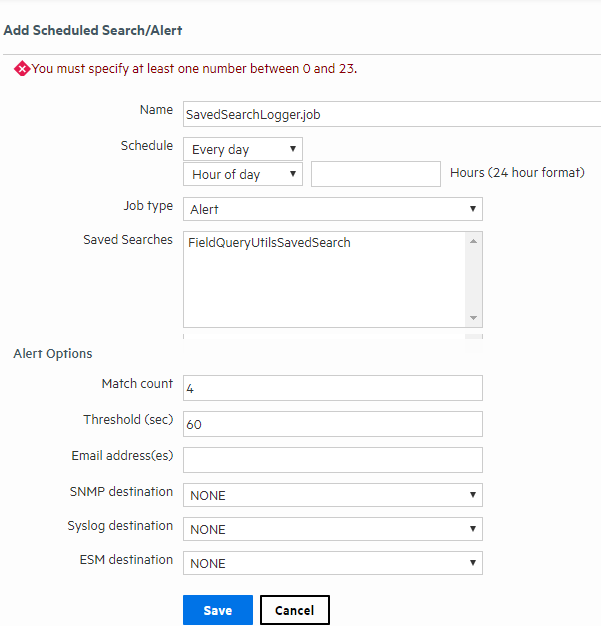
If you checked the “Schedule it” setting in the previous step, you are prompted to choose if you want to edit the schedule. If you click OK, the Edit Scheduled Search page is displayed, as shown in the next step. If you click Cancel, the search is saved but it is not scheduled to run.
The Edit Scheduled Search/Alert page enables you to define a schedule for the saved search job and alert options. Select the desired options, and click Save. For details about the parameters, see Alert Job Options.