To Create a Shared Catalog Definition Using the MMC UI
The
Enterprise Server for .NET Administration UI can be used to view, create and delete shared catalog definitions. Shared catalog definitions are persisted in the cross-region
database. To create a shared catalog definition:
-
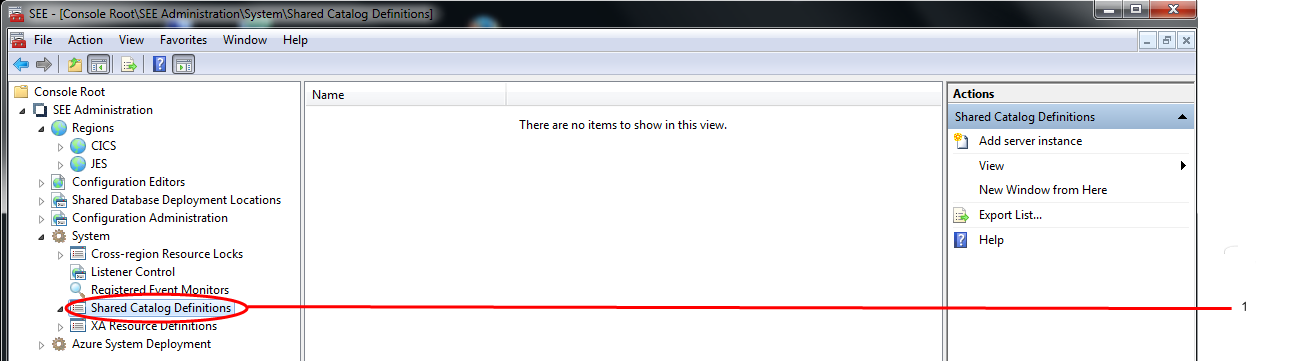
In the
Tree pane, under
System, click
Shared Catalog Definitions. See number 1 in the diagram below.
-
If you have not previously done so, define the database server instance where your cross-region database resides. To do this:
- Select Add server instance in the Actions pane. See number 1 in the diagram below. The Select Database Server Instance dialog is displayed.
-
Enter the name of the database server instance you want to use in the Database server instance field and click
OK. See number 2 in the diagram below.
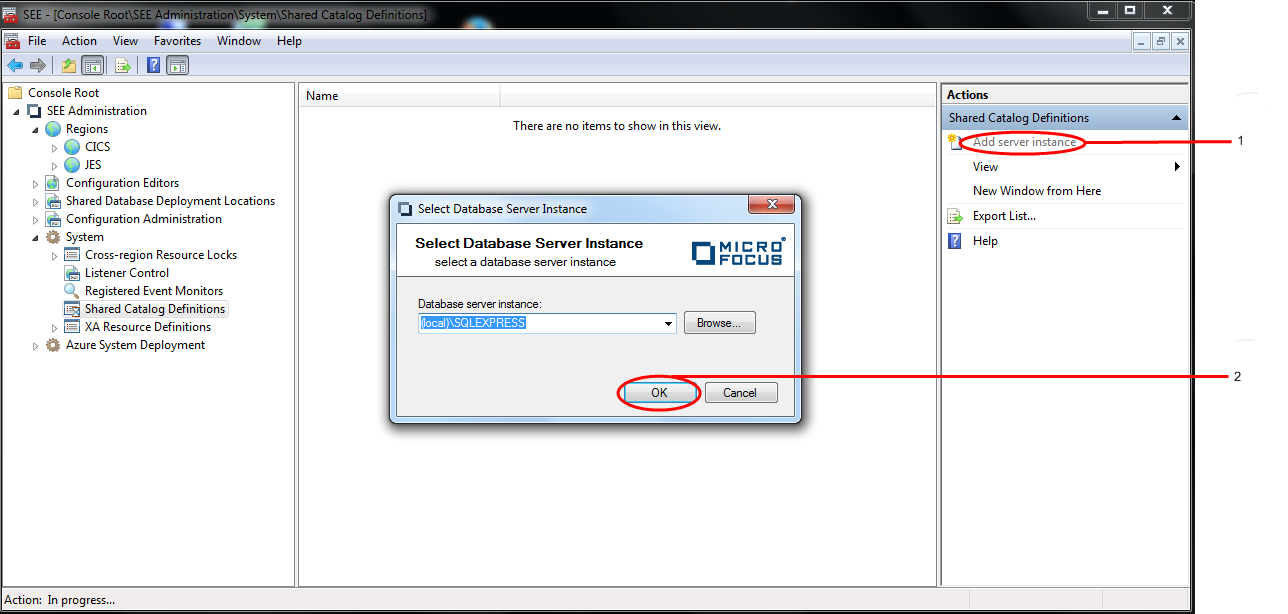
The dialog is dismissed and the database server instance is listed in the Results pane. See number 1 in the diagram below.

-
To add a new shared catalog definition:
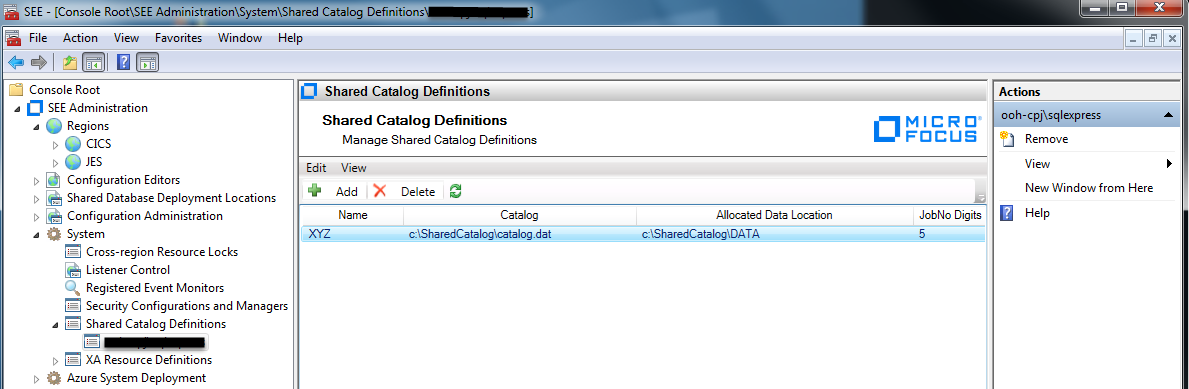
- Click the name of the database server instance where your cross-region database resides, in the Tree pane under Shared Catalog Definitions. See number 1 in the diagram below. The Shared Catalog Definitions view is displayed in the Results pane.
-
Click
. See number 2 in the diagram below.

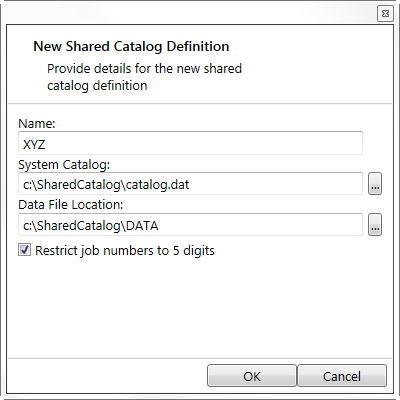
The New Shared Catalog Definition dialog is displayed. -
Enter the name of the resource definition you are creating in the
Name field, the location of the catalog file in the
System Catalog field, and the location of the data allocation folder in the
Data File Location field. Select whether you want the shared catalog definition to use 5 or 7 digit job numbers by checking or unchecking
Restrict job numbers to 5 digits.
-
Click
OK to dismiss the
New Shared Catalog Definition dialog and complete the creation of the definition.
The newly created definition will now be displayed in the
Results pane.