Data Masking Phase
The first step of the Data Masking phase is to enable masking on your tables for which you have defined masking rules. You can do this on a table-by-table basis, but it is much easier to do it globally.
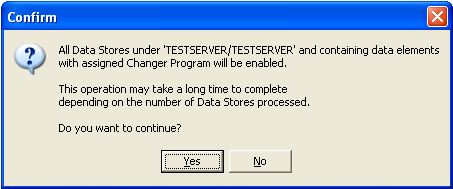
Start the Data Masking module, and click Tool > Enable Masking; then click Yes to enable global masking.
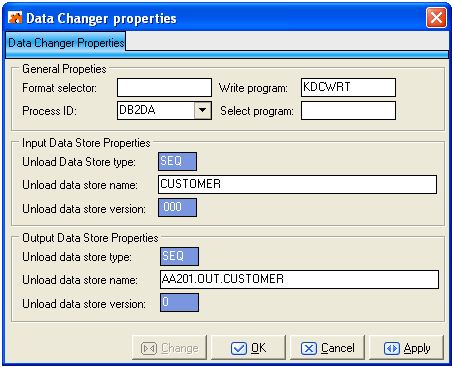
Next, you specify output file information. In this example, the output of the masking process is a flat file named AA201.OUT.CUSTOMER.
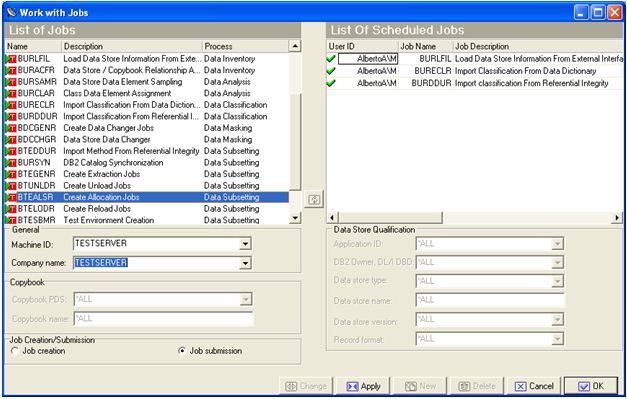
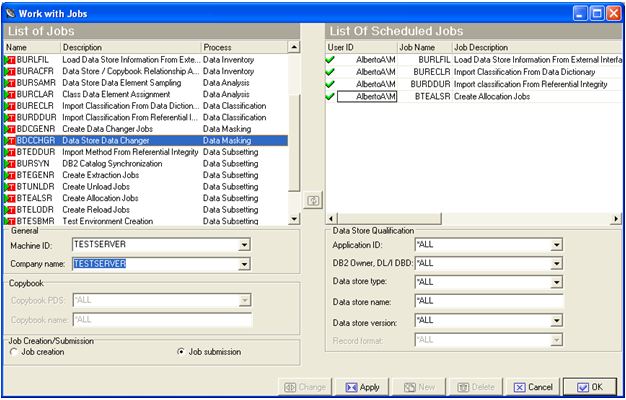
Submit the BTEALSR job to generate the JCL necessary to allocate the output data store defined on the Data Changer properties dialog box. All jobs, including masking and subsetting jobs, are generated from the Data Builder interface, from the Work with Jobs window. For example, to submit the BTEALSR job, select BTEALSR from the List of Jobs, and then click Apply:
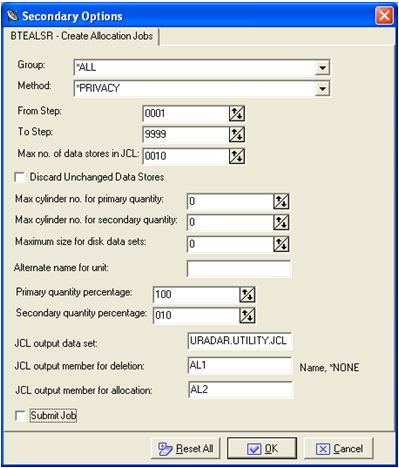
This creates JCL streams in URADAR.UTILITY.JCL, named AL1001 and AL2002, for allocation of output data sets. In this case, the output data sets are in AA201.OUT.CUSTOMER:
Execute the JCL streams outside of Data Manager. Once executed, you can execute masking. For example, from Work with Jobs, use the BDCCHGR job to create your flat file that contains masked data.
At the end of this process, the file AA201.OUT.CUSTOMER is populated with masked data coming from production table DELGT.CUSTOMER. This masked data is in the same format as masked data created by the UNLOAD utility executed by DSNUTILB on the mainframe.