9.5 Content Editor With NetIQ Access Manager For Online Edit Feature
You can configure NetIQ Access Manager (NAM) to act as Reverse Proxy service for CE site when using the option. This helps you provide the ease of single sign-on and establish a trusted relationship with the Access Gateway. Using CE in conjunction with NetIQ Access Manager adds enterprise-level security to your Filr system.
When a user performs Online Edit on a file, the Online Edit session (Filr) communicates to CE Via NAM.
9.5.1 Configuring NetIQ Access Manager With Content Editor
-
Log in to the NAM Administration Console.
-
Click > >
-
Under , click .
-
In the window, add NAGGlobalOptions noURLNormalize=on.
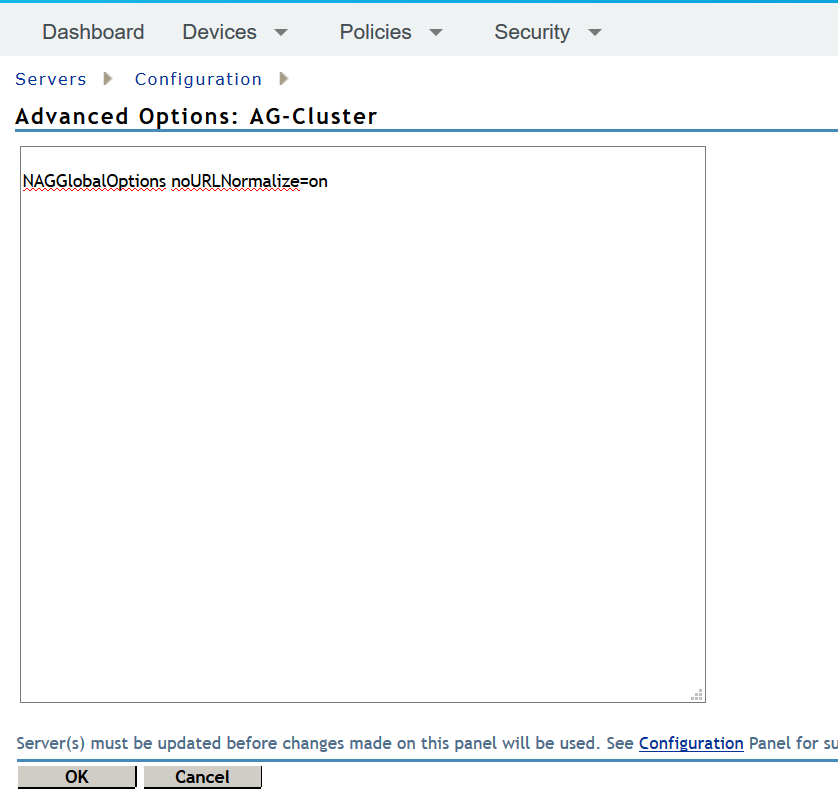
Add this option to ensure that CE works with NAM.
-
Click .
-
-
Click > > > <Name of the Reverse Proxy> that you have created.
-
Under the create a new proxy service for CE. For example, CE_edit
-
Select the proxy service (CE_edit) that you created in Step 4.
-
In the > , select .
-
In the , specify AllowEncodedSlashes NoDecode.

This option ensures that files can be downloaded with CE.
-
Click .
-
-
Click .
-
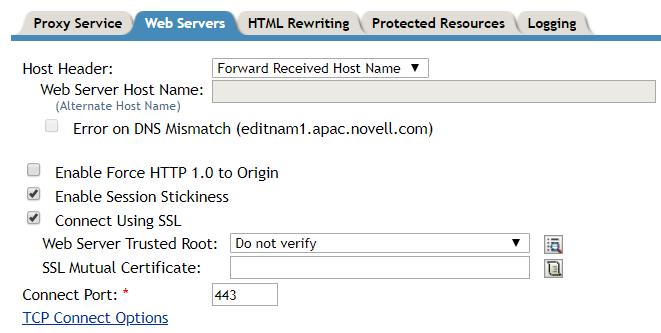
Enable the option .
-
Web Server Trusted Root: Select .
-
Connect Port: Specify the value .
-
-
Click .
-
-
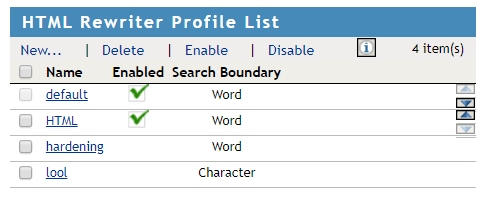
Click . The HTML rewriter profile was created for Filr, the same profile is used for CE.
For the versions earlier than CE 23.2, use the following configuration:
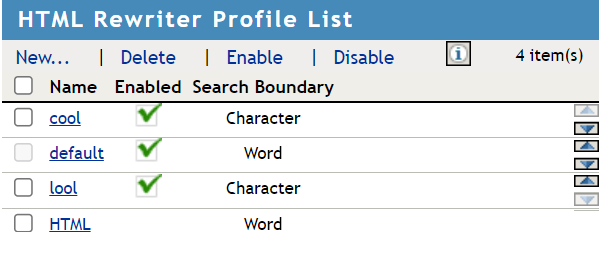
For the CE 23.2 and later versions, use the following configuration:
-
Click .
-
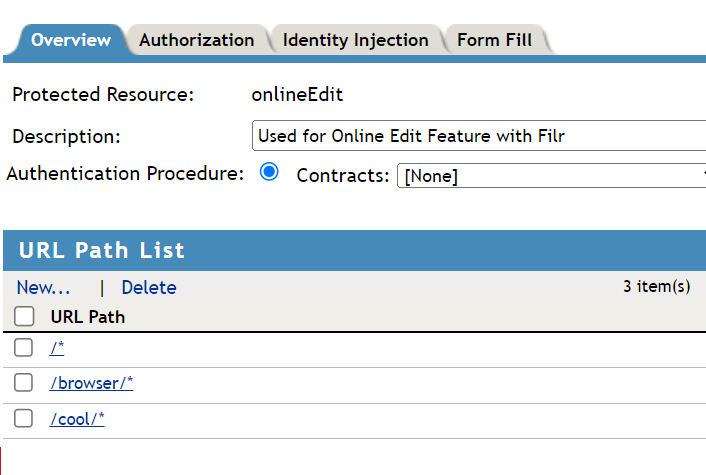
Create a new protected resource. For example, edit_public.
-
Enter the description.
-
Select Authentication Procedure as Contracts: None.
-
For the versions earlier than CE 23.2, in the URL Path list, add two new paths. For example, /loleaflet/* and /lool/*.
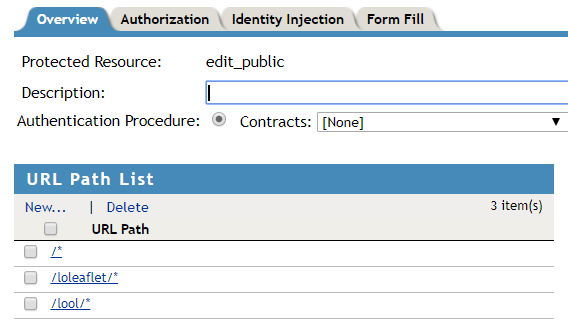
For the CE 23.2 and later versions, in the URL Path list, add two new paths. For example, /browser/* and /cool/*.
-
Click .
-
-
Click .
-
Select .
-
Click .
-
-
-
To apply all your changes, click > , then click .