Installing or Upgrading a Standalone Fortify WebInspect Enterprise
After setting up Micro Focus Fortify WebInspect Enterprise Manager and database users, the Set Up SSC Connection Information window appears. This section describes how to install Fortify WebInspect Enterprise as standalone without a connection to Micro Focus Fortify Software Security Center.
![]()
-
Clear the Integrate with SSC check box.
-
Click Next.
Initializing Fortify WebInspect Enterprise
After configuring a standalone Fortify WebInspect Enterprise, the Ready to Start window appears.

Verify your previous choices and begin initializing Fortify WebInspect Enterprise.
-
Do one of the following:
-
To change settings, click Back.
-
To begin initializing Fortify WebInspect Enterprise using the values you have specified, click Next.
The Initialization Wizard:
-
Creates a new database if you chose to do so in Configuring the Database.
-
Configures various system components.
-
In the displayed, cumulative Status list in the Ready to Start window, adds the next step when it begins, with a flashing blue information icon while that step is running, and changes that icon to a green check mark when that step completes successfully (except for the first step, which is Initializing Database).
When the initialization completes successfully, a window displays a list of initialization steps and the final initialization step is “Web Service Initialization Succeeded...”

-
-
-
Click Next.
If a system administrator exists in WebInspect Enterprise, but the current user is not a system administrator, the Administrator Role Page appears.

Otherwise, the current user is added as the first WebInspect Enterprise system administrator and the procedure continues with the Connecting to WebInspect Enterprise Manager window after Step 4.
-
On the Administrator Role Page, select the Add Current User to System Administrator Role check box to make the current user a WebInspect Enterprise system administrator.
-
Click Next.
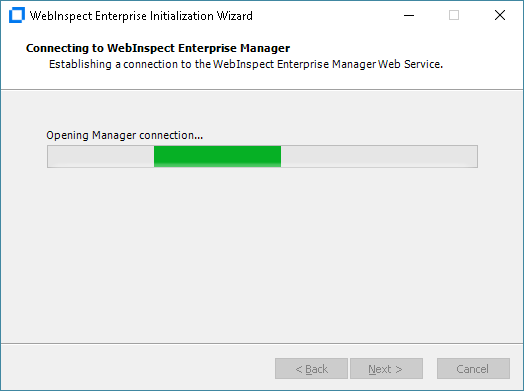
The Connecting to WebInspect Enterprise Manager window appears until the connection is made.
Adding Sensor Users
After Fortify WebInspect Enterprise is initialized, the Sensor Users window appears.
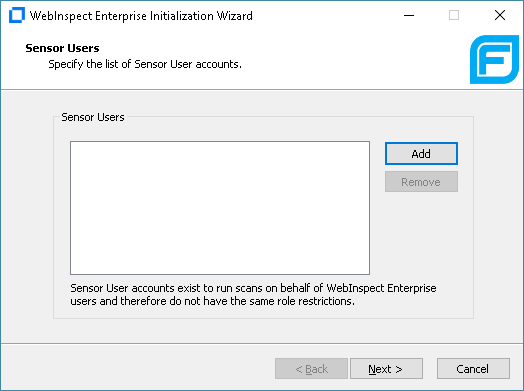
Optionally add at least one sensor user for Fortify WebInspect Enterprise to use to run scans. Sensor users must not be general console users and they must have been previously created as Windows users as described in Preparing to Install Fortify WebInspect Enterprise.
You do not have to add any sensor users to Fortify WebInspect Enterprise at this point, but you will need to specify at least one sensor user before you can run any scans. Post‑installation configuration procedures in this document also describe how to add sensor users.
To add a sensor user to Fortify WebInspect Enterprise now:
-
Click Add.
-
In the Select Users or Groups dialog box, type the name of an existing user to add (see Preparing to Install Fortify WebInspect Enterprise), in the format localhost\user or domain\user. If you specify only the user, you can click Check Names to help identify the localhost or domain.
-
Click OK.
-
Verify that the sensor user you specified has been added to the list of Sensor Users in the window.
Completing Initialization
To complete the initialization process:
-
Click Next.
The Initialization Wizard completes.

-
Click Finish.
The Initialization Wizard closes.
What's Next?
Continue with Configuring Services.