OpenText DAST user interface
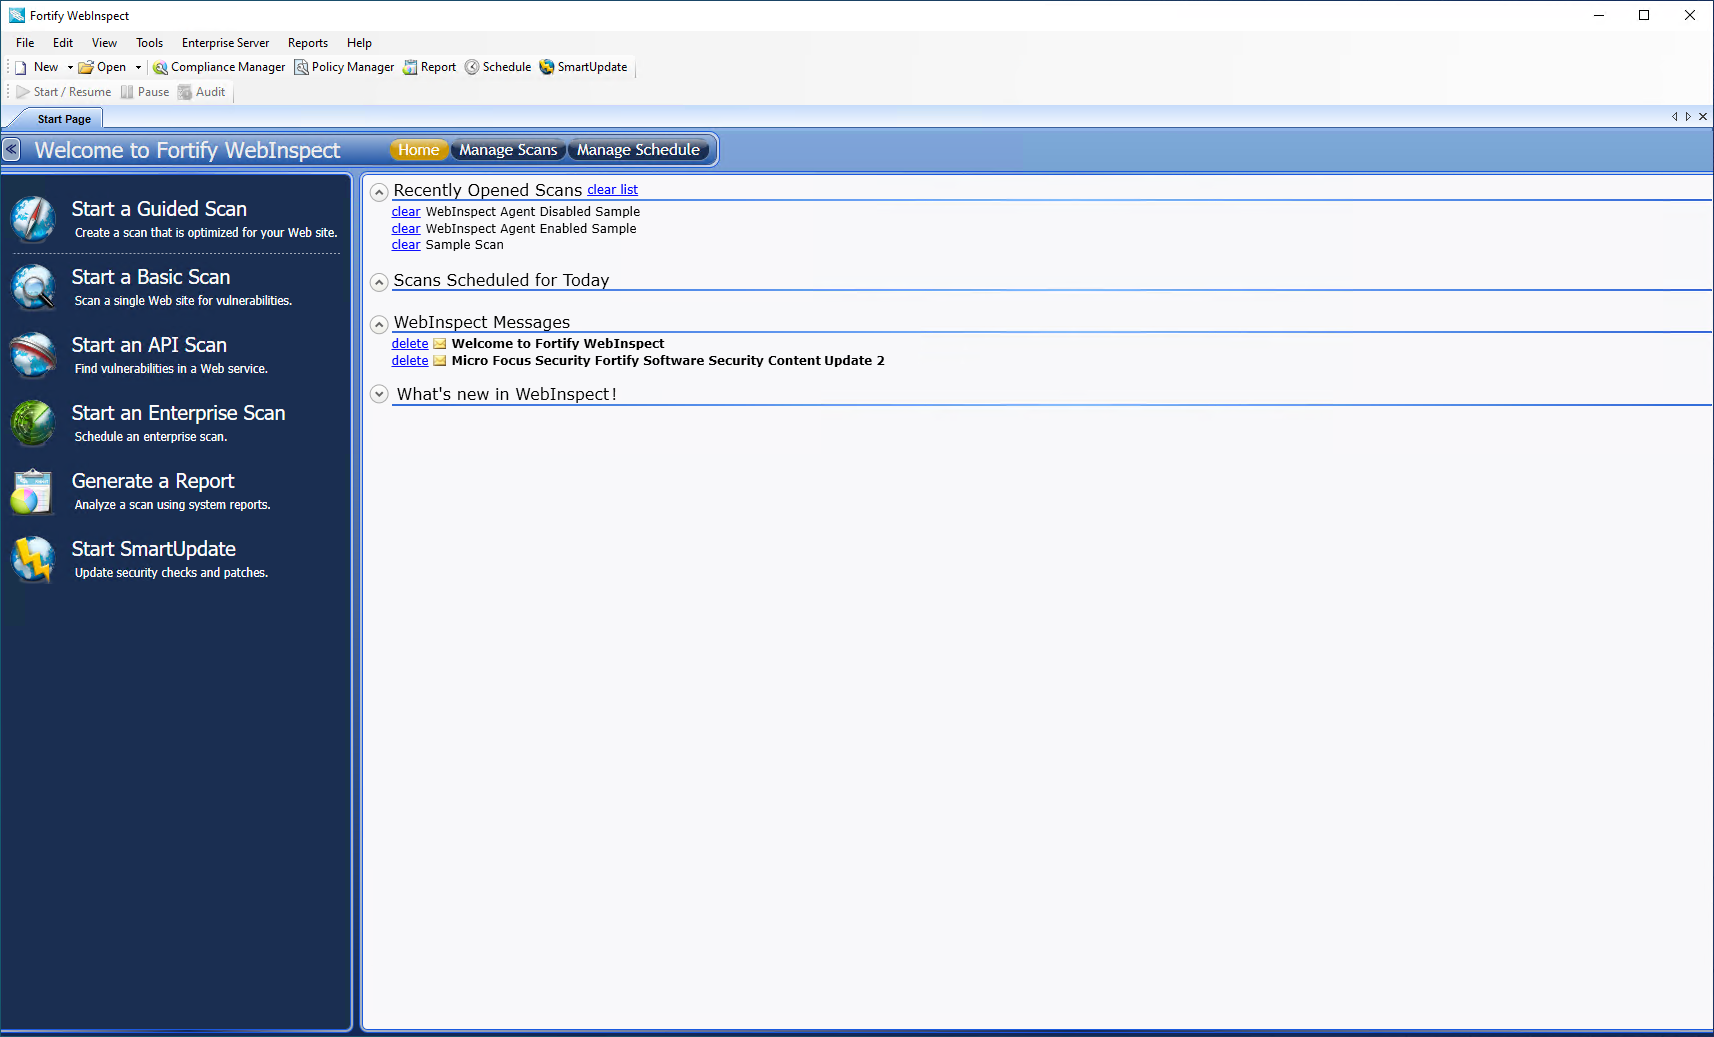
When you first start OpenText DAST, the application displays the Start Page as illustrated below.
Note: When OpenText DAST is connected to Enterprise Server, there is a button labeled "WebInspect Enterprise WebConsole" to the right of the SmartUpdate button. This button launches the Web Console.
The Activity Panel
The left pane (the Activity Panel) displays hyperlinks to the following major functions:
- Start a Guided Scan
- Start a Basic Scan
- Start an API Scan
- Start an Enterprise Scan
- Generate a Report
- Start SmartUpdate
Closing the Activity Panel
You can close the Activity Panel by clicking the Left Arrow  on the bar above the pane.
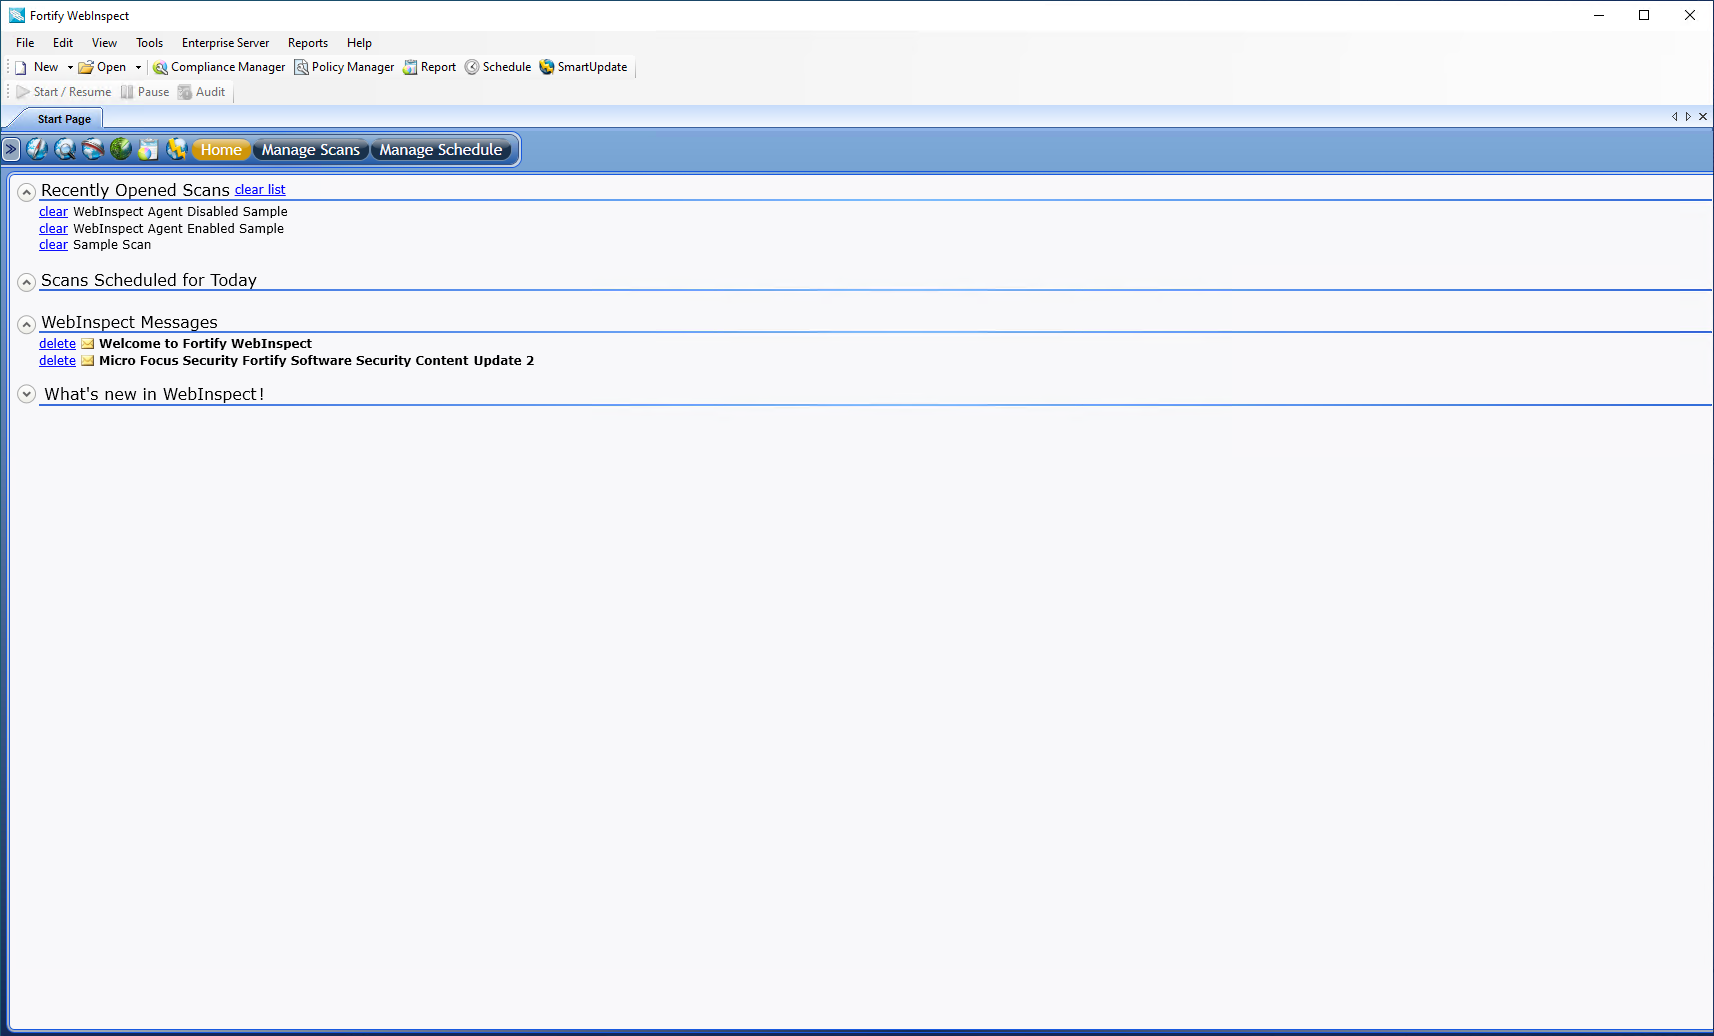
The Button Bar
The contents of the right pane are determined by the button selected on the Button bar identified in the following image.

The choices are described in the following table.
| Button | Displayed List |
|---|---|
| Home |
Displays a list of recently opened scans, as well as scans scheduled to be conducted today, recently generated reports, and messages downloaded from the OpenText server. If you hover the pointer over a scan name, OpenText DAST displays summary information about the scan. If you click the scan name, OpenText DAST opens the scan on a separate tab. |
| Manage Scans | Displays a list of previously conducted scans, which you can open, rename, or delete. Click Connections to choose a database: either Local (scans stored in a SQL Server Express Edition database on your machine) or Remote (scans stored in a SQL Server Standard Edition database configured on your machine or elsewhere on the network), or both. For more information, see Manage Scans. |
| Manage Schedule | Displays a list of scans that are scheduled to be performed. You can add a scan to the schedule, edit or delete a scheduled scan, or start the scan manually. For more information, see Managing scheduled scans. |
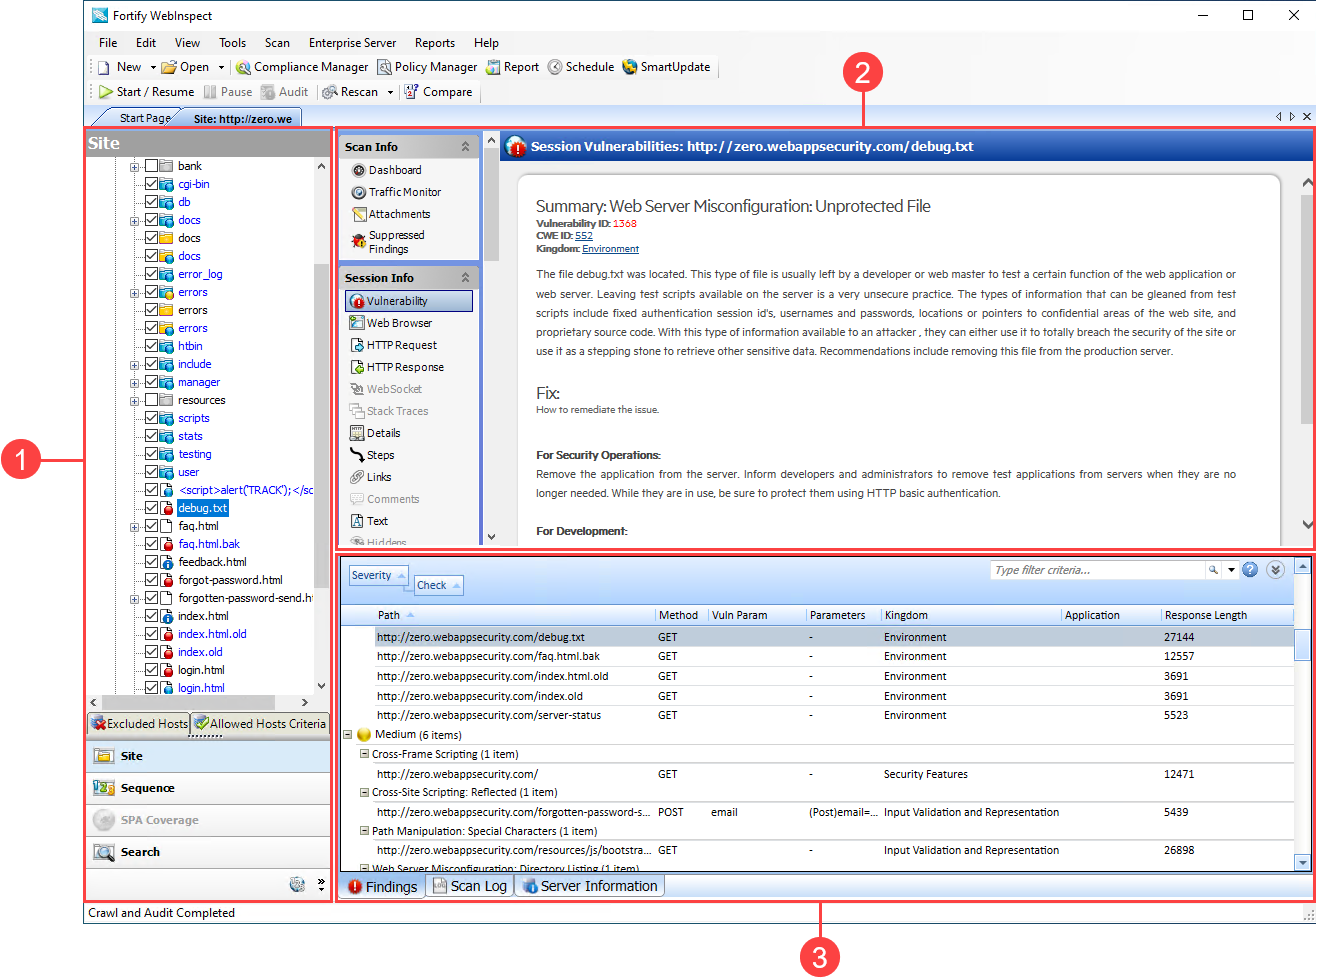
Panes Associated with a Scan
Each time you open or conduct a scan, OpenText DAST opens a tab labeled with the name or description of the target site. This work area is divided into three regions, as depicted in the following illustration.
| Item | Description |
|---|---|
| 1 | Navigation Pane |
| 2 | Information Pane |
| 3 | Summary Pane |
If you have a large number of scans open at the same time, and there is no room to display all tabs, you can scroll the tabs by clicking the arrows  on the extreme right end of the tab bar. Click the X to close the selected tab.
See also