12.2 Managing Printer Driver Profile
A printer driver profile allows you to set the driver defaults for a Windows printer driver. When you associate the printer driver profile to a printer, the printer is installed and configured with your defined settings. For example, in a law office you might want the default paper size to be legal size. This means that every time the printer and its corresponding driver is installed on a workstation, the paper size is set to legal size.
When creating a printer driver profile, you work directly with a platform-specific printer driver; so you should create and modify profiles from the same operating-specific platform as the printer driver. For example, to create or modify a Windows 10 printer driver profile, you must access iPrint Management Client and complete the task from a Windows 10 workstation.
Use the Bi-Directional driver option to enable the selected printer driver to communicate with the printer. Bi-Directional communication allows the driver to communicate with the printer and discover its capabilities. This enables you to create more detailed profiles. Bi-Directional drivers communicate with the printer during profile creation. If your printer is not reachable from the client during profile creation, only basic profiles are created. When you create a profile for Bi-Directional drivers, you must provide a Printer Agent.
Use the Universal Printer Driver (UPD) model to simplify the task of managing the vast array of printer makes and models. This model allows the printer vendor to create a single printer driver that works with most of the printer and multifunction devices that the vendor manufactures. With this innovation, the Administrator/User no longer needs to install a unique driver for each and every printer model, but uses one driver to communicate with their devices.
Installing the UPD on the iPrint server (NetWare or Linux) is the same as installing individual drivers. Use iPrint Management Client to upload the driver to the Broker or Driver Store and then assign this driver to the printers using iManager. You should use the latest iManager and also the latest support packs/updates for the iPrint server. Updates include printer driver profile updates, and enhancements for bidirectional communications, which are necessary for UPD function and printer driver profile creation.
You can create, copy, delete, and modify the printer driver profiles.
12.2.1 Creating a Printer Driver Profile
-
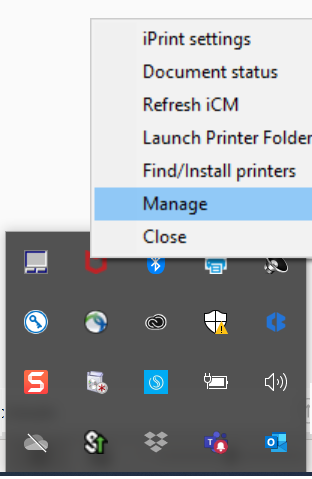
Right-click the tray icon in the system tray on the taskbar and choose . The iPrint Management Client is launched.
Figure 12-3 Tray Icon
-
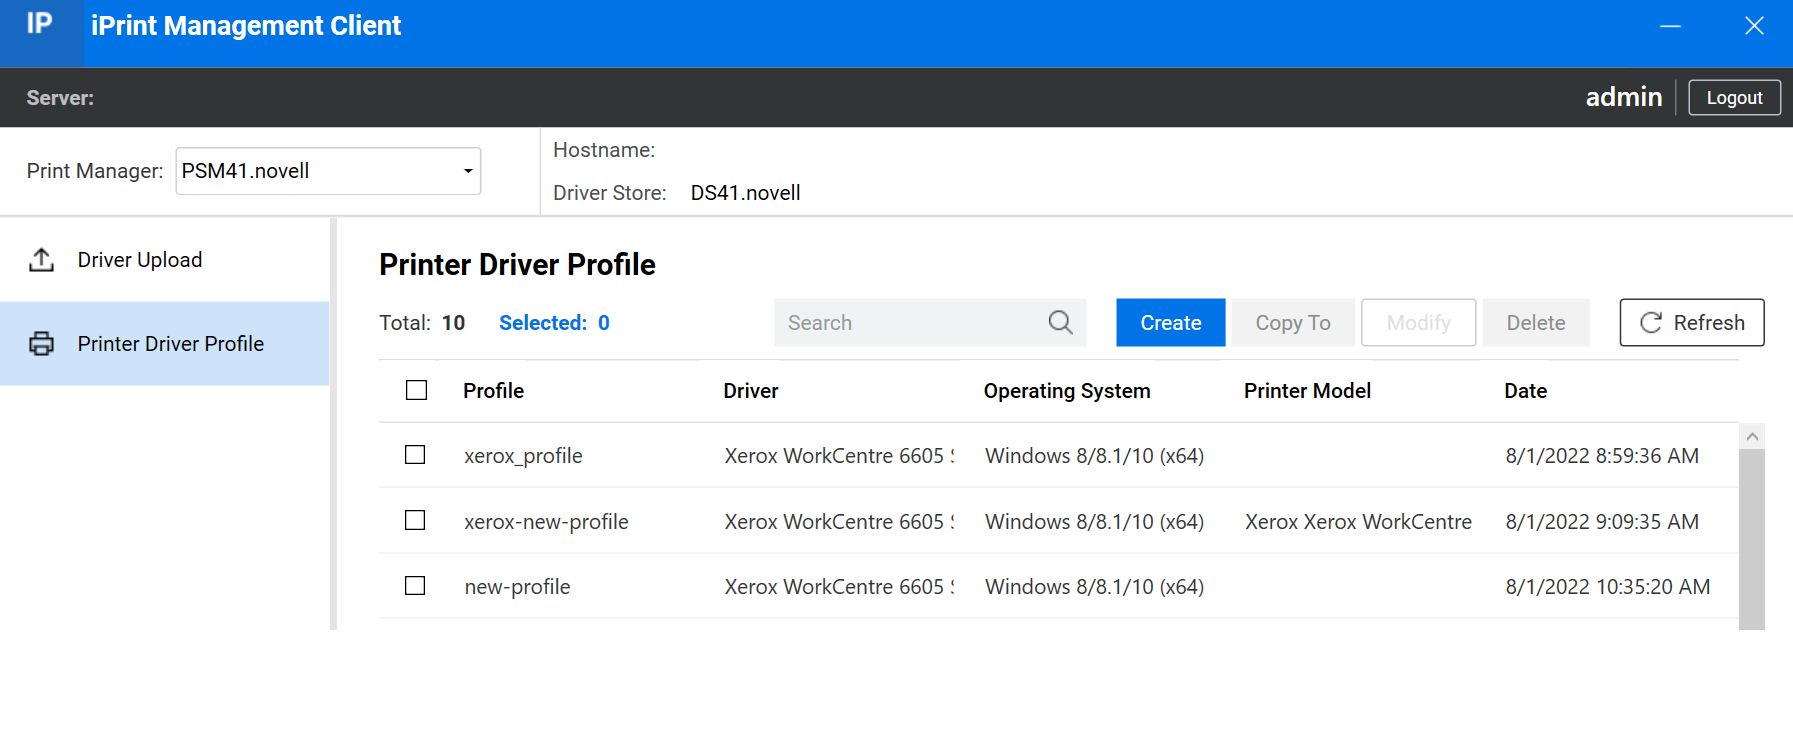
Login to the with the Administrator credentials.
Figure 12-4 Printer Profile View
-
From the dropdown list, select the Print Manager where you want the driver profile to be stored and made available to the printers on that manager.
-
Select the on the left pane and click .
-
In the window, perform the following tasks:
-
Specify the Driver Profile name.
You can create a new driver profile or you can use the existing driver profile.
-
To create a new driver profile, select Create new driver profile and then select the driver for new profile from the list.
-
To use the existing driver profile, select Create using existing driver profile and then select the driver profile from the list of existing driver profiles.
The associated printer model of the selected driver profile is displayed.
-
To enable printer communication, select the Requires printer communication check box.
-
Specify the name of the existing Printer Agent in the iPrint Printer name field. The driver profile is created and associated with the printer model.
NOTE:Ensure that your printer is reachable from the client during profile creation, or only basic profiles are created.
-
Click . The Loading Driver Configuration window appears and shows the progress.
The driver profile is created.
-
After creating a printer driver profile, you must associate it with a printer.