Creating your Web Application Tests
Directly after installing Silk Central Connect and configuring Subversion, you can create a new project for your Web application. Then you can use the built-in verification run to take a first screenshot of the Web application in each of the browsers that are available on your local machine.
- On the Silk Central Connect panel, click New Project. The New Project dialog box displays.
- If you are using Silk Central Connect in a full Silk Central environment, you can choose to add your new Silk4J project to an existing Silk Central project or to create a new Silk Central project.
- If you are creating a new project, type a name for the new project into the Project Name field.
- Type the URL of the test application into the URL field.
- Click OK.
-
Optional:
If you are testing an internal Web application on your intranet using cloud-based execution servers, click
Tunnel Settings and select
Local intranet website.
With this setting, the
Silk Central application server opens a tunnel to cloud-based execution servers and acts as a proxy to allow testing a website in your
local intranet. Note that this option is slower than a direct connection, so only select it if needed.
- Click Run Tests.
- Select all available configurations.
- Click Run Tests.
- Click Refresh to see if the execution is finished.
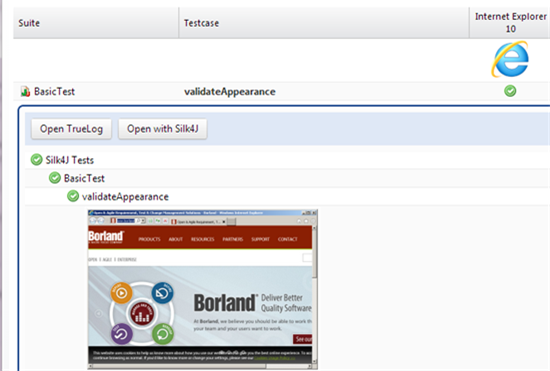
- When the execution is finished, click on the start time link. You can see the test result for every configuration. The default test case is called validateAppearance.
- Click on the test result of the first configuration. You can see details for the test result, including a screenshot of the test application. You can click on the screenshot to enlarge it.
-
Click through the results to see how the application looks on all configurations.
 Tip: You can use the Left and Right keyboard keys to switch between the results.