Running Unit Tests
To display unit tests in the
Micro Focus Unit Testing view, you must first run the unit test project that contains them. Only then will you see the test fixtures (the
.cbl files within the project), and test cases within them.
Note: The first time you run or debug a test fixture, you may be prompted with a Windows security alert, informing you that the
Windows firewall has blocked the process. You need to allow Eclipse access to your network before you can continue; this should
only be a one-off process.
-
In the
Micro Focus Unit Testing view, do one of the following:
- To run all test cases in the test fixture file, click
 (Run All).
- To run a single test case, right-click it, then select Run.
- To run multiple test cases, hold down Ctrl and click each required test case, right-click, then select
Run.
Note: The selected test cases can belong to different test fixtures, if required.
- To re-run the selection of test cases that last ran, click
 (Rerun Last); all other test cases are marked as skipped.
- To re-run all failed tests, click
 (Run Failed); all other test cases are marked as skipped.
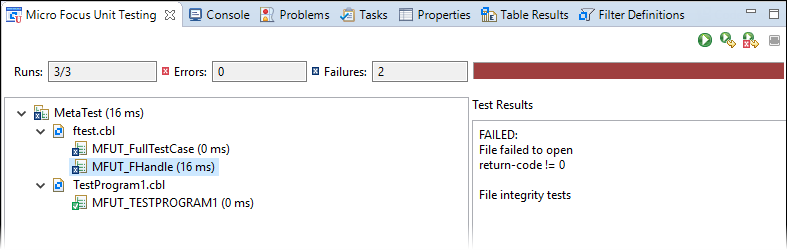
The selected test cases are run. The red indicator bar shows the progress of the test run; when complete, a breakdown of the completed test cases, including number of errors and failures is displayed.
- To run all test cases in the test fixture file, click
-
To view any messages that a particular test generated, select it from the hierarchy.
The results appear in the Test Results pane.