Packaging the JVM COBOL Application from the Command Line
The build.xml file provides instructions to build the product, the build target, and to package it, the create_jar target.
- If a
build.xml file does not already exist in the root of the addressBookJVM project then create it:
- Click the addressBookFX project.
- Click
This opens the New dialog box.
- Click
, and then click
Next.
This opens the New XML File dialog box.
- In the File name field, type build.xml.
- Click Finish.
- If a
build.xml file does not already exist in the root of the addressBookWrapper project then create it.
Use the above steps, a through e.
- If a
build.xml file does not already exist in the root of the addressBookFX project then create it.
Use the above steps, a through e.
Prepare the environment to be compiled:
- Click
Start > Micro Focus
Visual COBOL >
Visual COBOL Command Prompt (32-bit) or
Visual COBOL Command Prompt (64-bit).
This opens the command prompt.Note: This path is for Windows 10. The path may vary between versions of Windows. See To start Enterprise Developer command prompt for more information.
- Set the JAVA_HOME environment variable to point at Java JDK 1.8.0, at the command prompt, enter:
set JAVA_HOME=java_installation_folder
- Add the path to the Java JDK installation to the PATH environment variable, at the command prompt, enter:
set PATH=%JAVA_HOME%\bin;%PATH%
- Set the ANT_HOME environment variable to points to the Ant installation folder, at the command prompt, enter:
set ANT_HOME=ant_installation_folder
- Add the path to the Ant installation to the PATH environment variable, at the command prompt, enter:
set PATH=%ANT_HOME%\bin;%PATH%
- Set the mfant.jar to be used. This is required to compile JVM COBOL projects.
Ensure that mfant.jar is in your CLASSPATH variable, if not then enter:
set CLASSPATH=%ProgramFiles(x86)%\Micro Focus\Visual COBOL\bin\mfant.jar;%CLASSPATH%Alternatively, add the following parameter when calling ant:
-lib "%ProgramFiles(x86)%\Micro Focus\Visual COBOL\bin\mfant.jar" - You need to compile the three projects in the order addressBookJVM, addressBookWrapper, and addressBookFX. In the command
prompt, change your folder location to match the workspace path. To compile the addressBookJVM project, at the command prompt,
enter:
ant -f addressBookJVM\build.xml
This builds the addressBookJVM project. You will see BUILD SUCCESSFUL displayed in the command prompt. It creates the addressbookjvm.jar in the dist folder.
- To compile the addressBookWrapper project, at the command prompt, enter:
ant -f addressBookWrapper\build.xml
This creates the addressbookwrapper.jar in the dist folder.
- To compile the addressBookFX project, at the command prompt, enter:
ant -f addressBookFX\build.xml
Creates the dist folder and the addressbookfx.jar is added.
- Add the three jar files that you have created to the CLASSPATH. At the command prompt, enter:
set CLASSPATH=%CD%\addressBookFX\dist\addressbookfx.jar;%CD%\addressBookWrapper\dist\addressbookwrapper.jar;%CD%\addressBookJVM\dist\addressbookjvm.jar;%CLASSPATH%
- You can now run the application from the command prompt, enter:
java com.addressBookFX.MainClass
The Address Book COBOL Demo application is displayed. It should look similar to this:
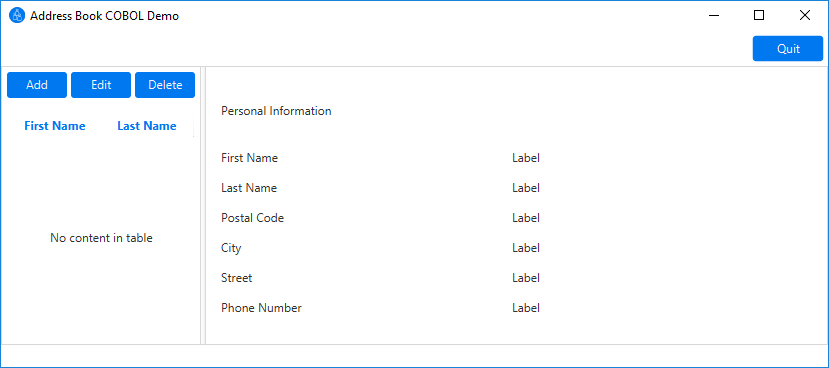
You can now use the Add, Edit, and Delete commands to modify records.