Creating a Single Eclipse Project in a New AccuRev Workspace
Use this procedure to create a new project and place all the files from an
AccuRev stream into a new
AccuRev workspace.
-
Click the
New button
 on the
Eclipse toolbar.
Tip: Or, you can select from the Eclipse main menu or select from the Eclipse main menu.The New Project dialog box appears.
on the
Eclipse toolbar.
Tip: Or, you can select from the Eclipse main menu or select from the Eclipse main menu.The New Project dialog box appears.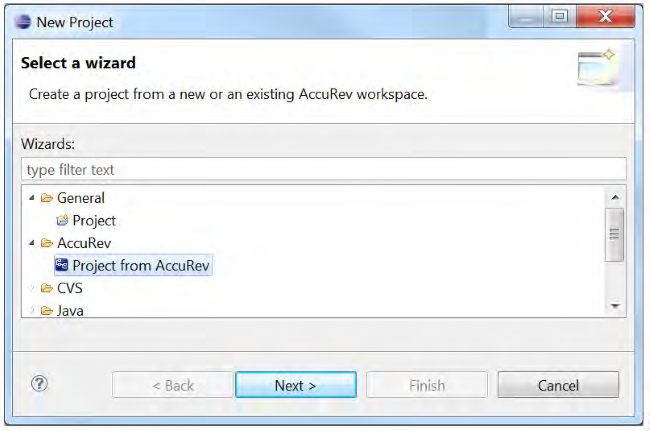
- In the Wizards field, navigate to . (If you have many wizards, simply type A in the Wizards field to go directly to AccuRev in the list.)
-
Click
Next.
Note: If you are not already logged in to AccuRev, you are prompted to do so. See Logging In to AccuRev.The Checkout from AccuRev page appears.
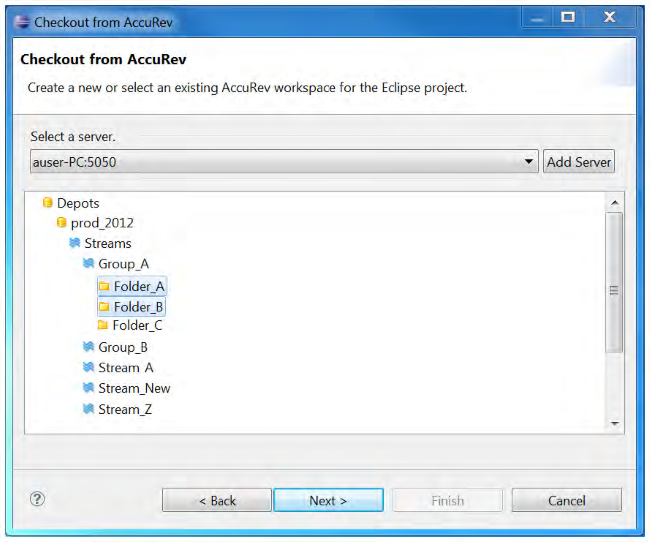
- Select a server where your AccuRev files are stored if the correct server is not already displayed in the Select a server field. If you need to add a server, see Adding an AccuRev Server.
-
Expand the
Streams folder.
 Tip: Click tree view and then click F5 to refresh.
 - Navigate to the stream off of which you want the new AccuRev workspace to be located.
- Select a stream.
-
Click
Next.
The
Create New Workspace page appears.
-
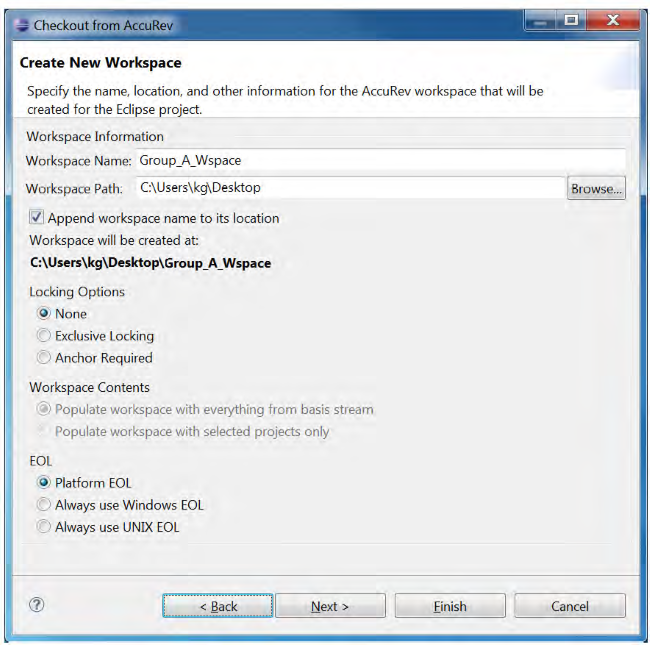
In the
Workspace Name field, enter a name for the new
AccuRev workspace.
Note: When the workspace is created in AccuRev, the suffix _username is appended to the workspace name that you enter in this field. For example, if your AccuRev username is jsmith and you enter W1 as the workspace name, AccuRev creates the workspace name as W1_jsmith.
-
In the
Workspace Path field, enter or browse to the path (containing no other workspaces) where the new workspace will be created.
Note: The Workspace Path must be a unique location that contains no other workspaces, and AccuRev displays a message if it is not unique. There are several ways to try to make the Workspace Path unique:
- In the Workspace Path field, enter a unique name of a directory to be created. This new directory will be the location of the new workspace.
- Click the Append workspace name to its location box. In this way, a new directory will be created based on the workspace name. For example, if the Workspace Path you enter is C:\Workspaces and the Workspace Name you enter is NEW_WS, then a new directory will be created named C:\Workspaces\NEW_WS. This new directory will be the location of a workspace named NEW_WS. (Make sure there is not already a workspace of that name already within the selected stream.)
- Create a unique directory to contain the workspace and browse to this in the Workspace Path field.
-
Optionally change the default values for settings for the new workspace:
Locking Options,
Workspace Contents, and
EOL convention.
Note: If you choose either Exclusive Locking or Anchor Required locking options, you will need to perform an Anchor command on a file before editing it.
-
Select the
Workspace Contents option based on which files from the stream are to be included in the workspace. The following options are available:
- Populate workspace with everything from basis stream
- This option places all the files from the basis stream in the workspace and does not provide any AccuRev include rules. Use this option if you want to include all files from the stream in the project. (This option may take a while if you have a very large stream.)
- Populate workspace with selected projects only
- This choice updates the workspace with only the files from the folders you selected. AccuRev include rules are used to find the files belonging to those folders only. The other files in the basis stream will be excluded. This is the default choice. Use this option if you only want to include only the files of the selected folders in your project.
-
Click
Next.
The
Check Out As dialog box appears and displays two checkout options:
- Check out as a project configured using the New Project Wizard
- This option allows you to create a new Eclipse project file using the New Project Wizard. Eclipse creates a new .project file.
- Check out in the workspace as projects
- This option allows you to use an existing .project file to create the new project. This option is selected by default if a .project file is detected in the workspace you selected in the previous step.
Note: The .project file must have an AccuRev status of (kept) in order to be detected.
- Select the project checkout option you want to use.
-
Complete the
Project Name field or leave it as displayed:
- If you selected the Check out as a project configured using the New Project Wizard option, the AccuRev workspace name is used as the default Project Name. You can change this name or leave the default.
- If you selected the Check out in the workspace as projects option, the Project Name is taken from the existing .project file. This name cannot be changed and the Project Name field is disabled. For more information, see How New Eclipse Project Names are Taken from Existing .project Files
Note: The Project Location field displays the workspace path you selected. -
Click
Finish or
Next as appropriate:
- If you selected the Check out in the workspace as projects option, the Finish button is active. Click Finish. A Creating Eclipse Projects message appears and you are done. A new project is created.
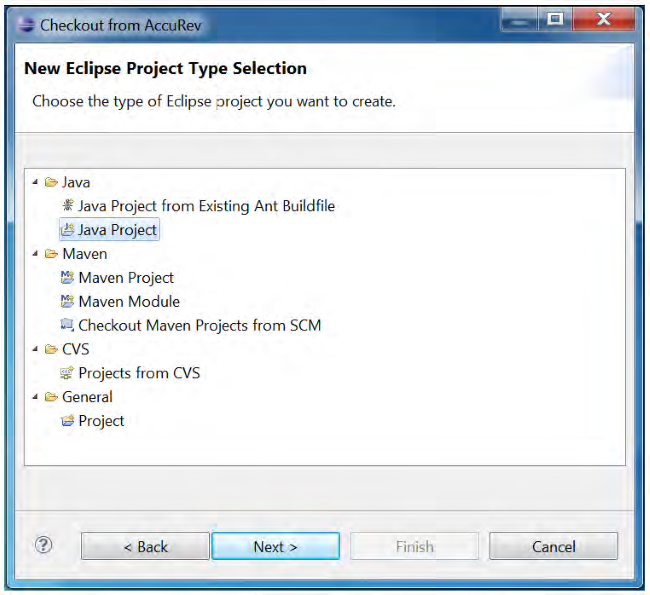
- If you selected the Check out as a project configured using the New Project Wizard option in Step 8, the Next button is active. Click Next. The New Eclipse Project Type Selection page appears.
-
Expand the project category you want to create, and then select a specific project type.
Note: The list of project types varies based on the Eclipse plug-ins you have installed.
-
Click
Next.
The first page of the configuration wizard for the project type you selected appears.
Note: The wizard pages displayed from this point forward vary based on the project type you selected.
- Complete the remaining wizard pages for the project type and click Finish. A new project is created.