Run a JCL Job
Now that your Fileshare server server1 and your enterprise server region FSDEMO are both running, we will run a simple JCL jobstream to verify that new datasets are created correctly and that everything is working.
- Create an iefbr14.jcl file in the fsdir directory.
- Open the file in a text editor and copy the code below in it:
//DMFBR14  JOB 'DMFBR14',CLASS=A,MSGCLASS=A
//STEP1    EXEC PGM=IEFBR14
//SYSOUT   DD SYSOUT=*
//SYSPRINT DD SYSOUT=*
//DD1      DD DSN='DMF.TEST.DSN',DISP=(MOD,DELETE)
//DD2      DD DSN='DMF.TEST.DSN2',DISP=(MOD,DELETE)
//*
- On the
ESCWA Administration page, click
, drag the file you just created to the area in the
Submit JCL to JES section, and then click
Submit.
A message box is displayed confirming that the job has been submitted.
- Within the
Start JES Initiators and Printers section, type
A in the
Classes field and then click
Start.
The JCL job now runs.
- Click
to display the JES Output Queue, and then click the
 (View) icon to the right of the job to display its details.
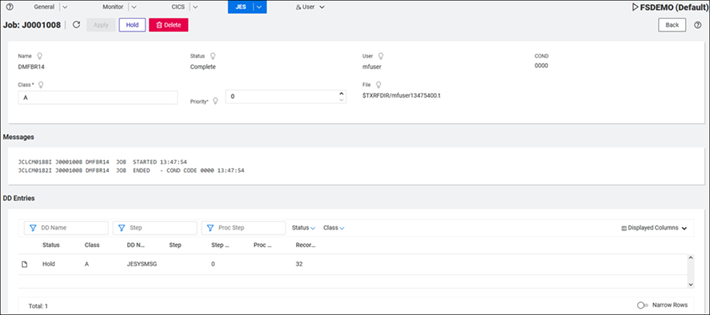
- Click
(View) to the right of the entry shown in DD Entries.
The joblog is displayed. You can see the Fileshare server name ($$SERVER1) used when processing the dataset.
This ends the walkthrough.