Action Blocks
This page lets you create Action Blocks that can be linked to a policy.
Action Block Overview
Action Blocks allow the sharing of specific policy options between multiple policies. The design goal behind Action Blocks is to provide a framework where the sharing of options between policies can be achieved in a straightforward and easy to understand manner.
Action Block Overview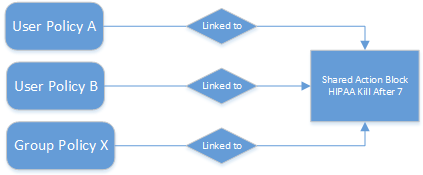
Action Blocks do not introduce a new policy type. Rather, they are extensions of policies in that the set of options they represent are not contained within the policy itself. This eliminates the need for policies to inherit from each other and promotes the sharing of general and often-repeated policy options such as groom and vault rules. Existing User, Group, and Collaborative policy types remain as they previously did with the exception that they have been extended to support a relationship value providing the necessary link for a given Action Block.
An Action Block can have a many-to-one relationship. This means that any number of policies can share any particular Action Block for a given policy option. Action Block inheritance cannot be chained. That is to say, “Policy A” cannot inherit the Filter rules from “Groom Block A” and “Groom Block B”. “Policy A” can only be to linked to one of the two Action Blocks and they do not inherit from each other. When changes are made to an Action Block, those changes are implicitly taken up by every linked policy. Thus, before making changes to an Action Block, it is important to understand the impact of those changes. As with normal event processing and policy editing, if a change is made to an Action Block while an event is in-flight for its given options, those changes may not be reflected in the outcome of the event.
Private Versus Shared
Regardless of an Action Block’s type, it is either Private or Shared.
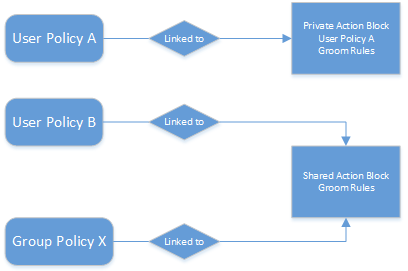
A Private Action Block represents a set of policy options that aren’t shared, yet have been migrated to the Action Block architecture. Private Action Blocks are also created and associated to a policy when the policy is upgraded as new Action Block types are supported. Below is an example of the relationships between policies and their Private Action Blocks for Filters. Any of these might be the result of creating a new policy with Groom Rules or an upgrade from the legacy policy architecture.
Relationships Between Policies and their Private Action Blocks for Filters
When you create an Action Block, it is automatically marked as Shared and is available for being shared with other policies. However, if you edit a policy that does not derive a particular policy option from an Action Block, a Private Action Block is created and associated to the policy when the policy is saved. If you change a policy that has a Private Action Block to use a Shared Action Block, the policy’s Action Block reference is updated to that of the Shared Action Block and the Private Action Block is deleted.
Shared and Private Action Block Associations
By default, a Private Action Block is not viewable in the list of Shared Action Blocks.
Creating a Filter Action Block
- In the Admin Client, click the Identity Driven tab.
- Click Action Blocks.
- Select Manage > New> Filter.
- In the Name field, give the new Action Block a name and click OK.
- Click Add.
- In the Rule Editor, specify the parameters for the Action Block Filter and click OK.
- Click OK to close the Action Block Editor dialog box.
The following dialog box appears: 
Rules: Rules are composed of the standard File Dynamics rule options. Rules cans be added, deleted, edited, promoted, and demoted. Once a Filter Action Block is saved, those settings will be effective immediately.
Options: The Description option can be used to provide detailed context for the usage and implementation of the Filter Action Block.
Linked Policies: Linked Policies is a read-only view of which policies are linked to the Filter Action Block.
For procedures on entering settings in the Rule Editor, see Setting Vault Rules.
Linking Filter Action Blocks
Filter Action Blocks can be linked to the following:
- Policy-based Vault
- Policy-based Groom
Linking a Filter Action Block to a Policy
These procedures specify how to link a Filter Action Block to an existing policy. You can also link a Filter Action Block to a new policy as you create one.
- In the Admin Client, click the Identity Driven tab.
- Click Policies.
- Right-click a selected policy and select Edit.
- Click either Vault or Groom.
- Click Link Action Block.
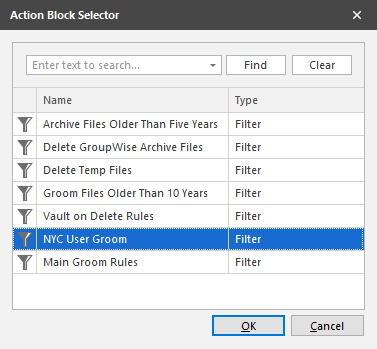
- From the Action Block Selector dialog box, select the Filter Action Block you want to link.

- Click OK.
- Click OK to save the link.
The link is specified in the Groom Rules or Vault on Delete Rules header.
When a policy's Vault or Groom Rules are linked to a Filter Action Block, the rules displayed in the policy editor are read-only. To edit the Filter Action Block, click the name as it appears in the header.
Creating a Managed Path Naming Attribute Action Block
You can use a Managed Path Naming Attribute Action Block to specify the naming attribute and its corresponding definition, to an existing policy.
For specifications pertaining to Managed Path Naming Attribute, see Managed Path Naming Attribute Specifications.
- In the Admin Client, click the Identity Driven tab.
- Click Action Blocks.
- Select Manage > New> Managed Path Naming Attribute.
- In the Name field, give the new Action Block a name and click OK.
- From the Policy Type drop-down menu, specify whether the Managed Path Naming Attribute Action Block will be linked to a User/User Auxiliary policy or a Group Collaborative storage policy.
- From the Attribute drop-down list, select one of the single-valued Active Directory attributes for the User or Group object.
- Click Apply.
The following dialog box appears: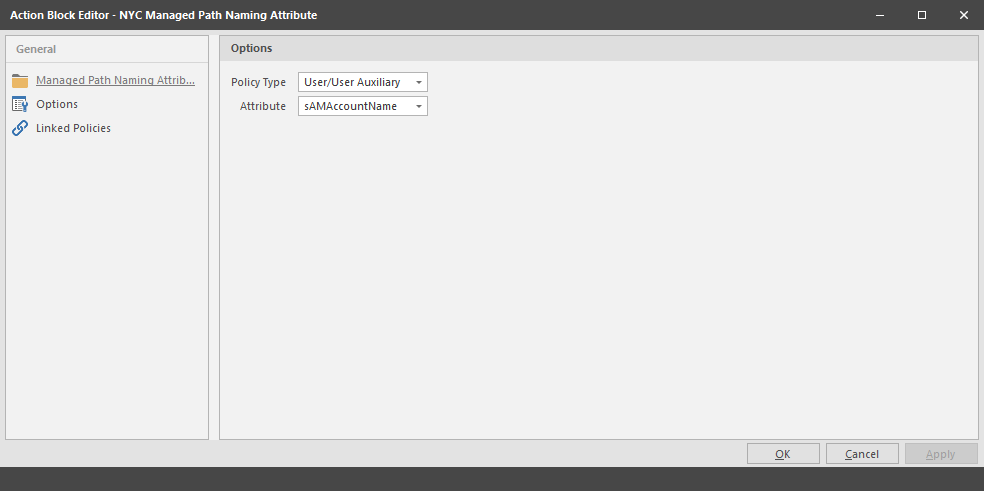
Managed Path Naming Attribute: Displays the Policy Type and Attribute drop-down menus.
Options: The Description option can be used to provide detailed context for the usage and implementation of the Managed Path Naming Attribute Action Block.
Linked Policies: Linked Policies is a read-only view of which policies are linked to the Managed Path Naming Attribute Action Block.
The attributes types that you can select vary based on the selected policy type.
You have the ability to specify an attribute other than sAMAccountName. This ability was added to provide network administrators the ability to give provisioned folders a more descriptive name.
Once you select a different attribute, you can then use an account provisioning system such as NetIQ Identity Manager to automatically populate the selected attribute with a desired folder name and then File Dynamics will automatically provision the home folder based on this attribute setting.
For more information, see Setting Target Paths
Linking a Managed Path Naming Attribute Action Block to a Policy
These procedures specify how to link a Managed Path Naming Attribute Action Block to an existing policy. You can also link a Managed Path Naming Attribute Action Block to a new policy as you create one.
- In the Admin Client, click the Identity Driven tab.
- Click Policies.
- Right-click a selected policy and select Edit.
- In the Policy Editor, click Target Paths.
- Click Link Action Block.
- Select the Action Block you want to link.
- Click OK.
Creating a Move Schedule Action Block
Use Move Schedule Action Blocks to standardize when data can be moved during data movement operations.
- In the Admin Client, click the Identity Driven tab.
- Click Action Blocks.
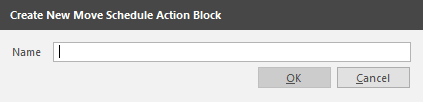
- From the Manage menu, select New > Move Schedule.

- Enter a descriptive name for the new Action Block and click OK.
- In the Move Schedule grid, click the squares for the day and hour you want to disable for data movement.
- Click Apply to save your settings.
- Click OK to close the page.
The following page appears: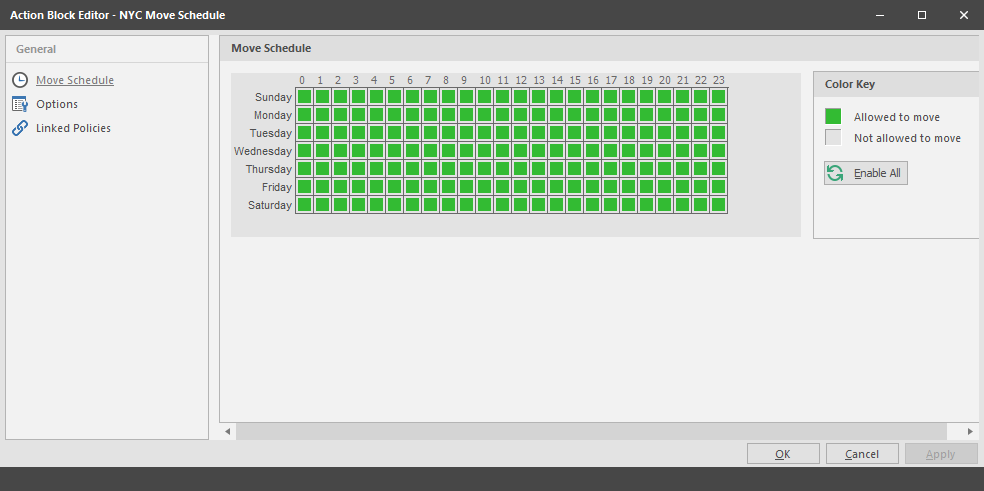
By default, all days and times are available for data movement. If data movement during regular business hours creates unacceptable network performance, you can choose to move data after regular business hours.
Linking a Move Schedule Action Block to a Policy
These procedures specify how to link a Move Schedule Action Block to an existing policy. You can also link a Move Schedule Action Block to a new policy as you create one.
- In the Admin Client, click the Identity Driven tab.
- Click Policies.
- Right-click a selected policy and select Edit.
- In the Policy Editor, click Move Schedule.
- Click Link Action Block.
- Select the Action Block you want to link.
- Click Apply to save your settings.
- Click OK to close the page.
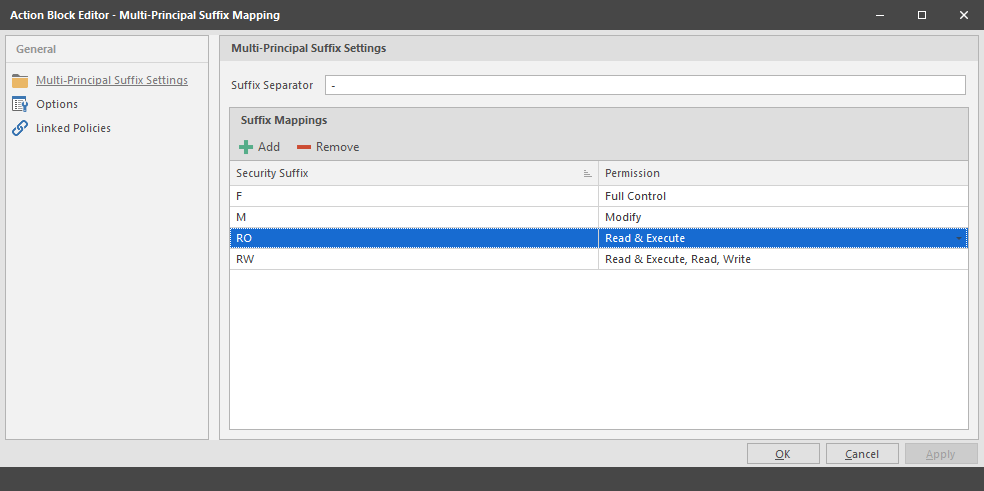
Creating a Multi-Principal Suffix Mapping Action Block
Use Multi-Principal Suffix Mapping Action Blocks to standardize the groups and their associated permissions for the collaborative storage folders that are provisioned by File Dynamics.
- In the Admin Client, click the Identity Driven tab.
- Click Action Blocks.
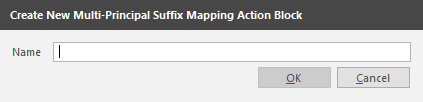
- From the Manage menu, select New > Multi-Principal Suffix Mapping.

- Enter a descriptive name for the new Action Block and click OK.
- Click Add.
- In the Security Suffix column, highlight SampleSecuritySuffix and edit it to a more descriptive name of a group that will access the collaborative storage folder.
- Click the Full Control setting to access a drop-down menu of access permissions.
- Specify the permissions for the particular group and click OK.

- Repeat Step 5 through Step 8 to create all groups and permissions to the collaborative storage folder.

- Click Apply.
- Click OK.
The following page appears: 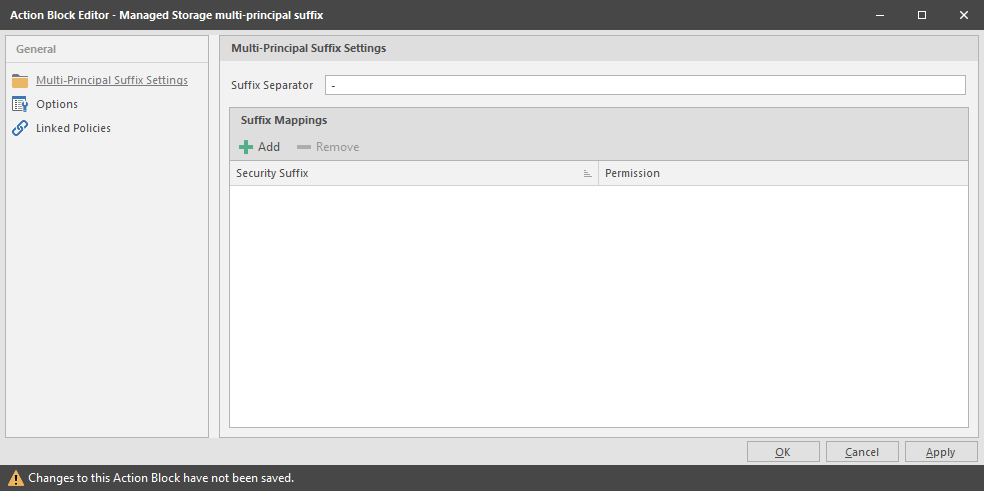

Linking a Multi-Principal Suffix Mapping Action Block to a Policy
These procedures specify how to link a Multi-Principal Suffix Mapping Action Block to an existing policy. You can also link a Multi-Principal Suffix Mapping Action Block to a new policy as you create one.
- In the Admin Client, click the Identity Driven tab.
- Click Policies.
- Right-click a selected Group Multi-Principal Collaborative policy and select Edit.
- In the Policy Editor, click Provisioning Options.
- Click Link Action Block.
- Select the Action Block you want to link.
- Click Apply to save your settings.
- Click OK to close the page.
Creating a Target Paths Action Block
Use Target Paths Action Blocks to standardize the placement rules for the managed path, as well as the paths to the shares where managed paths will be hosted.
- In the Admin Client, click the Identity Driven tab.
- Click Action Blocks.
- From the Manage menu, select New > Target Paths.
- Enter a descriptive name for the new Action Block and click OK.
- Click Add to access the Path Browser.
- Browse to the location of the target path you want and click Add to add the target path to the Selected Paths pane.
- Click OK to close the Path Browser.
- In the Placement Rules region, specify a Distribution field setting and if you choose, Leveling parameters.
- Click Apply.
- Click OK.
The following page appears: 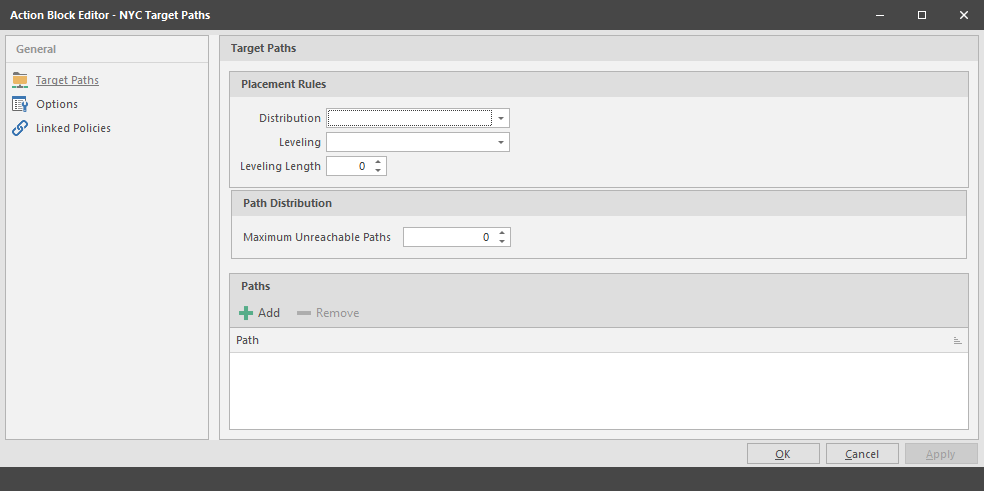
For more information on target path distribution and leveling, see Setting Target Paths.
Linking a Target Paths Action Block to a Policy
These procedures specify how to link a Target Paths Action Block to an existing policy. You can also link a Target Paths Action Block to a new policy as you create one.
- In the Admin Client, click the Identity Driven tab.
- Click Policies.
- Right-click a selected policy and select Edit.
- In the Policy Editor, click Target Path Options.
- Click Link Action Block.
- Select the Action Block you want to link.
- Click Apply to save your settings.
- Click OK to close the page.