Microsoft 365 Reports
Once Agent365 scans the data and associated permissions for Microsoft 365 file repositories, you can use the pre-built custom queries and associated report layouts in https://filequerycookbook.com to generate reports.
Determining Prerequisites
-
Install and configure Agent365 — see Agent365 in the File Reporter 24.4 Installation Guide for details.
-
Scan the tenant — see Tenants in the File Reporter 24.4 Administration Guide for details.
-
Install the Client Tools — see Installing the Client Tools in the File Reporter 24.4 Client Tools Guide for details.
Designing the Report
The Client Tools include the Report Designer application used in these procedures.
-
Locate and download one of the custom queries and associated reports for Microsoft 365 in the File Query Cookbook (https://filequerycookbook.com). The file is saved as a zip archive.
-
the downloaded file and open the .sql file in a text editor. You will eventually paste this custom query into the Query Editor.
-
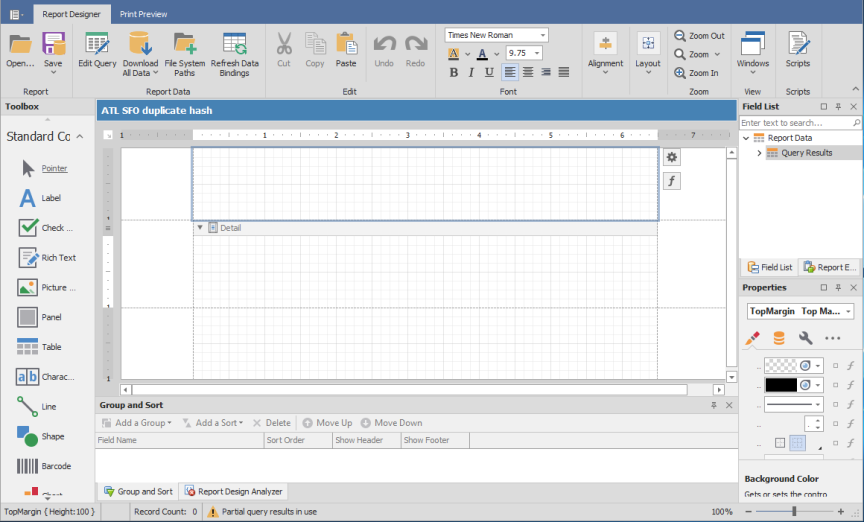
Launch the File Reporter 24.4 Report Designer in the Start menu.
-
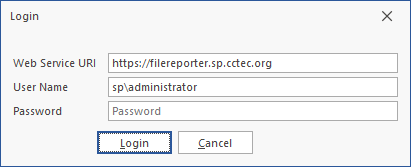
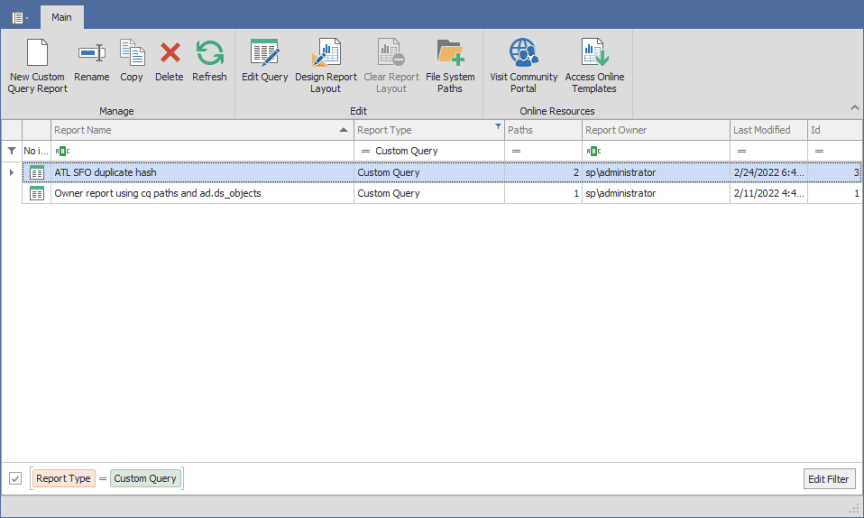
Enter your login credentials and click Login to open a list of your saved Custom Query reports.
-
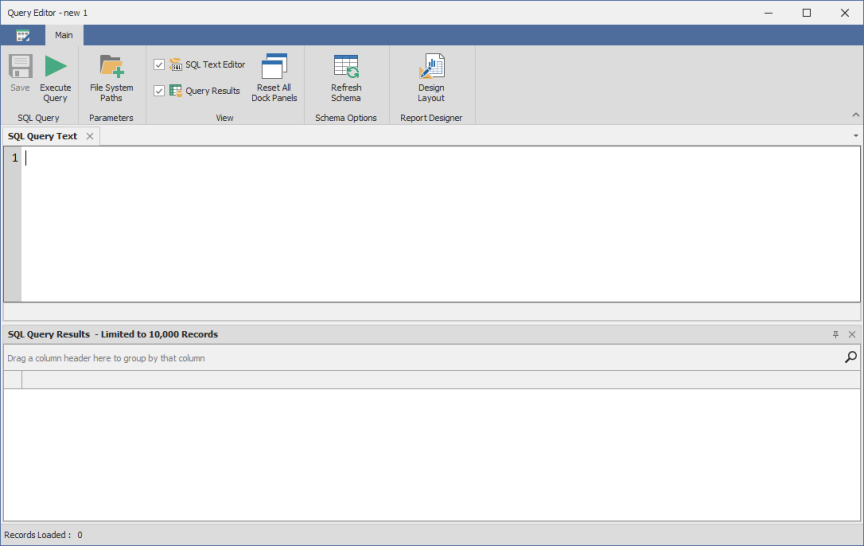
Click New Custom Query, enter a descriptive name, then click Create to launch the Report Designer Query Editor.
-
Copy the custom query you opened in the text editor (see the downloaded file and open the .sql file in a text editor. You will eventually paste this custom query into the Query Editor.) and paste it into the Query Editor.
-
(Conditional) If there are target paths or other modifications that need to be made for your environment, follow the procedures for the recipe.
-
Click Execute to open a preview of the report data in the bottom portion of the editor.

-
Click Save.
-
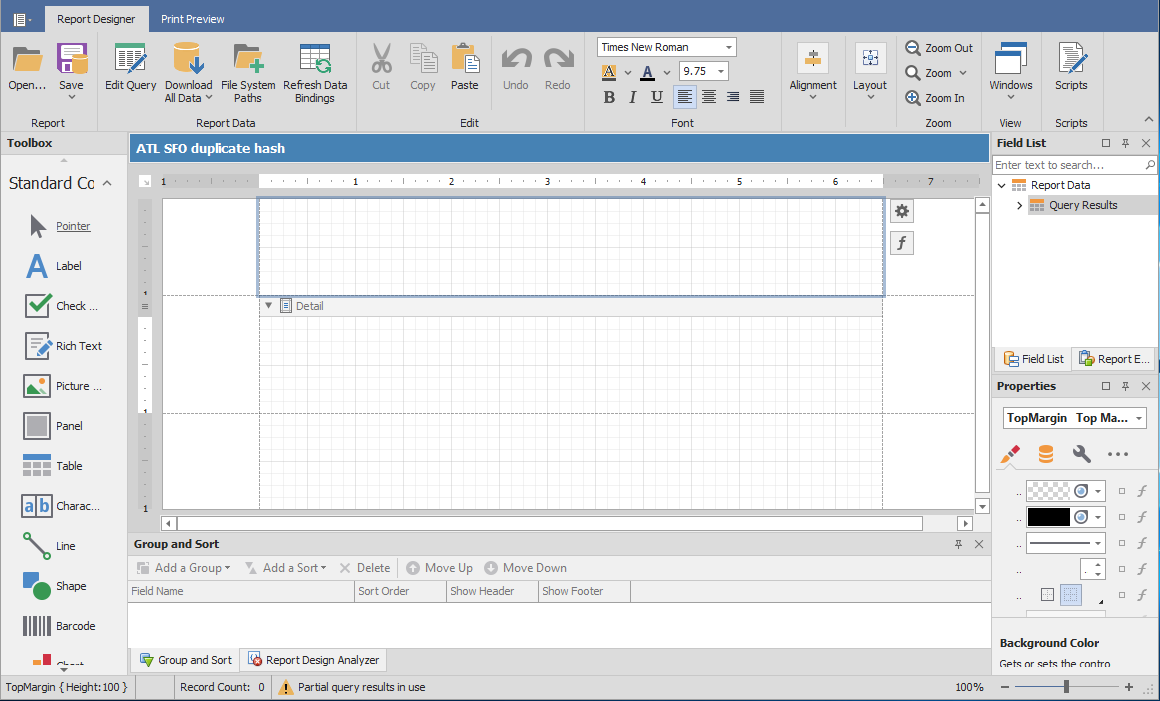
Click Design Layout.
-
Click Open.
-
Locate the .repx file you saved and unzipped in the downloaded file and open the .sql file in a text editor. You will eventually paste this custom query into the Query Editor. , and click Open. The layout template now appears in the Report Designer.
-
Click Download All Data.
-
Click Yes in the dialog box that opens to run the query in the database and load the data into the report template.
-
Click Print Preview to review the report findings.
-
Save the report by performing either of the following procedures:
-
Select the desired file type to save the report in the Export To drop-down menu.
-
Click Save Report to save the report as a .prnx file that you can open in the Report Viewer and export it to the desired file type.
-