Remote System View
Opening the Remote System Explorer
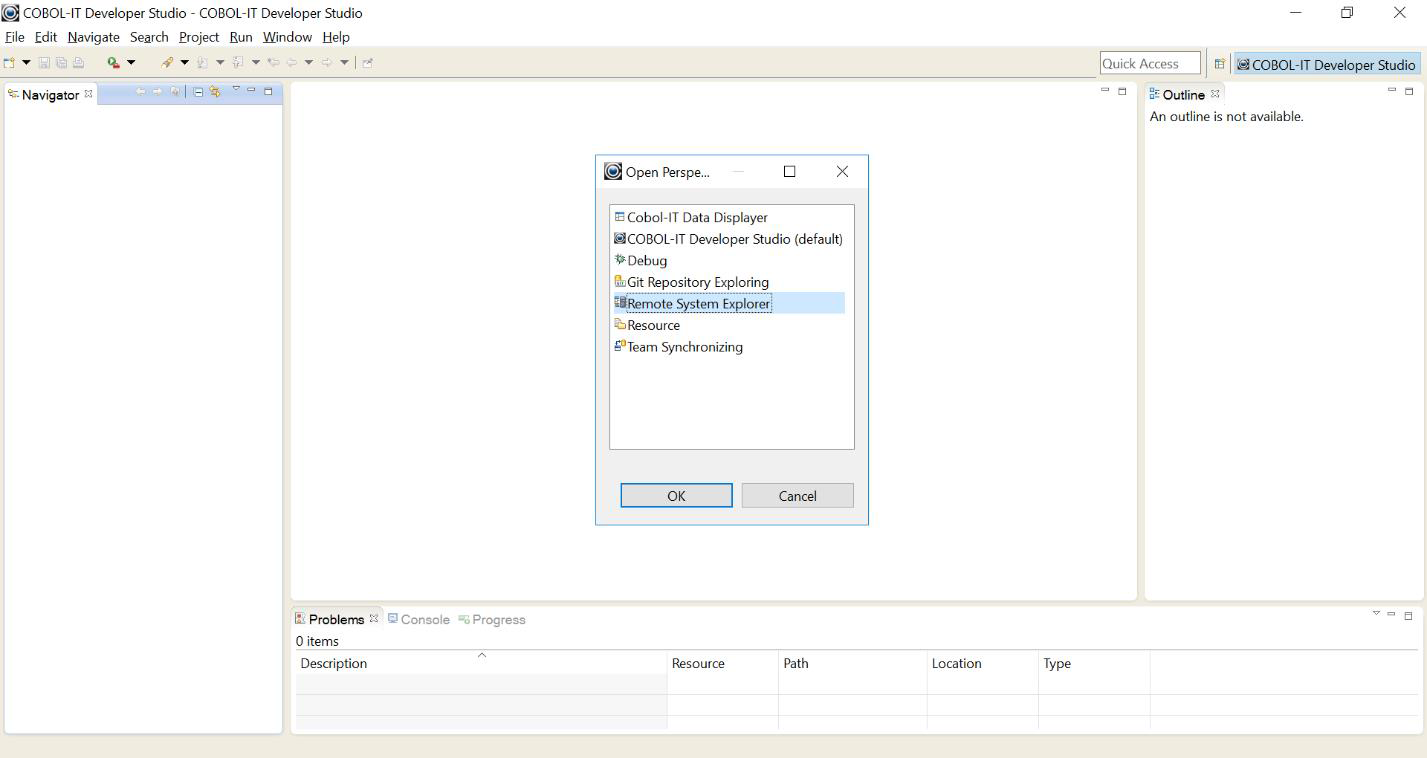
Window>Open Perspective>Other>Remote System Explorer
Select Window>Open Perspective>Other. In the Open Perspective dialog screen, select Remote System Explorer.
Using The Remote System View
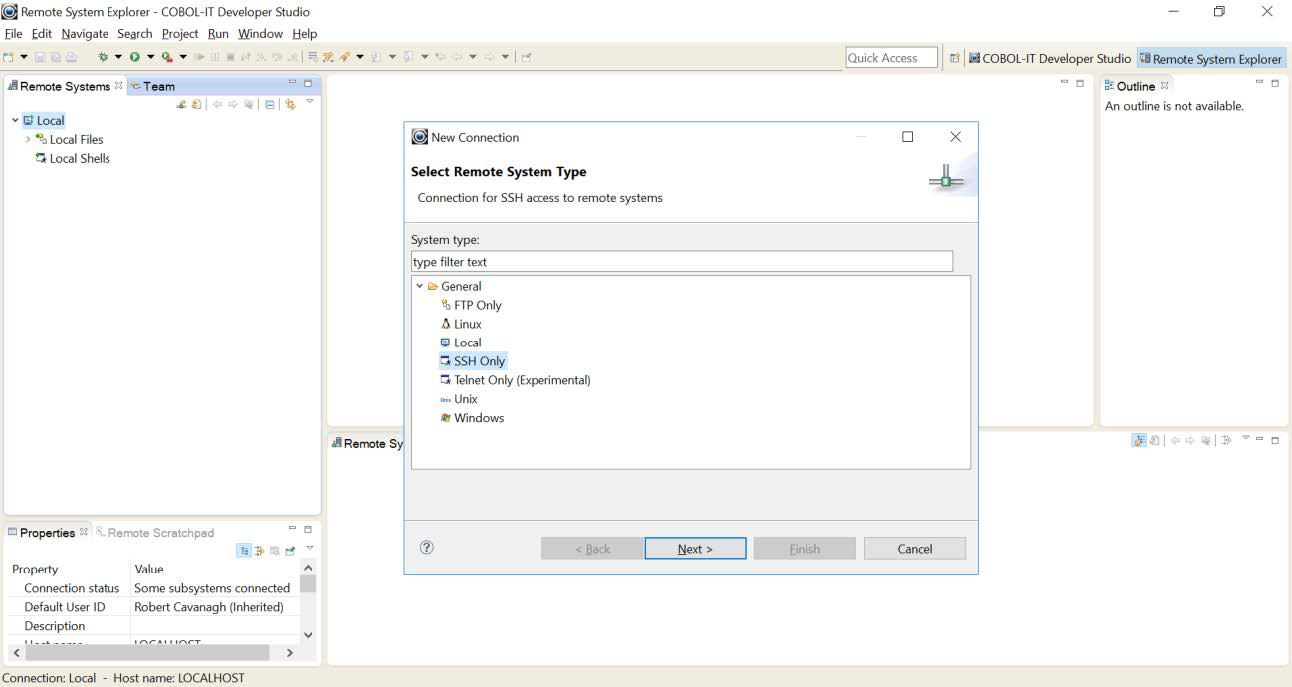
In the Remote System View, click on Define a connection to remote system ![]() .
.
Remote System View>Define a connection to remote system
On the New Connection dialog screen, select SSH Only. Click on the Next button to continue.
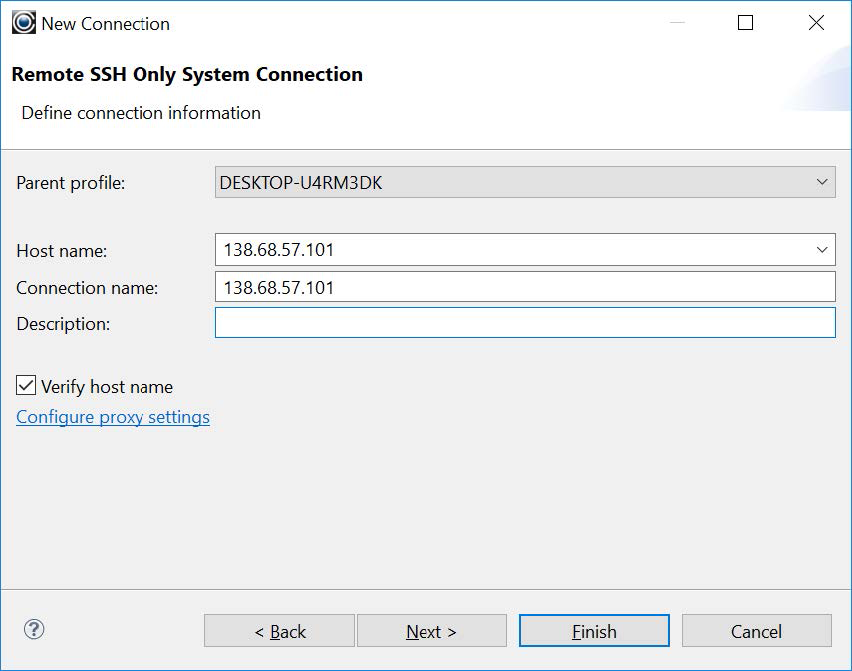
Enter Host Name, or IP Address
On the New Connection dialog screen, enter the host name of the remote machine.
The host name can be entered either as the name of the machine (for example sun01) or as an IP address.
Click on the Finish button to proceed to the password screen.
Remote System View>[Host Name]>[Dropdown]>Connect
The Remote System View provides you with a tree structure based on the Host Name/IP Address. Select the Host Name/IP Address. Right-click and select Connect from the dropdown menu.
On the Enter Password Dialog Screen, enter the User ID, and Password. Note that the User ID and password can be saved, making future attachments to the remote machine automatic.
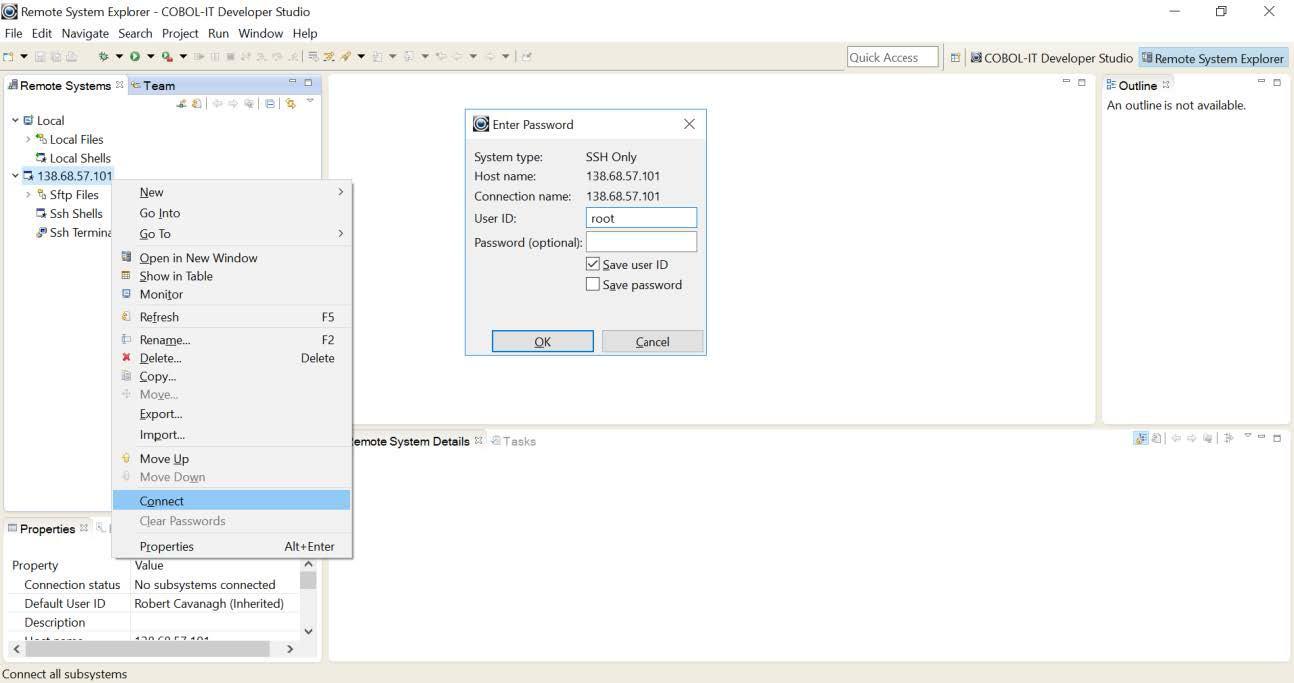
Note
This login can be pre-configured in Window>Preferences>Remote Systems>Passwords.
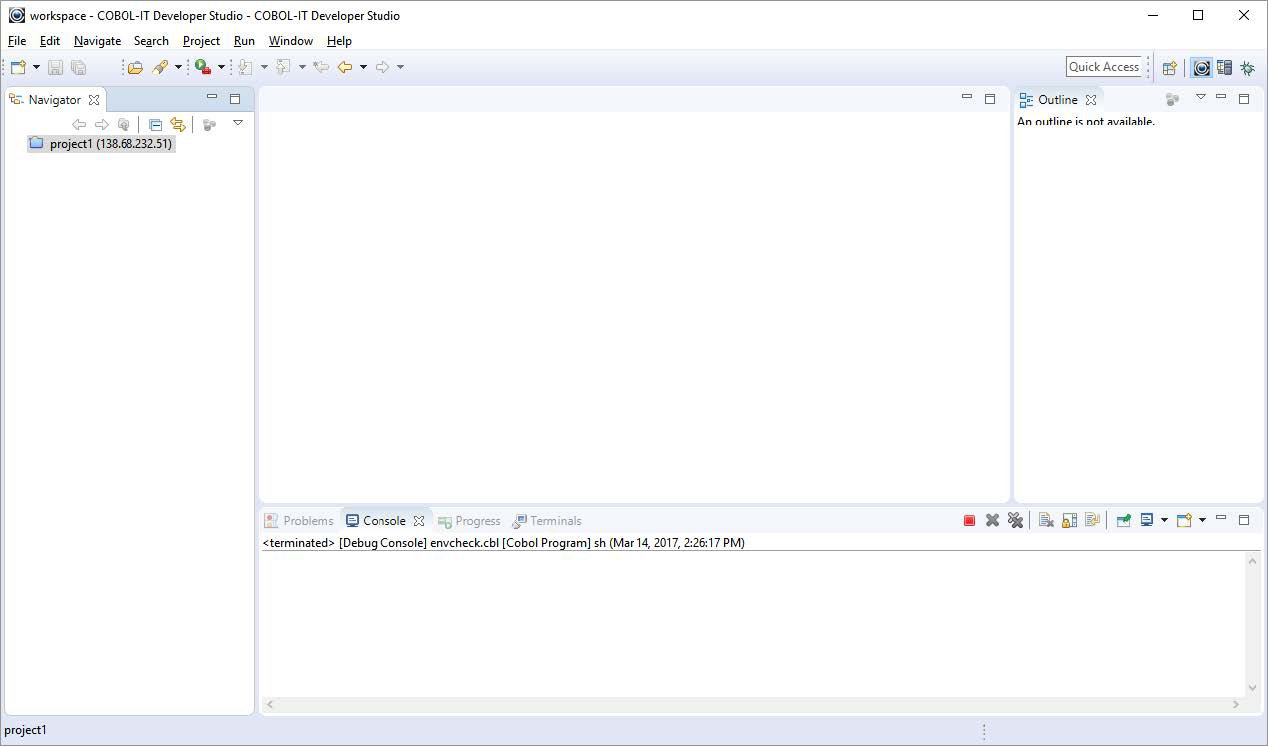
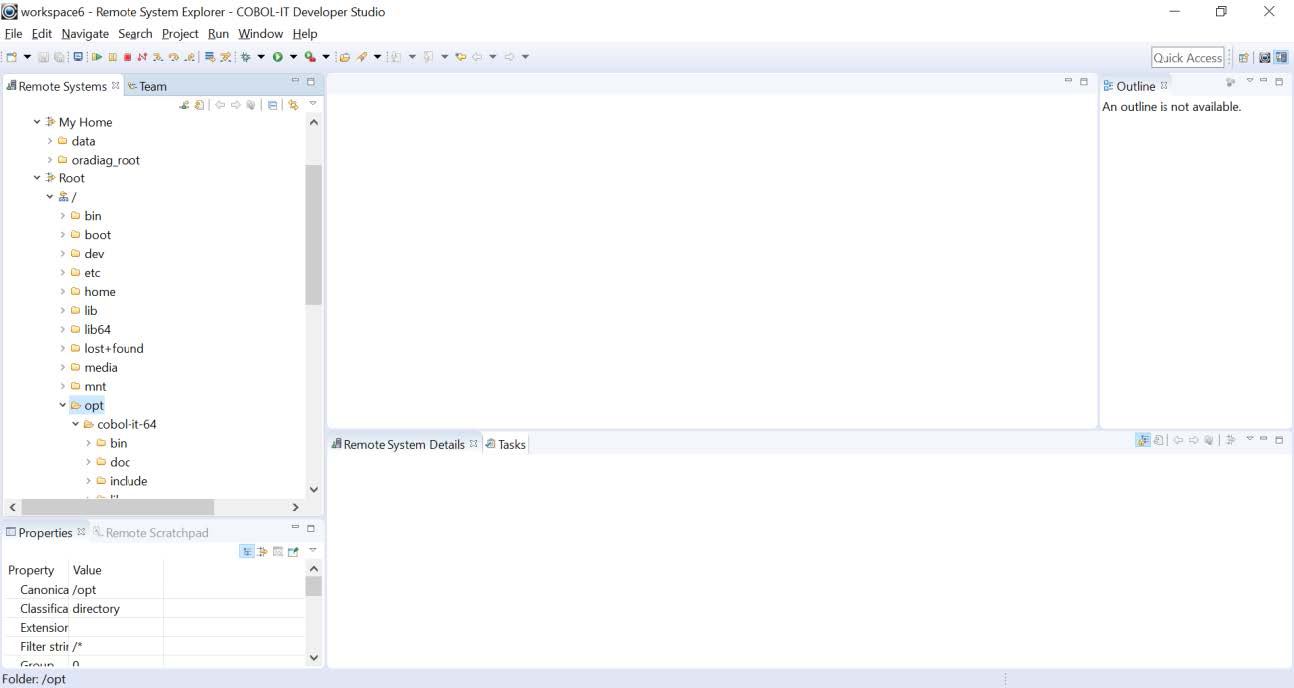
View of the Remote Systems View when logged in
Having logged into My Home, you see that My Home now provides a view of the files and directories in the login directory on the remote system.
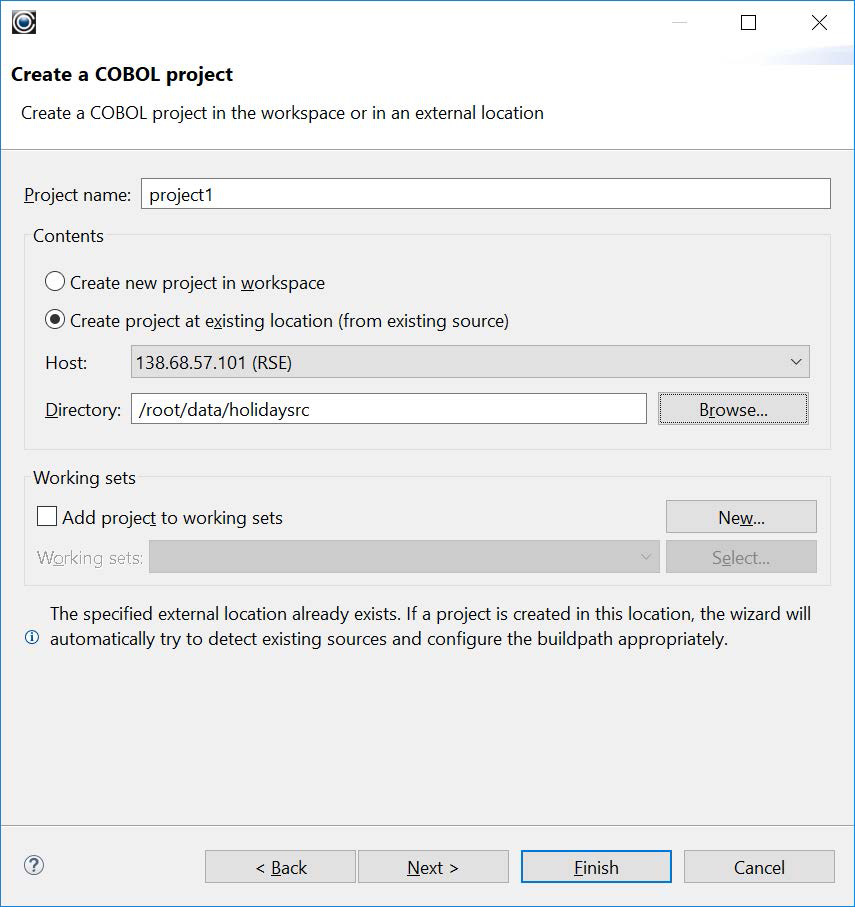
File>New>Project>COBOL>COBOL Project
When you have logged into the remote machine, you work in the Developer Studio and Debugger Perspective interfaces. For example, to create a new project, select File>New>Project. In this exercise, we will create a project using existing source code.
Name the project in theProject name: entry field. Select Create project at existing location (from existing source). Dropdown the Host: combobox, and select the Hostname/IP Address you are working on. Click on the Browse button, and browse to the location of the existing source code. Click Finish.
Working in a remote project

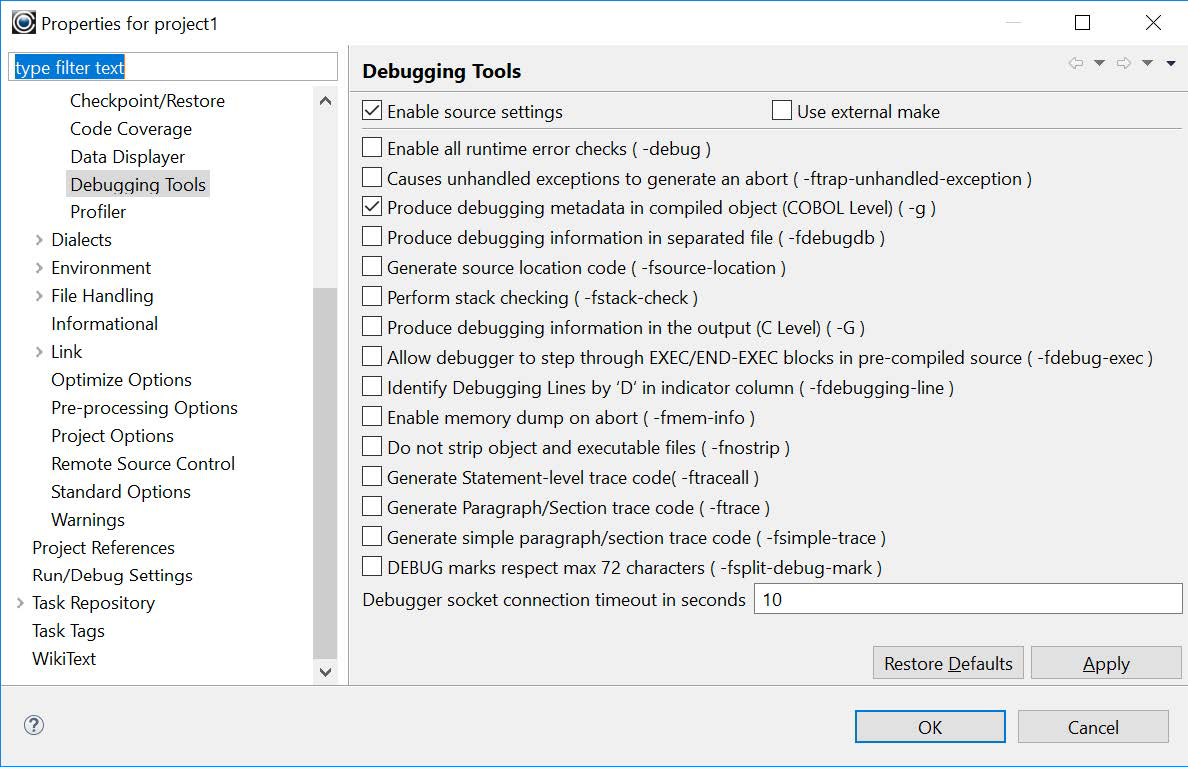
Set Project Properties
In Project>Properties>COBOL Properties>DevOps Tools>Debugging Tools, select the -g compiler flag, to allow debugging.
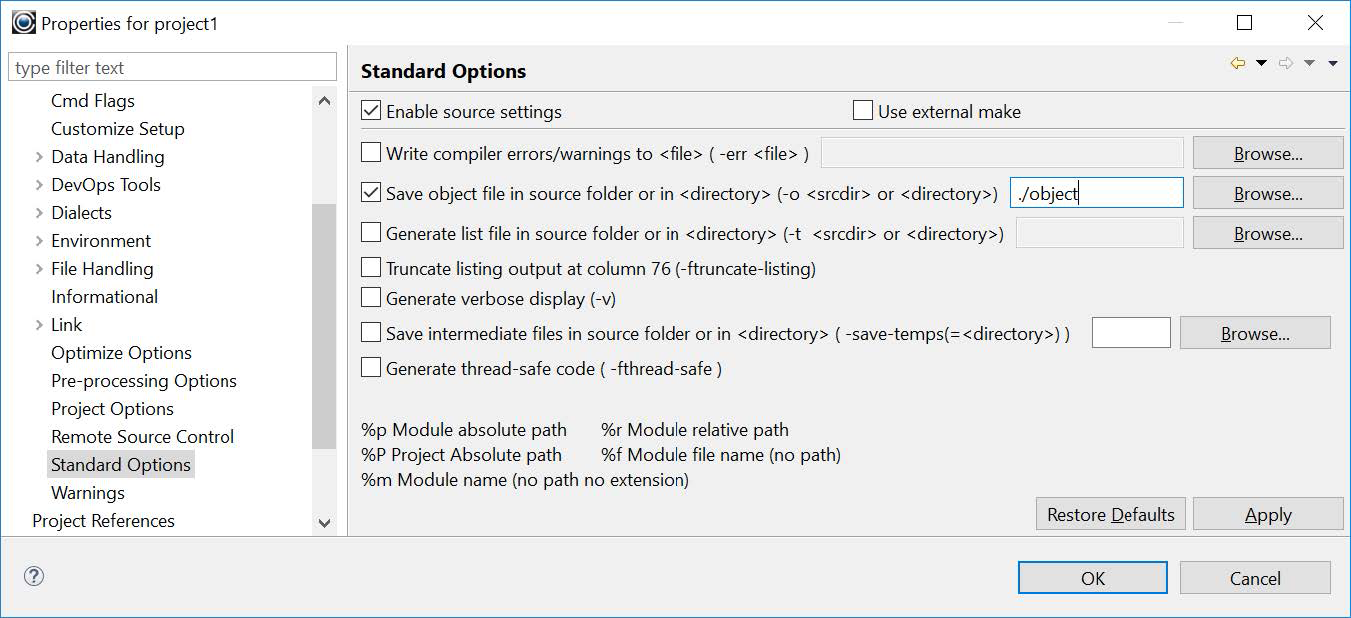
In Project>Properties>COBOL Properties>Standard Options, select the -o compiler flag option, and enter ./object into the corresponding entry-field.
Build the Project
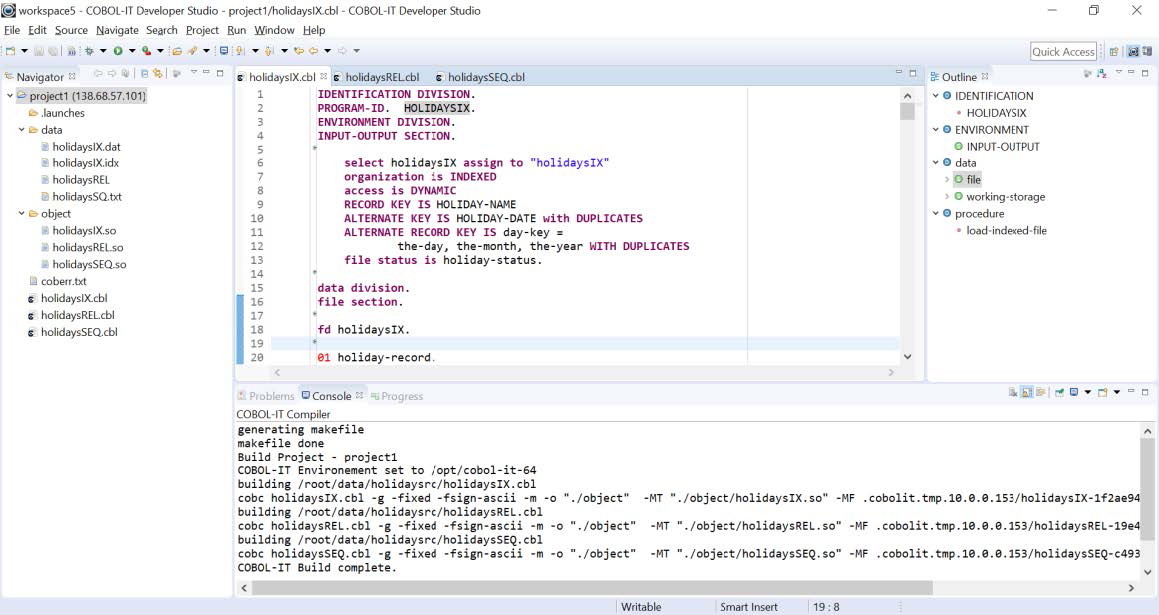
Select the project, and right-click to open a drop-down menu. From the drop-down menu, select Build Project to build the project.
Refresh the Project
After the build is complete, right-click on the Project Name in the Navigator View, and select the Refresh function to refresh the view of the project and view the newly created files.
Run the Project
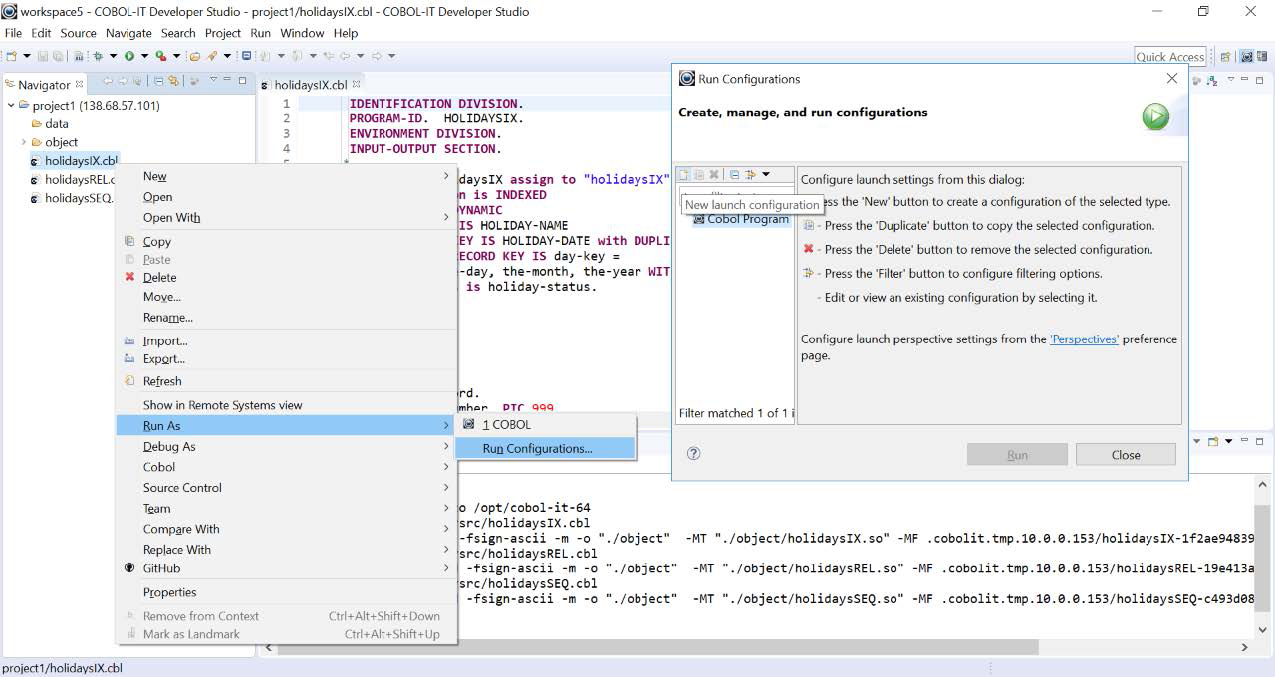
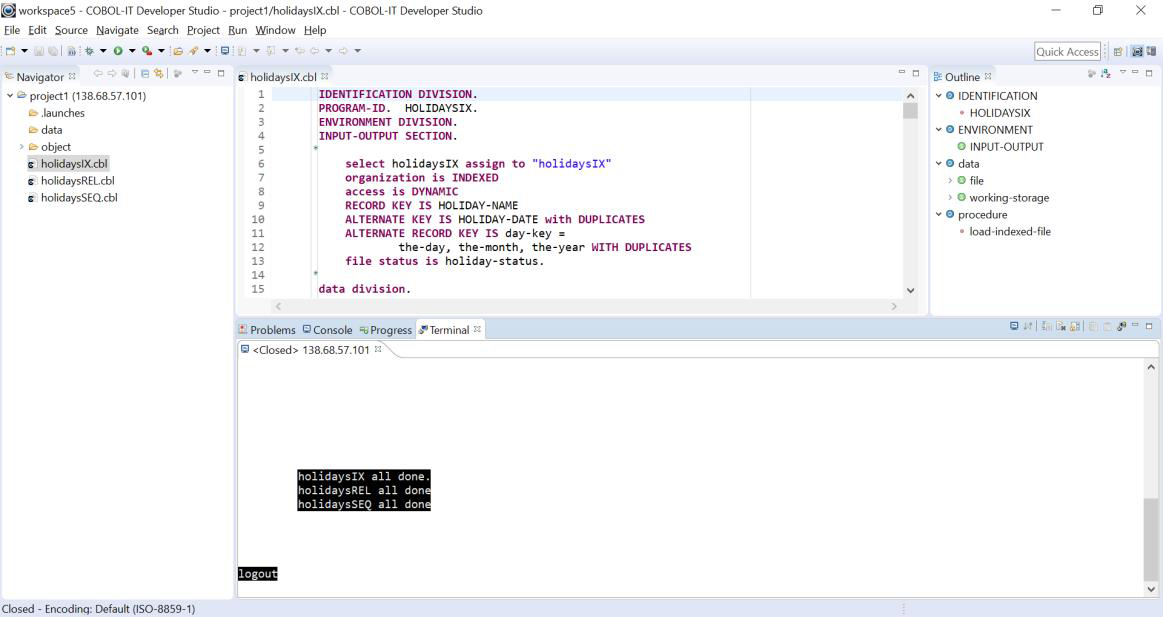
Select holidaysIX.cbl, right-click and select Run As… from the drop-down menu to open the Run Configuration wizard.
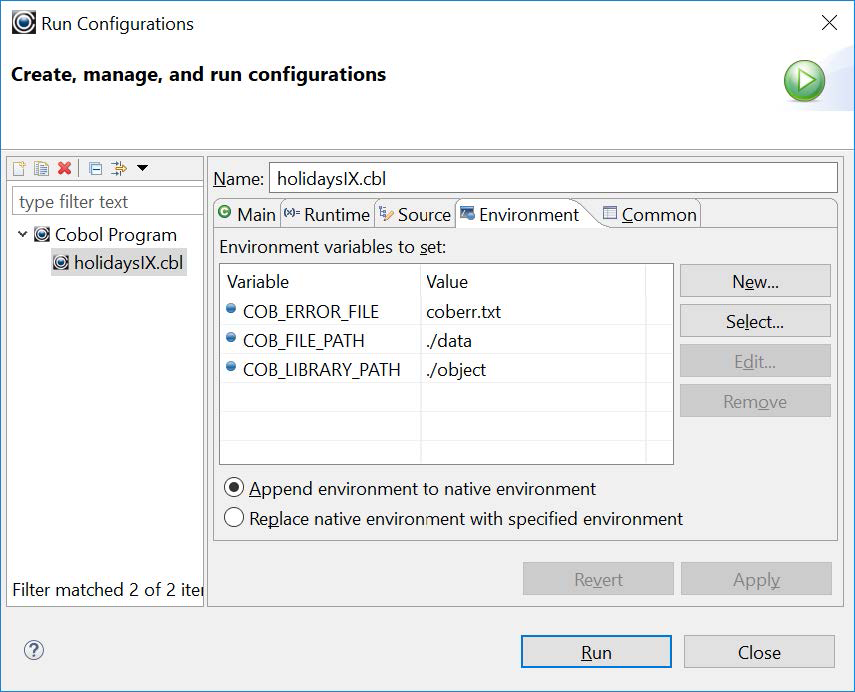
We have named our our configuration holidaysIX.cbl. On the Main tab, verify that that holidaysIX.cbl in project1 is selected. On the Runtime tab, verify the runtime settings. On the environment tab, set COB_FILE_PATH to ./data and COB_LIBRARY_PATH to ./object. Set COB_ERROR_FILE to coberr.txt. Click Apply, and then click on the Run button.
The program will run, creating indexed, relative and sequential files. We see our output in the Terminal Window.
Refresh the Project
After the build is complete, right-click on the Project Name in the Navigator View, and select the Refresh function to refresh the view of the project and view the newly created files.
Remote Run in Debug
Select the program you wish to run in debug mode, and click on the Debug button.
In the example below, the program holidaysIX.cbl is run in debug mode. Note that in the original configuration, the debugger was configured to launch automatically when a program was run in debug mode.
For further details on running a program in debug mode see Getting Started with the Developer Studio using the Debugger Perspective.

Re-opening a Remote Project
When you re-open a previously created remote project, Eclipse shows the remote project in the Navigator View. To log in to the remote machine, and see the expanded view of the project, double-click on the remote project name.